Mini Stocking Knitting Pattern – Free Christmas Decoration
There's something about a tiny Christmas stocking that makes everyone smile, and this mini stocking knitting pattern is no exception. It's quick, cute and perfect for using up leftover double knitting yarn – and the best part is that you can change the size simply by swapping your needles. Use 3.25mm needles for a smaller stocking, or 3.5mm for one that's just a little bit bigger.
Make a whole string of them to hang on the tree, pop one on a parcel as a gift topper, or tuck a small treat, gift card or chocolate Santa inside. They're knitted flat on straight needles with a simple short-row heel, then seamed up – so no double-pointed needles required!
And the best part? You can choose from two heel options – either a really Simple Short Row Heel which works perfectly, or choose the Wrap and Turn Heel if you fancy trying something new.
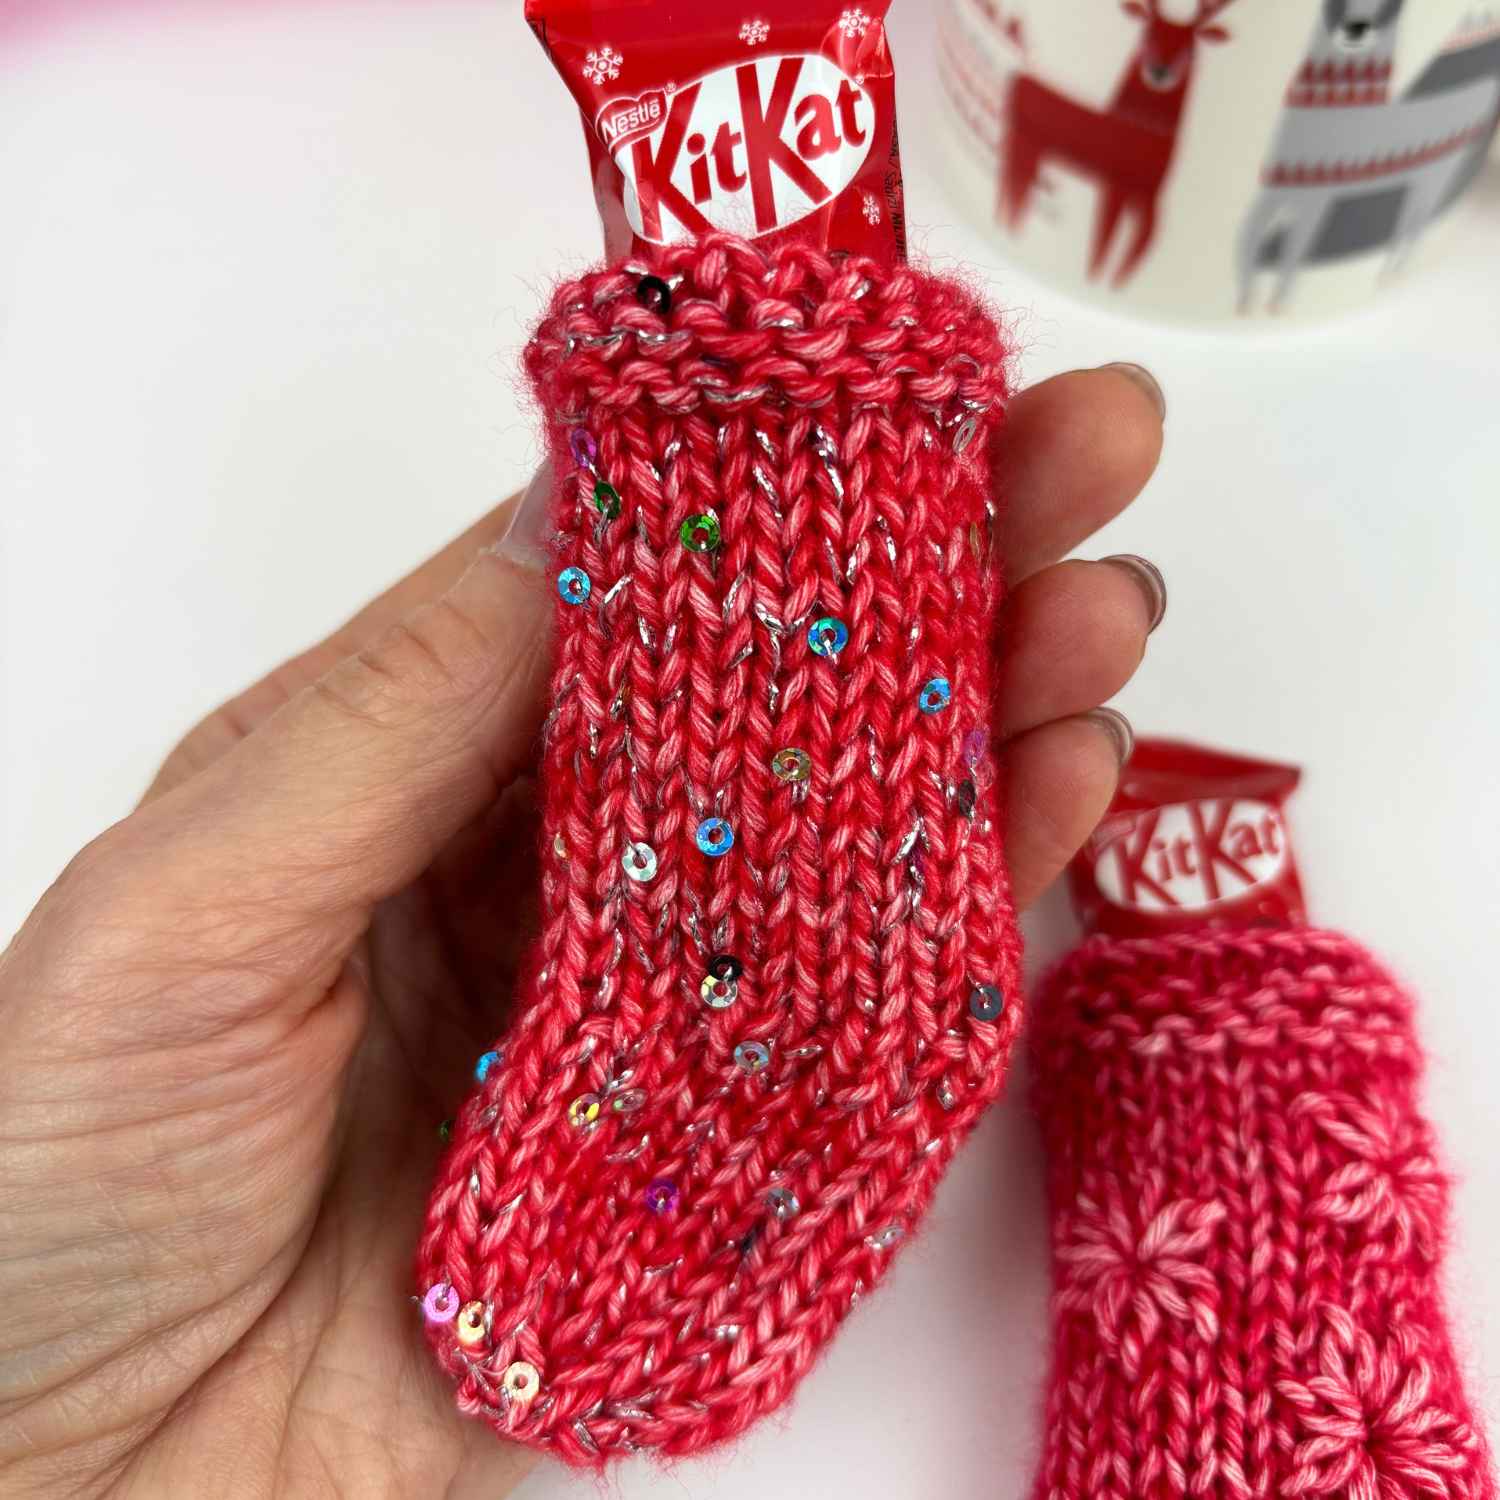
Quick Look: Free Mini Stocking Knitting Pattern
- Skill Level: Next steps – for a confident beginner.
- Language: English.
- Construction: Knitted in rows on two straight needles, then seamed.
- Stitches Used: Stocking Stitch, garter stitch.
- Special Techniques: Wrap and turn for the heel.
- Time To Make: ~ 30 minutes per stocking.
- Yarn: Oddments of double knitting yarn (8-ply; light worsted weight).
- Extras: Wool needle; button; thin ribbon; sewing needle; thread.
- Optional Extras: Something to pop in the stocking.
- Knitting Needles: 3.25mm (US 3) or 3.5mm (US 4).
- Finished Size: ~ Approx 9.5cm - 10.5cm (3¾in - 4¼in long (cuff to toe), depending on needle size and yarn used.
- Pattern Type: Written pattern with step images.
- Perfect For: Tree decorations, gift toppers, advent strings, stash busting.
Your support helps Google recognise and trust me as a knitting and crochet designer 🌟
Why You'll Love This Mini Stocking Knitting Pattern
- Two sizes, one pattern: Just change your needle size – therefore no maths needed.
- Brilliant stash buster: Each stocking uses only a small amount of DK yarn.
- No DPNs: Worked back and forth on straight needles.
- A lovely way to learn a new technique: The heel is a gentle introduction to short rows.
- Endless ways to personalise: Add fluffy yarn, sparkly yarns, embroidered flowers, or a hanging loop.
Level of Difficulty
Easy for confident beginners. The leg and foot are simple garter and stocking stitch, so if you can knit and purl you're most of the way there. The heel uses short rows, which simply means that you only knit part-way along the row before tuning. It's a perfect small project to try the technique before using it on a bigger make.
How to Get Your Free Mini Stocking Knitting Pattern
- Find the full pattern instructions written out below. You don't need to sign up or log in because it's written out free right here on the blog.
Copyright
The contents of this page, including the pattern instructions and images, are published under copyright to me ©Lynne Rowe 2026 under my brand Knit Crochet Create® and are for your own personal use only.
You are welcome to sell items made from this pattern for charity fundraising purposes, or to gift them to family and friends, and selling small numbers for profit is allowed.
Materials You Will Need
- Yarn: Double knitting (8-ply; light worsted weight) in small amounts; approximately 5-6g per stocking. I used oddments of:
- Scheepjes Stone Washed 10g (26m) in Red (Carnelian 823), Green (Forsterite 826).
- King Cole Cosmos 25g (393m) in Silver (Starburst 1100) held double with Scheepjes Stone Washed.
- Needles: A pair of 3.25mm (US 3) straight needles for the smaller stocking, or 3.5mm (US 4) for the slightly larger stocking.
- Wool needle (tapestry or darning needle) for sewing up and weaving in ends.
- Scissors.
- Optional extras: Thin ribbon or cord for a hanging loop and a small button; fluffy or sequin yarn; embroidery thread or yarn for flowers.
Gauge
Gauge isn't critical for this project because it doesn't matter if your stocking turns out a little larger or smaller.
Finished Size
- Using 3.25mm needles: approximately 9.5cm (3¾in) long (cuff to toe) and 4cm (1½in) across cuff.
- Using 3.5mm needles: approximately 10.5cm / (4¼in) long (cuff to toe) and 4.5cm (1¾in) across cuff.
Top Tips for the Best Results
- Leave a long tail when you cast on – you can use it to sew the back seam later, so there are fewer ends to weave in.
- Use a stitch marker or a scrap of contrast yarn on the RS so you always know which side you're on.
- Count as you go in the heel – each short row is two stitches longer than the last, so it's easy to keep track.
- Pull yarn really right on short rows – after working the first stitch, give the yarn a good pull, so as to avoid a visible hole.
- Use mattress stitch for the seam to give a neat, almost invisible join.
- Block lightly (or simply steam gently, avoiding fluffy or sequin yarns) to help the stocking settle into shape.
Abbreviations
- k = knit
- p = purl
- k2tog = knit 2 stitches together (1 stitch decreased)
- p2tog = purl 2 stitches together (1 stitch decreased)
- RS = right side
- WS = wrong side
- st(s) = stitch(es)
- garter stitch = knit every row
- stocking stitch (stockinette) = knit RS rows, purl WS rows
Special Technique For Heel Option 2: Wrap and Turn (w/t)
Short rows let you knit part of a row and then turn your work, which builds up extra fabric in one area – here, it shapes the little heel. Wrapping a stitch before you turn stops a hole forming at the turning point.
To wrap and turn on a knit (RS) row:
- Knit to the point given in the pattern.
- Bring the yarn to the front, between the needles.
- Slip the next stitch purlwise from the left needle to the right needle.
- Take the yarn to the back, between the needles.
- Slip the same stitch back to the left needle. The yarn now 'wraps' around the base of that stitch.
- Turn your work, ready to purl back.
To wrap and turn on a purl (WS) row:
- Purl to the point given in the pattern.
- Take the yarn to the back, between the needles.
- Slip the next stitch purlwise from the left needle to the right needle.
- Bring the yarn to the front, between the needles.
- Slip the same stitch back to the left needle.
- Turn your work, ready to knit back.
Picking up the wrap:
When you come to a wrapped stitch on a later row, you'll work the wrap together with its stitch so it's hidden:
- On a knit row: insert the right needle up under the front of the wrap, then into the stitch knitwise, and knit the wrap and the stitch together.
- On a purl row: from the back of the work, lift the wrap with the right needle and place it on the left needle, then purl it together with its stitch.
For a photo tutorial, Purl Soho has a very clear guide: Short Rows: Wrap & Turn.
Mini Stocking Knitting Pattern Begins
Cuff
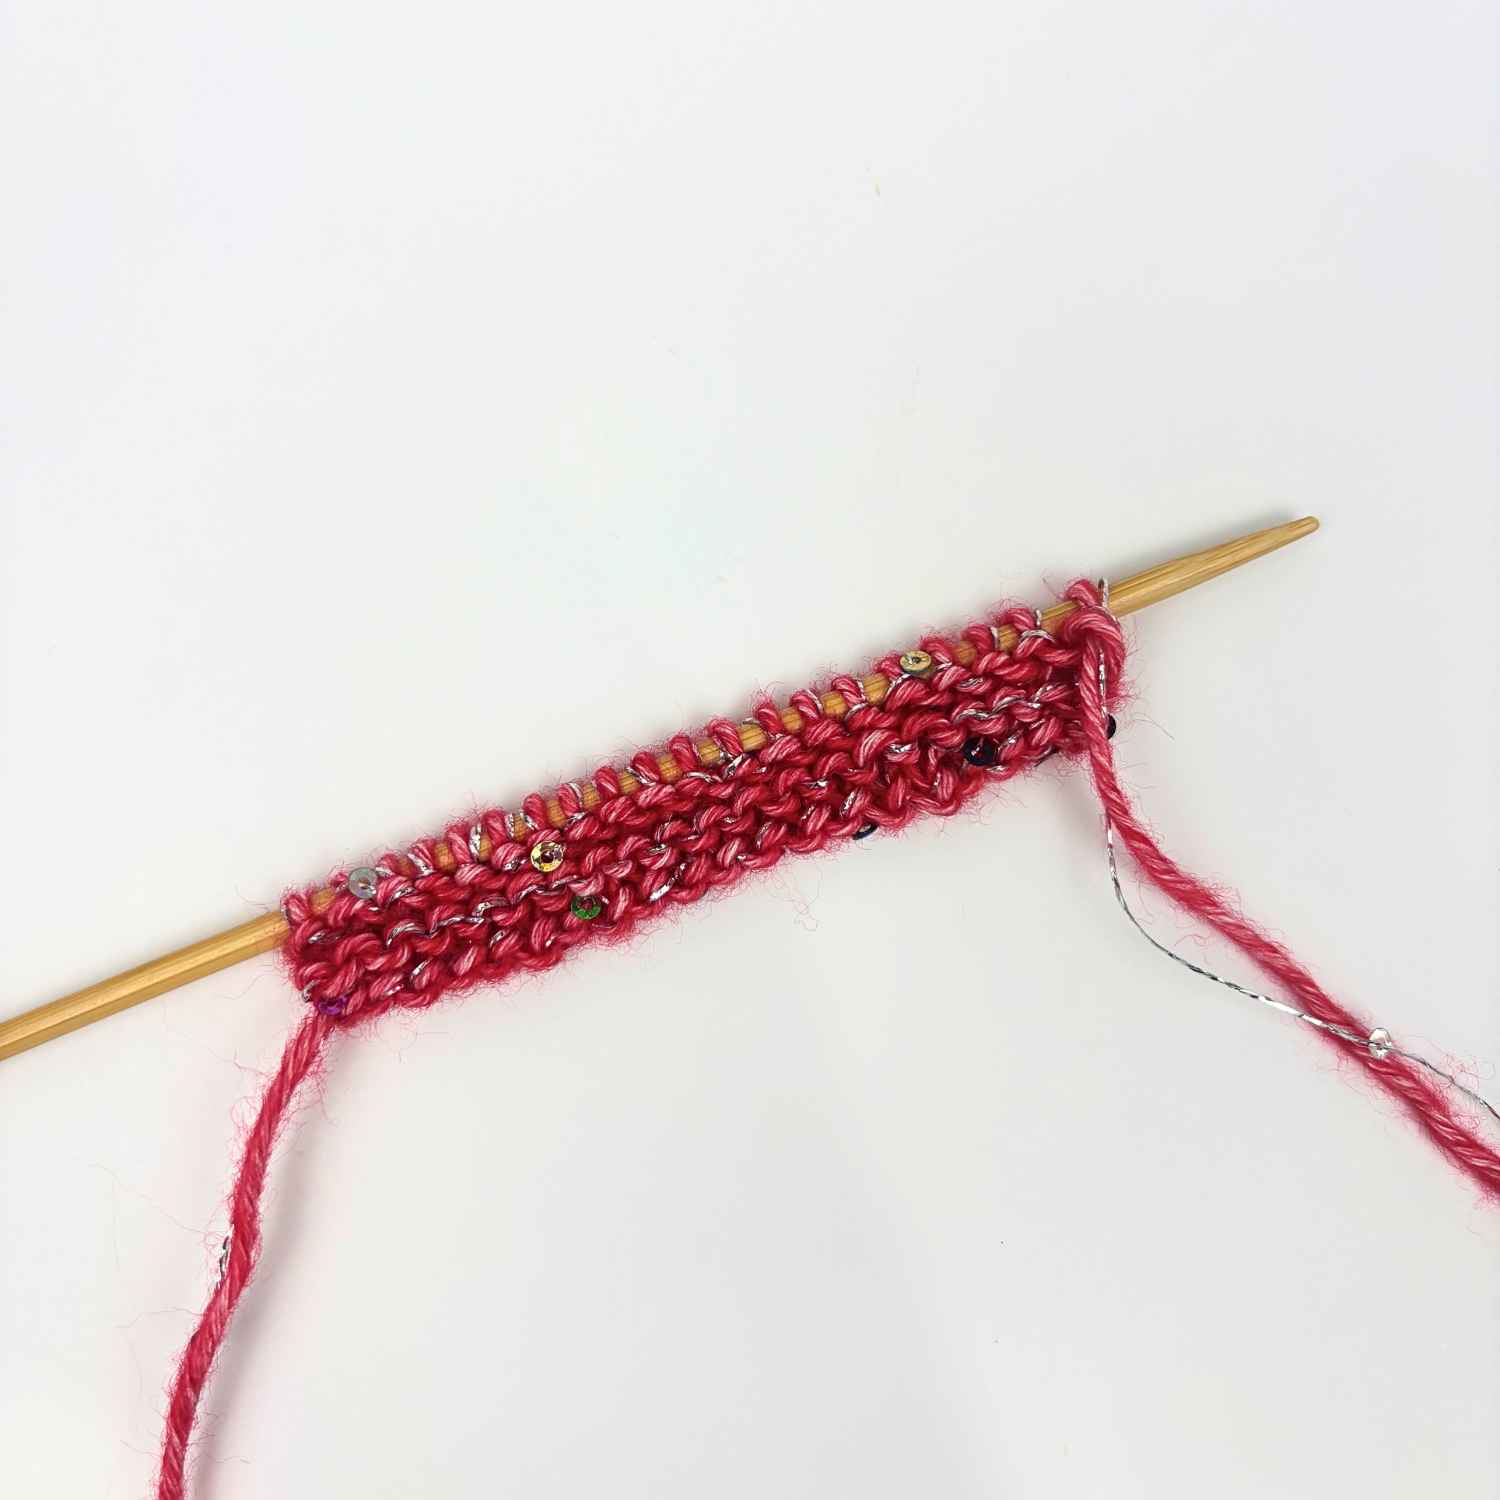
- Cast on 20 sts.
- Rows 1-3: Knit 3 rows (garter stitch).
- The next row is a RS row.
Leg
- Beginning with a K row (RS), work 16 rows in stocking stitch (stockinette).
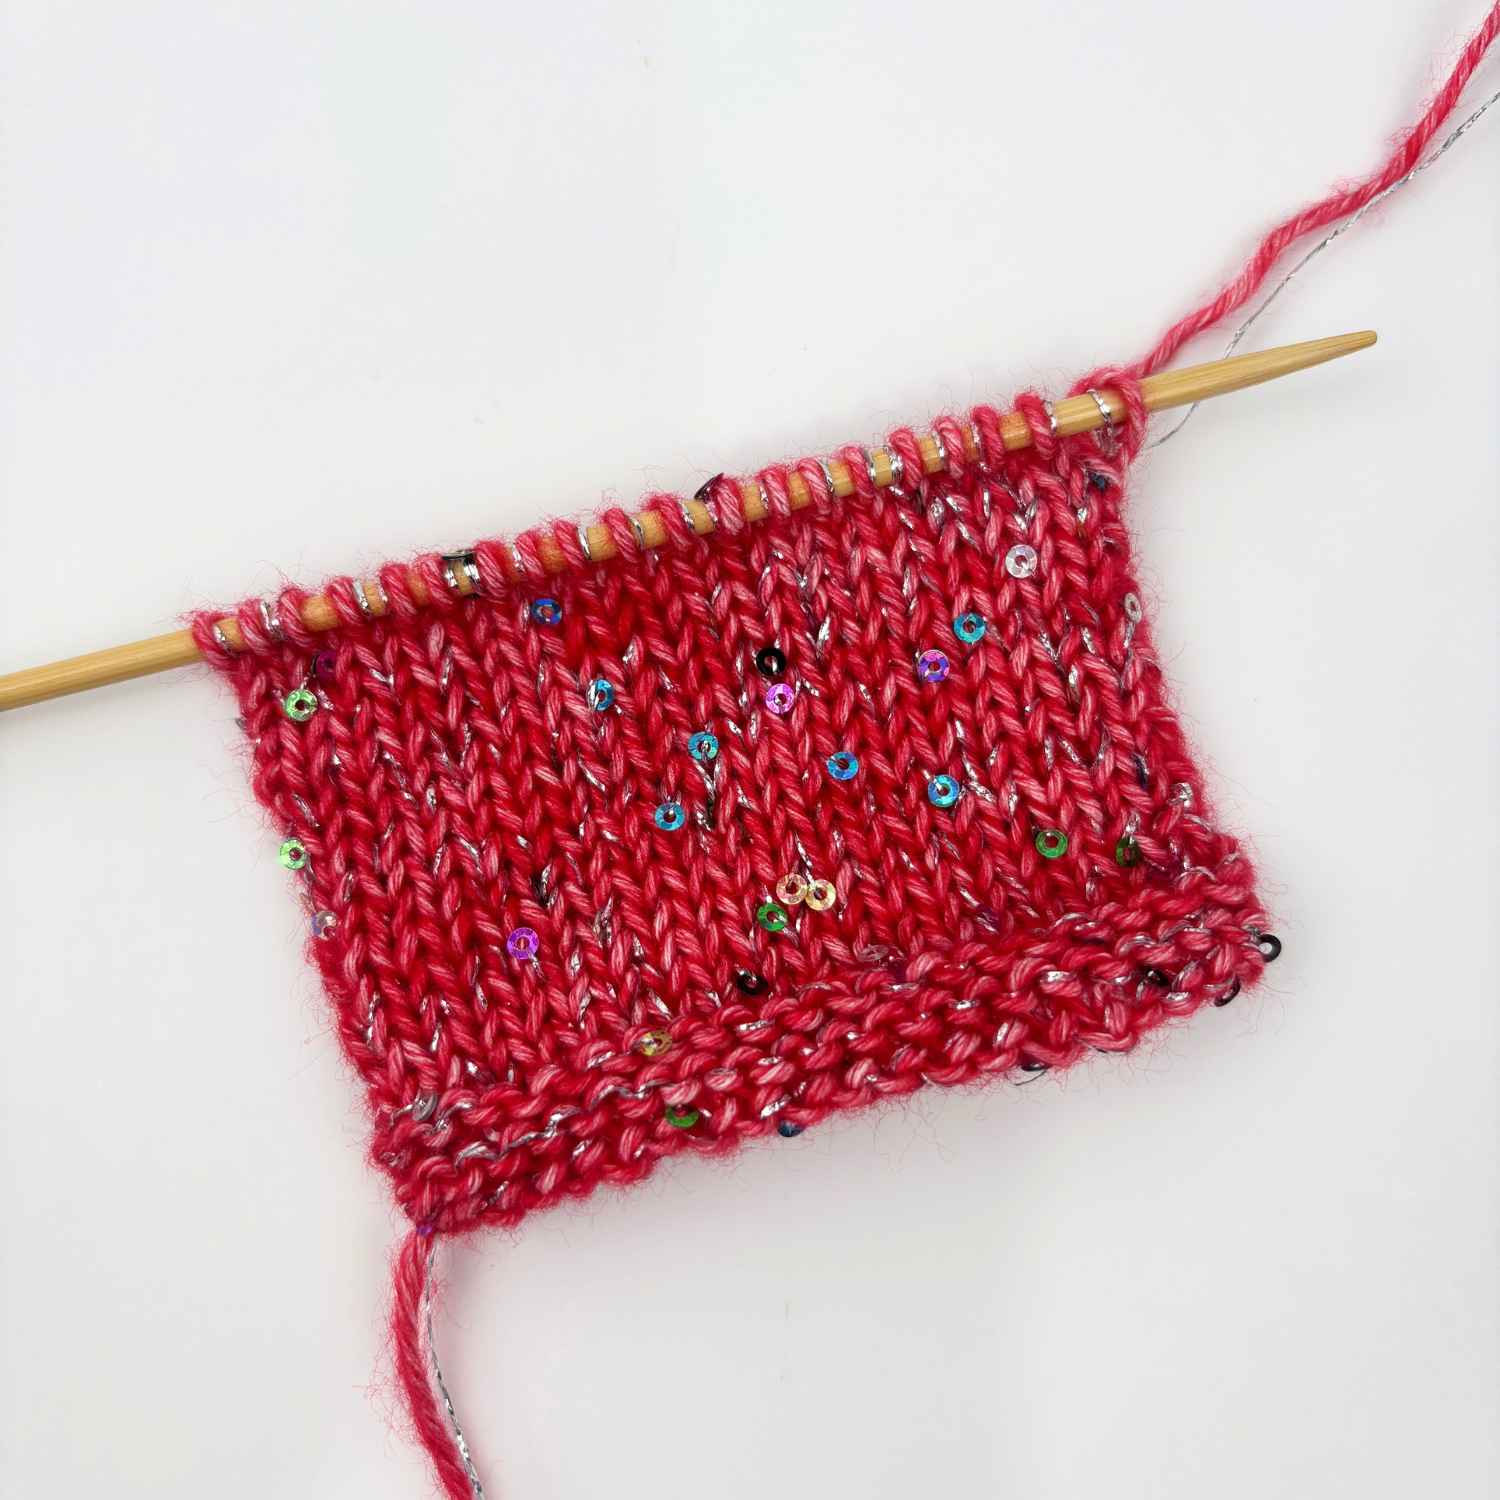
Heel Option 1: Simple Short Row Heel
The heel is worked in short rows, which means that you only work part way across the row before turning. Pull yarn really tight after working first stitch of short rows, because this will prevent a hole from forming.
- Row 1 (RS): K12, then turn.
- Row 2 (WS): P4, then turn.
- Row 3: K6, then turn.
- Row 4: P8, then turn.
- Row 5: K10, then turn.
- Row 6: P12, then turn.
- Row 7: K14, then turn.
- Row 8: P16, then turn.
- Row 9: K to the end, then turn.
- Row 10: P to the end, then turn.
- All 20 sts are now back in work.
- Scroll down to Foot section below.
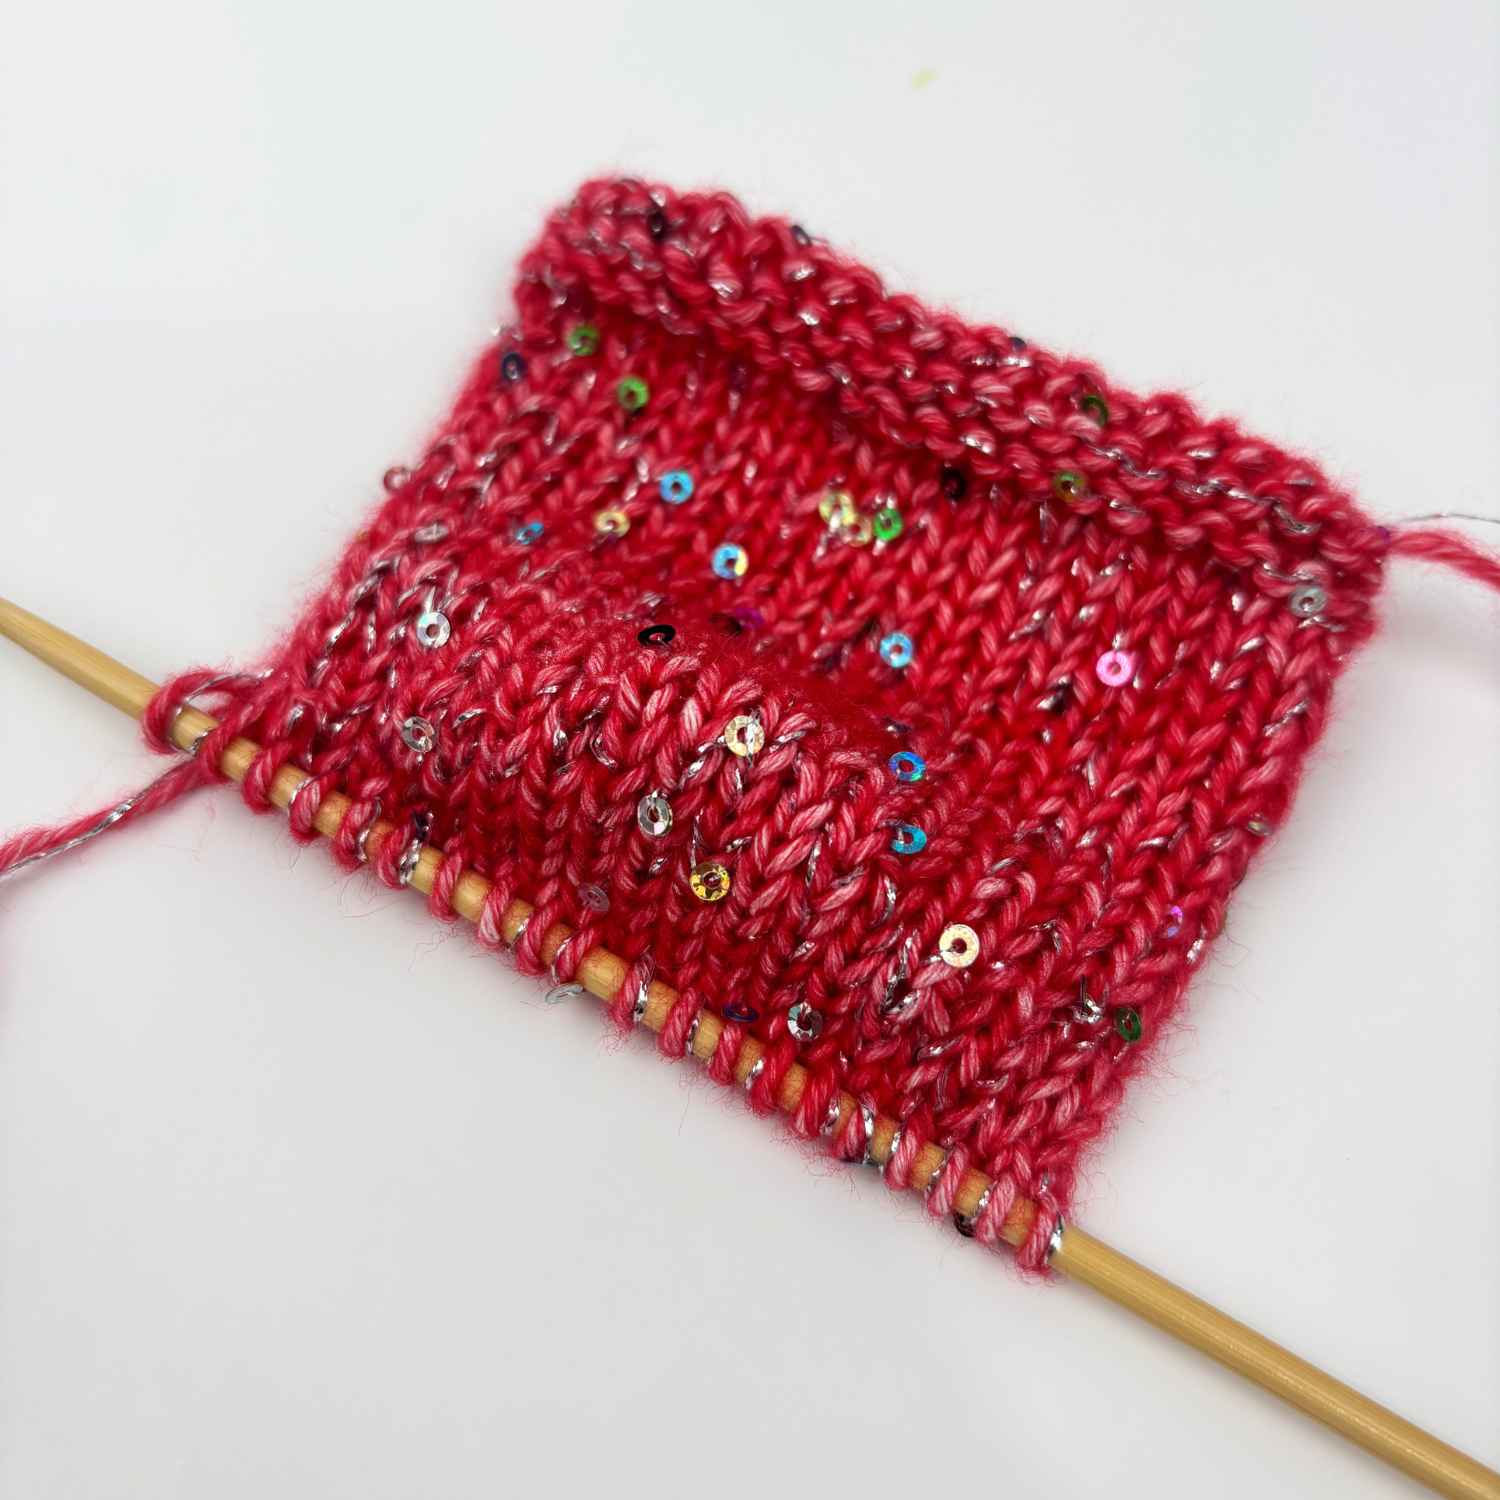
Heel Option 2: Wrap and Turn Heel
The heel is worked in short rows. Each time you reach a wrapped stitch from the previous row, pick up the wrap and work it together with its stitch (see special techniques above for detailed instructions).
- Row 1 (RS): K12, then w/t.
- Row 2 (WS): P4, then w/t.
- Row 3: K4, K1 with its wrapped st, K next st w/t.
- Row 4: P6, P1 with its wrapped st, K next st w/t.
- Row 5: K8, K1 with its wrapped st, K next st w/t.
- Row 6: P10, P1 with its wrapped st, K next st w/t.
- Row 7: K12, K1 with its wrapped st, K next st w/t.
- Row 8: P14, P1 with its wrapped st, K next st w/t.
- Row 9: K16, K1 with its wrapped st, K1,
- Row 10: P18, P1 with its wrapped st, P1.
- All 20 sts are now back in work.
- Continue with Foot.
Foot
- Beginning with a Knit row, work 6 rows in stocking stitch (stockinette).
Toe
- Next row: [K2tog] 10 times. (10 sts)
- Next row: [P2tog] 5 times. (5 sts)
- Cut the yarn, leaving a tail for seaming.
- Thread the tail onto a wool needle, pass it through the remaining 5 sts then pull up tightly to close the toe.
- Fasten off securely.
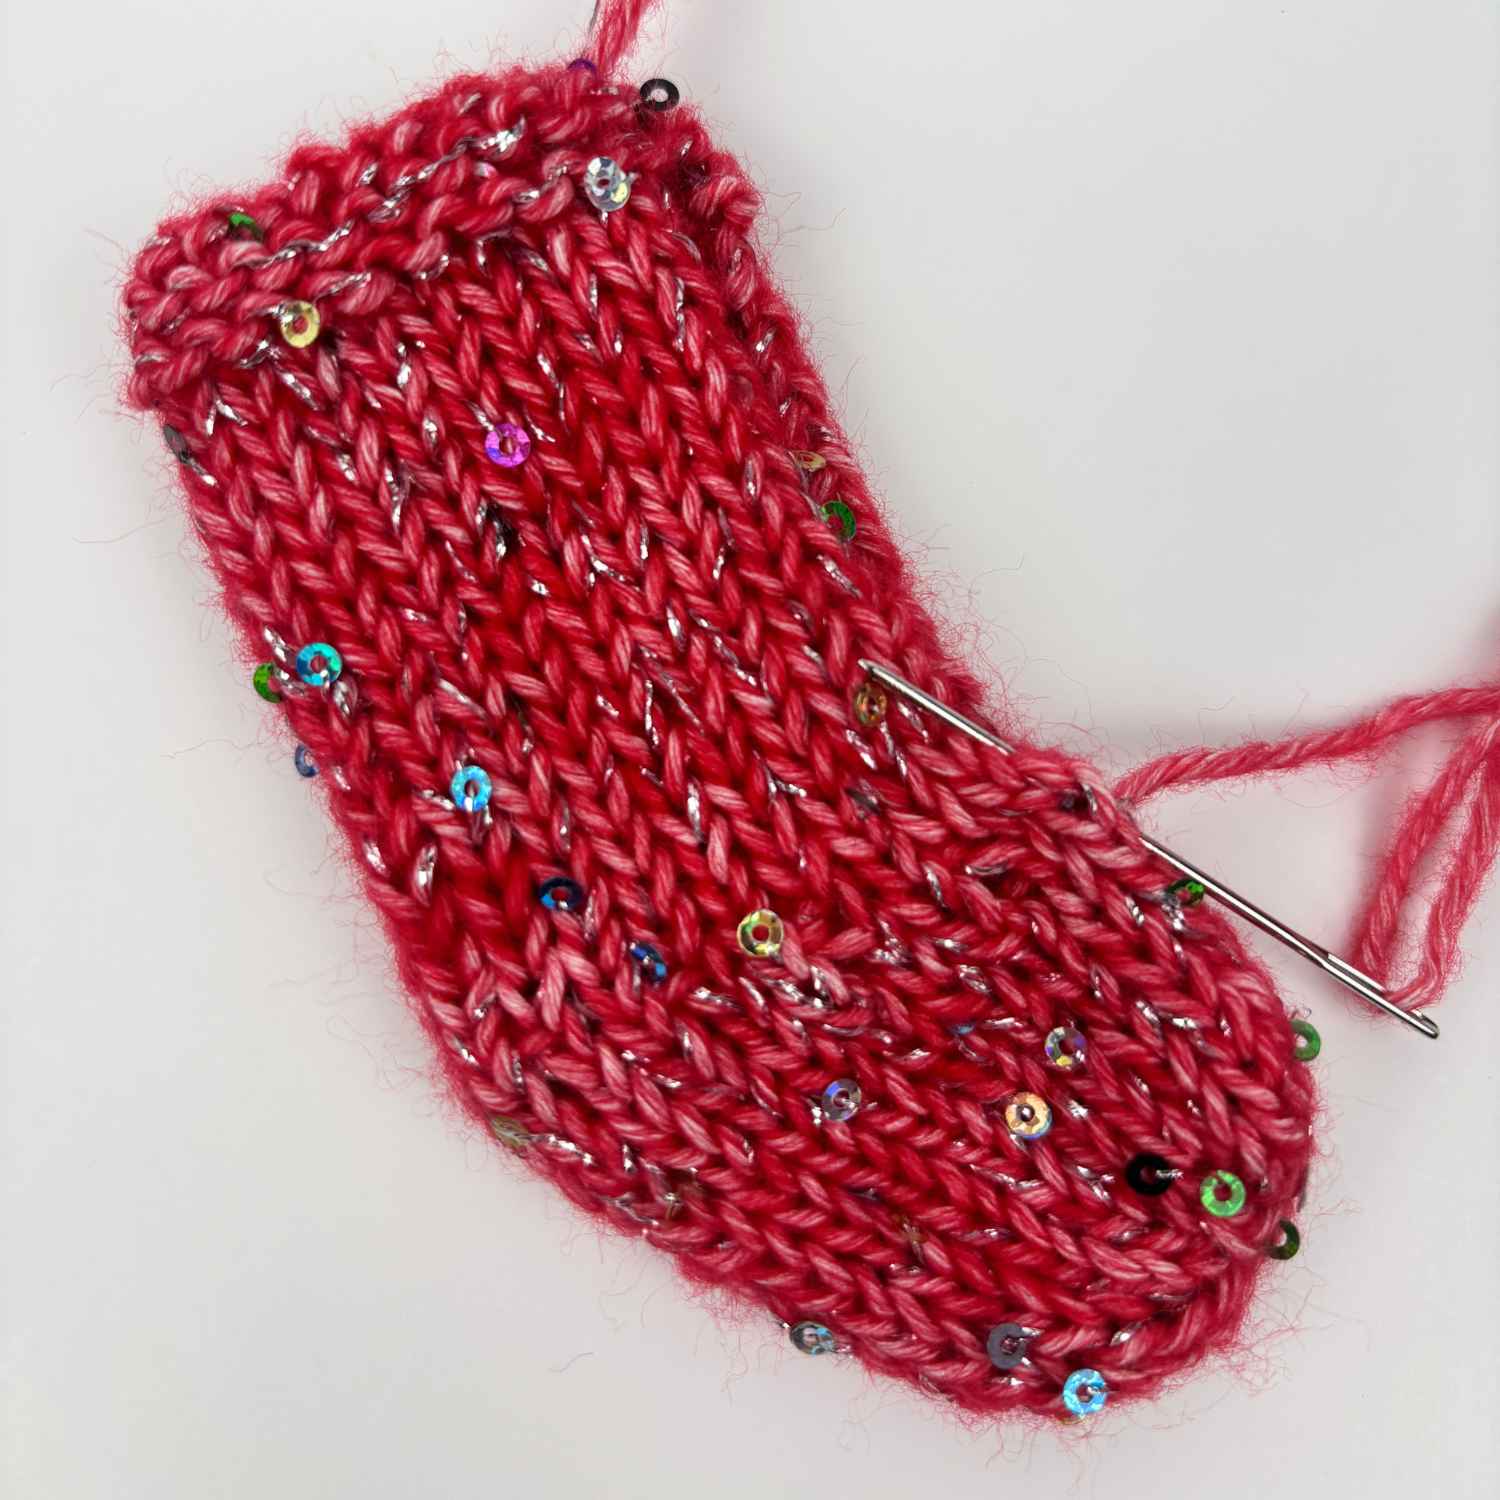
Making Up
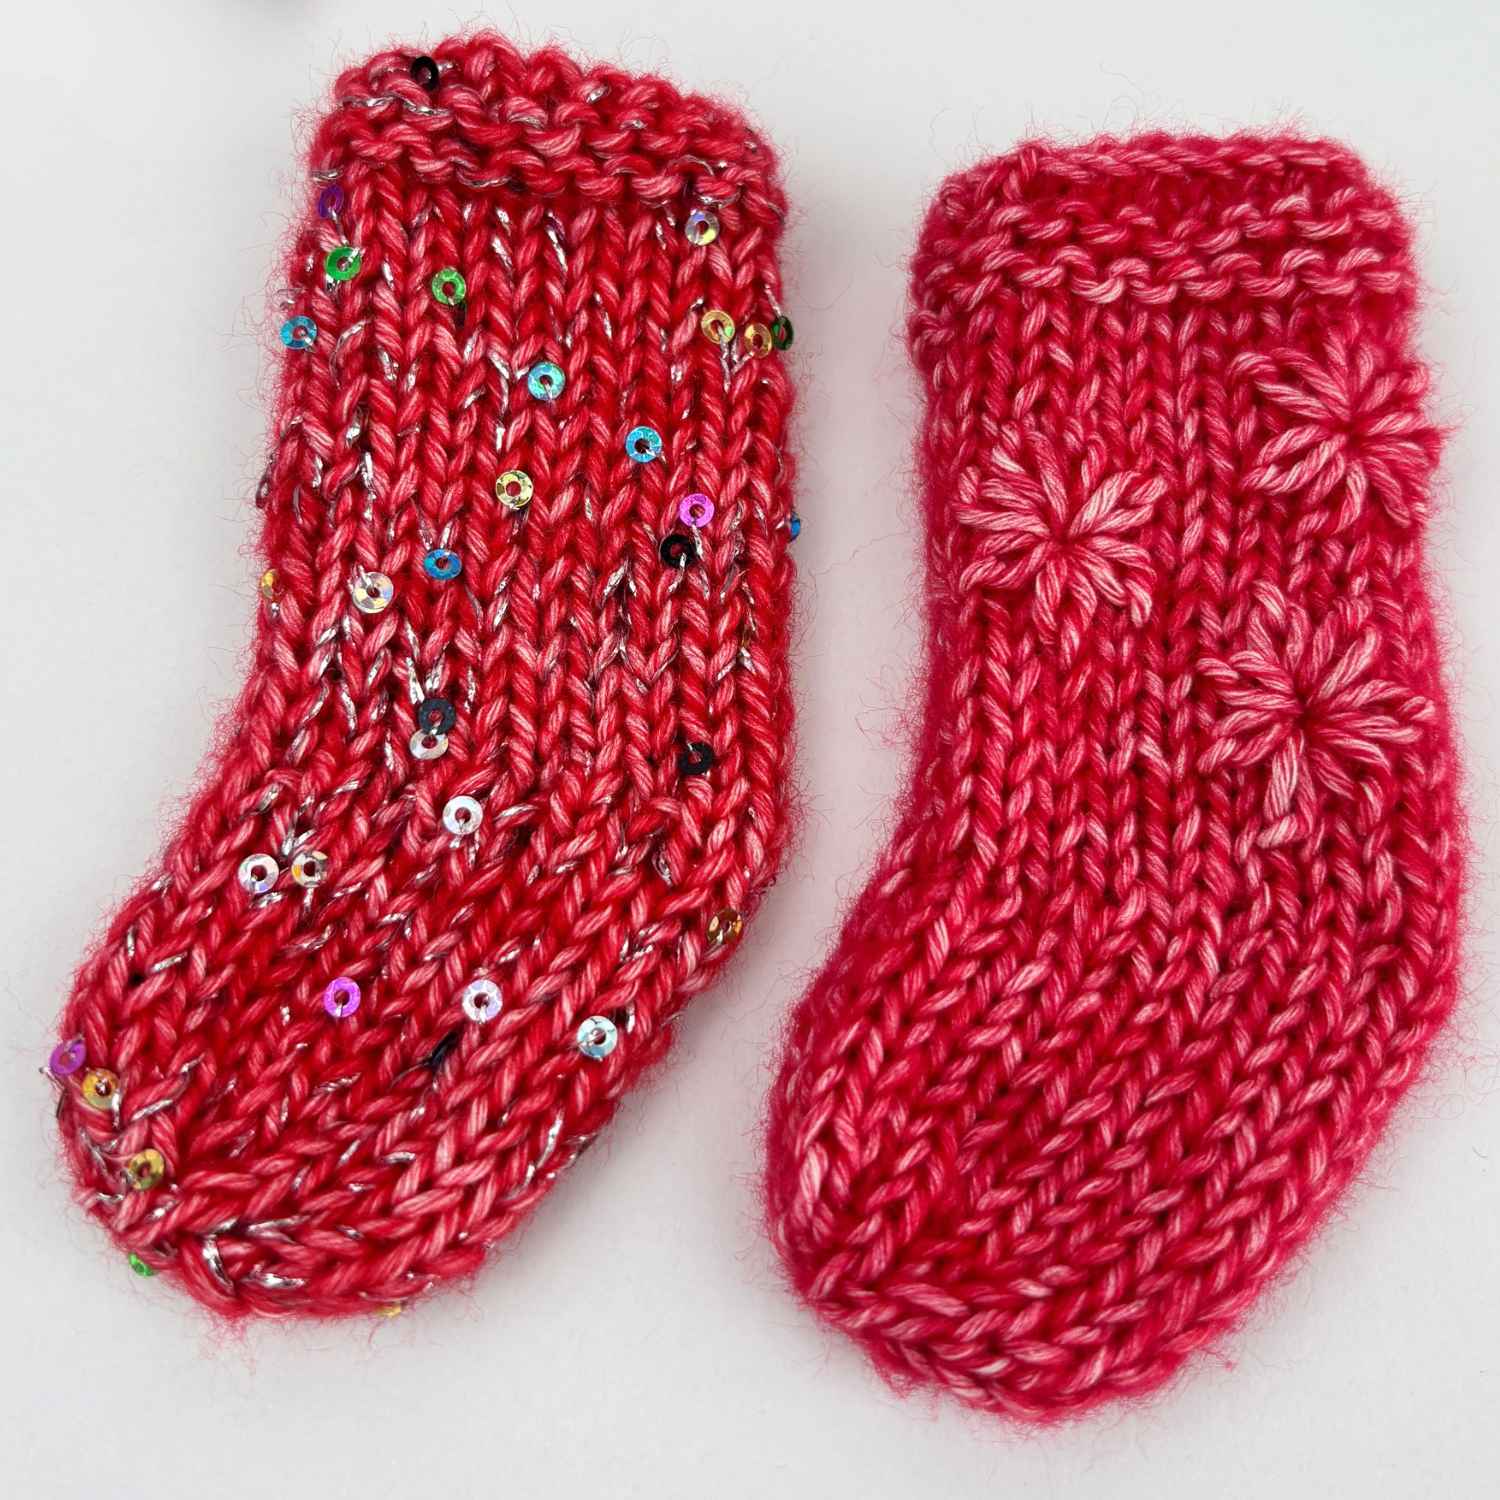
Fold the stocking in half with the RS facing outwards, then using the yarn tail, sew the centre front seam from the toe up to the cuff with mattress stitch for a neat, smooth finish. Weave in all ends then trim. Add a few flowers with lazy daisy stitch off desired, using matching yarn or contrast yarn. Finally, add a hanging loop to the outside cuff edge, using thin ribbon or cord, then add a button over the ribbon ends, for a neat finish.
Mix It Up: Variations & Creative Ideas To Try
- Hanging loop: Sew a short loop of ribbon to the top of the cuff at the back seam then add a button over the join for a pretty finish.
- Fluffy cuff: Knit the cuff in a fluffy yarn, then switch to your main yarn for the leg and the rest of the stocking – just like a real Christmas stocking!
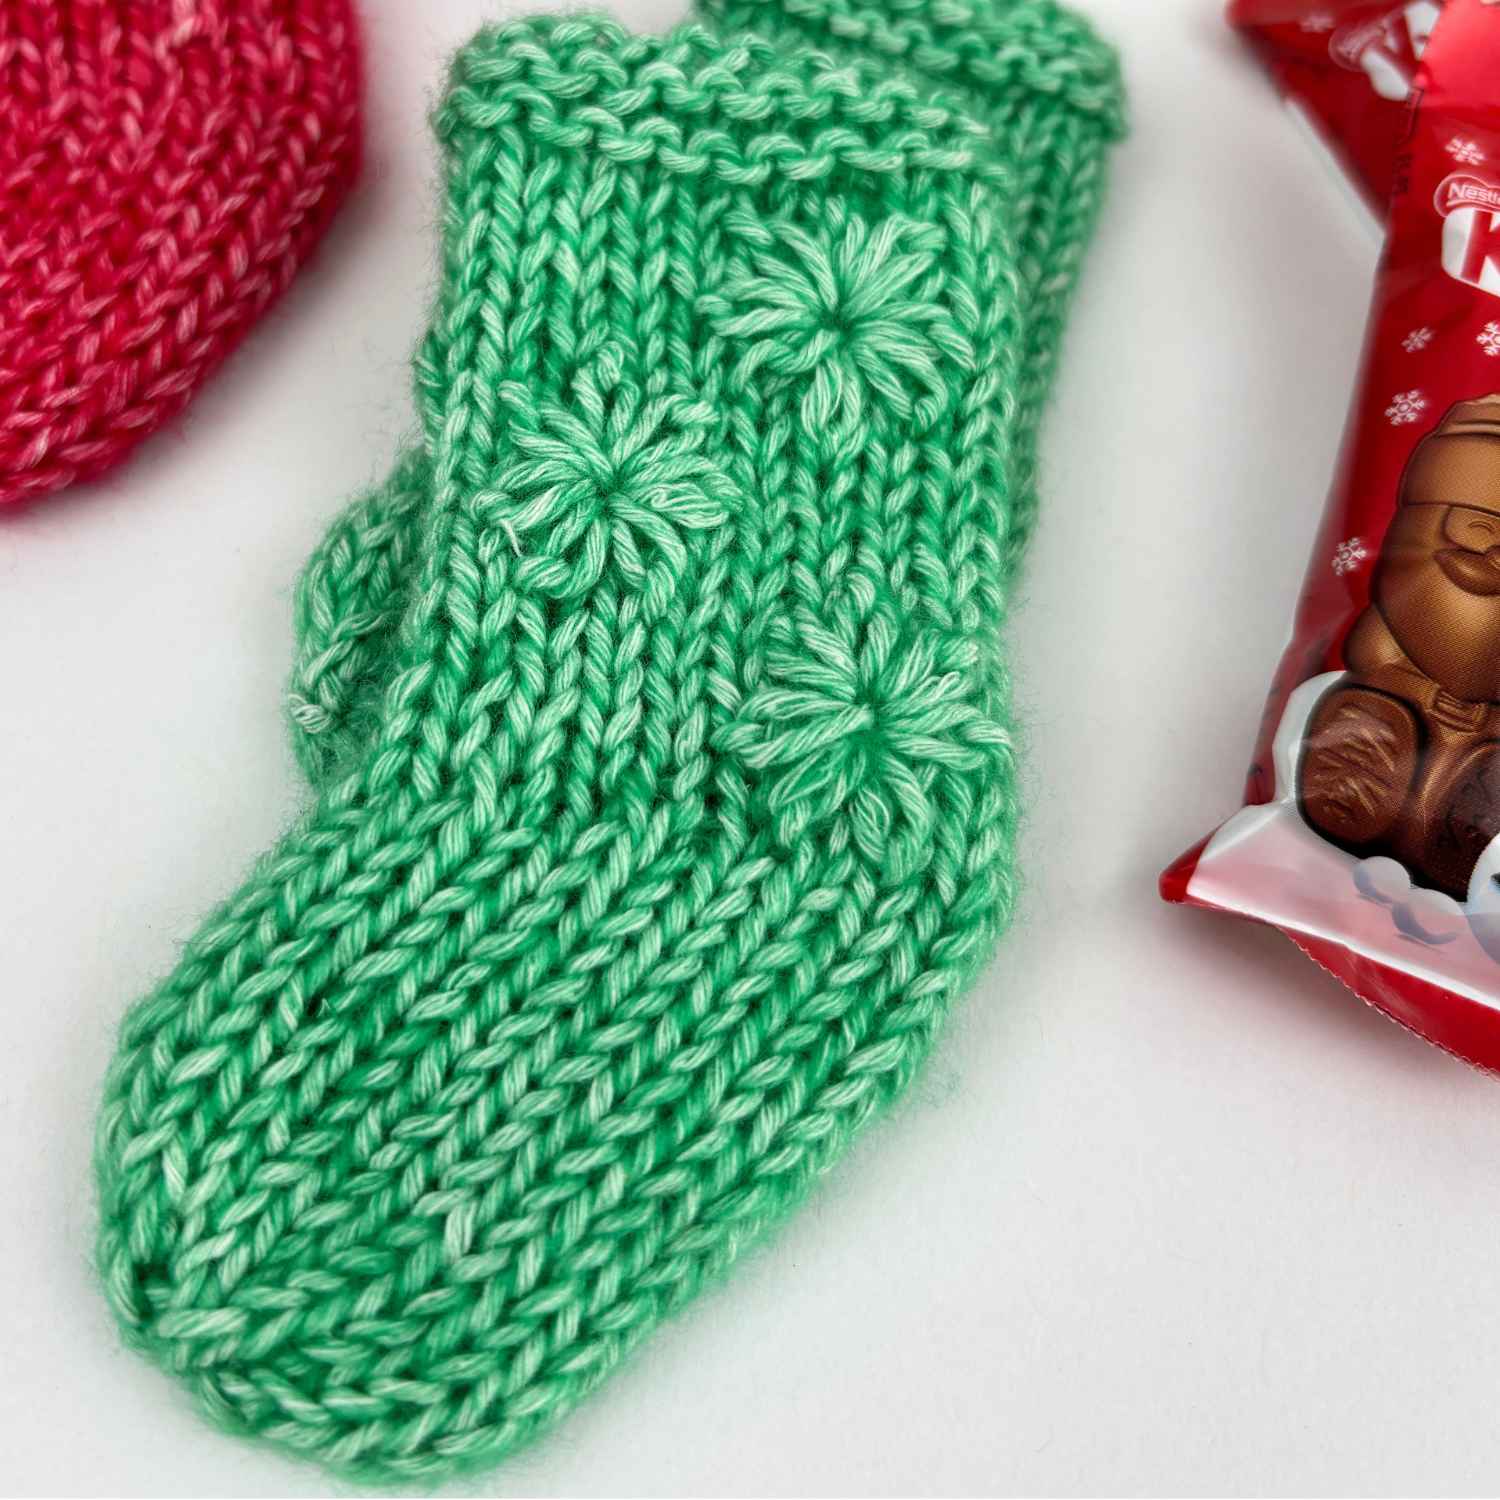
- Embroidered flowers: Add a few lazy daisy flowers to one side of the leg using a contrast yarn or embroidery thread. Weave in ends on the inside, then trim.
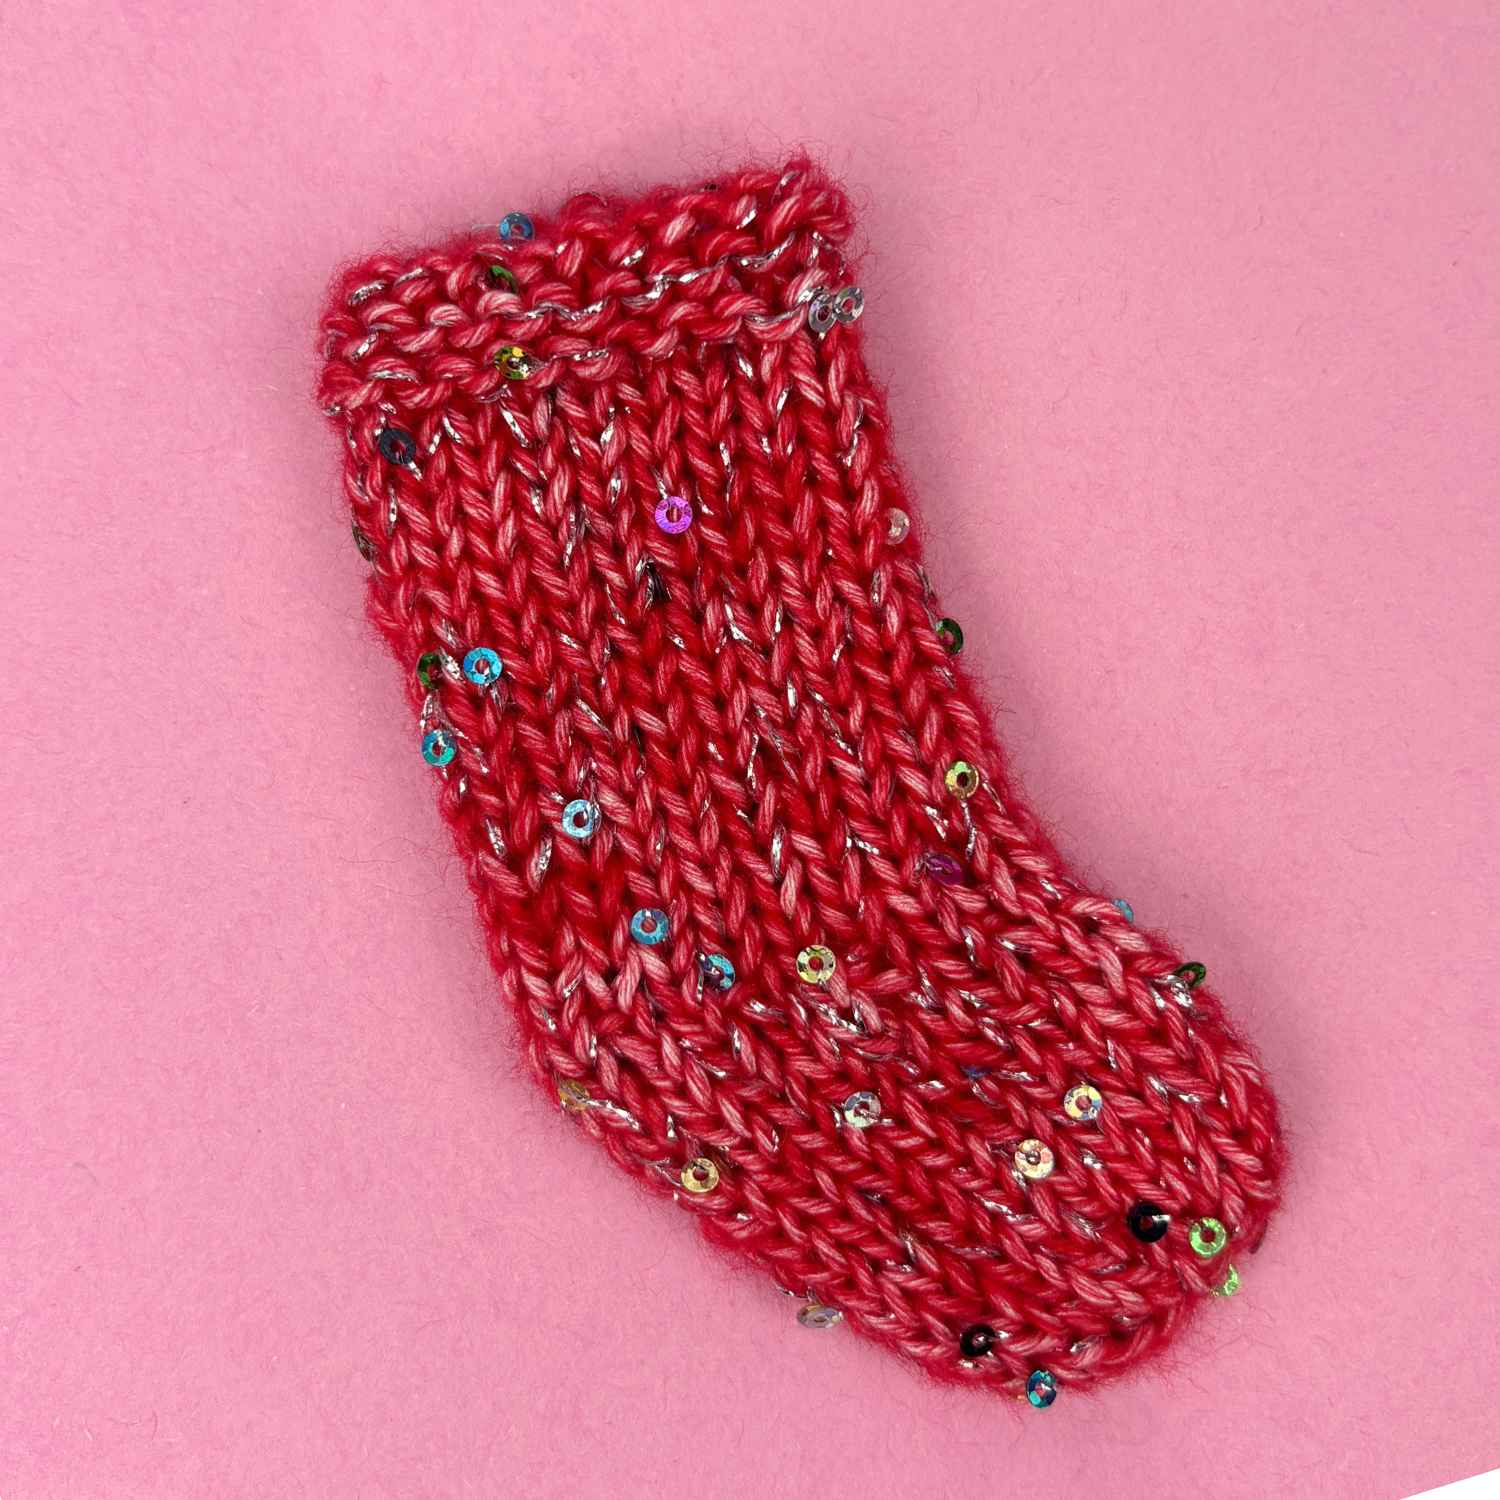
- Soft and sparkly: Hold one strand of 4-ply together with one strand of a fluffy yarn (such as Drops Alpaca Silk), or one strand of 4-ply with a sequin yarn, for a sparkly, festive feel.
FAQs: Mini Stocking Knitting Pattern
Yes – using 3.5mm needles gives a slightly larger stocking than 3.25mm. For a bigger stocking still, try a thicker yarn with larger needles; just remember you'll need a little more yarn.
Absolutely. The heel only has a handful of short rows, so it's a lovely, low-pressure way to learn the technique. Follow the step-by-step guide above and take it one row at a time.
Picking up the wraps closes the little gaps that form where you turned your work, so your heel looks neat and smooth with no holes.
Yes – just work back and forth in rows exactly as you would on straight needles.
Only a small amount, which therefore makes it perfect for using up leftovers. Around 5-6g of yarn is needed per stocking, so it's perfect for those oddments you've been saving.
Yes, you're welcome to sell finished stockings in small quantities – a credit to Knit Crochet Create is always appreciated, but please don't share or sell the pattern itself.
What to Make Next?
If you enjoyed my Mini Stocking Knitting Pattern, you might also like these FREE knitting patterns:
- Christmas Tree Knitting Pattern
- Tea Cosy Knitting Pattern for Christmas
- Knitted House Pattern
- Knitted Mini Scarf Pattern Free
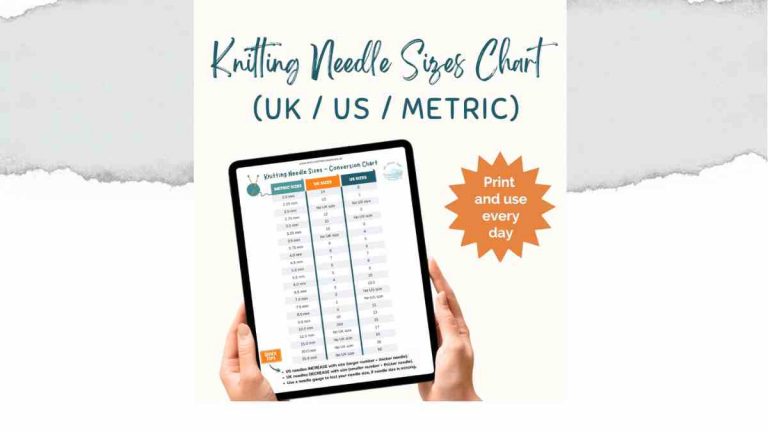
- Knitting Needle Size Chart and Guide – handy for checking your needle sizes.
Share Your Makes
If you love this pattern, then I'd love to see your mini stockings! Tag me on Instagram @knitcrochetcreate so I can admire your creations.
About Lynne from Knit Crochet Create
Lynne Rowe is a UK-based knitting and crochet designer and best-selling author, recognised for her clear, easy-to-follow patterns and also her dedication to making knitting and crochet accessible to everyone. She is the founder of Knit Crochet Create, with a strong focus on stash-busting projects that promote sustainable, mindful making. Lynne's work encourages the use of your yarn stash, therefore helping you transform small leftovers into joyful creations.
Let's keep in touch!
I'd love to chat more.
Sign up for my newsletter and receive a weekly dose of crafting inspiration, featuring the latest trends, tips, and projects to fuel your creativity.