Free Sock Knitting Pattern For Short Ankle Socks
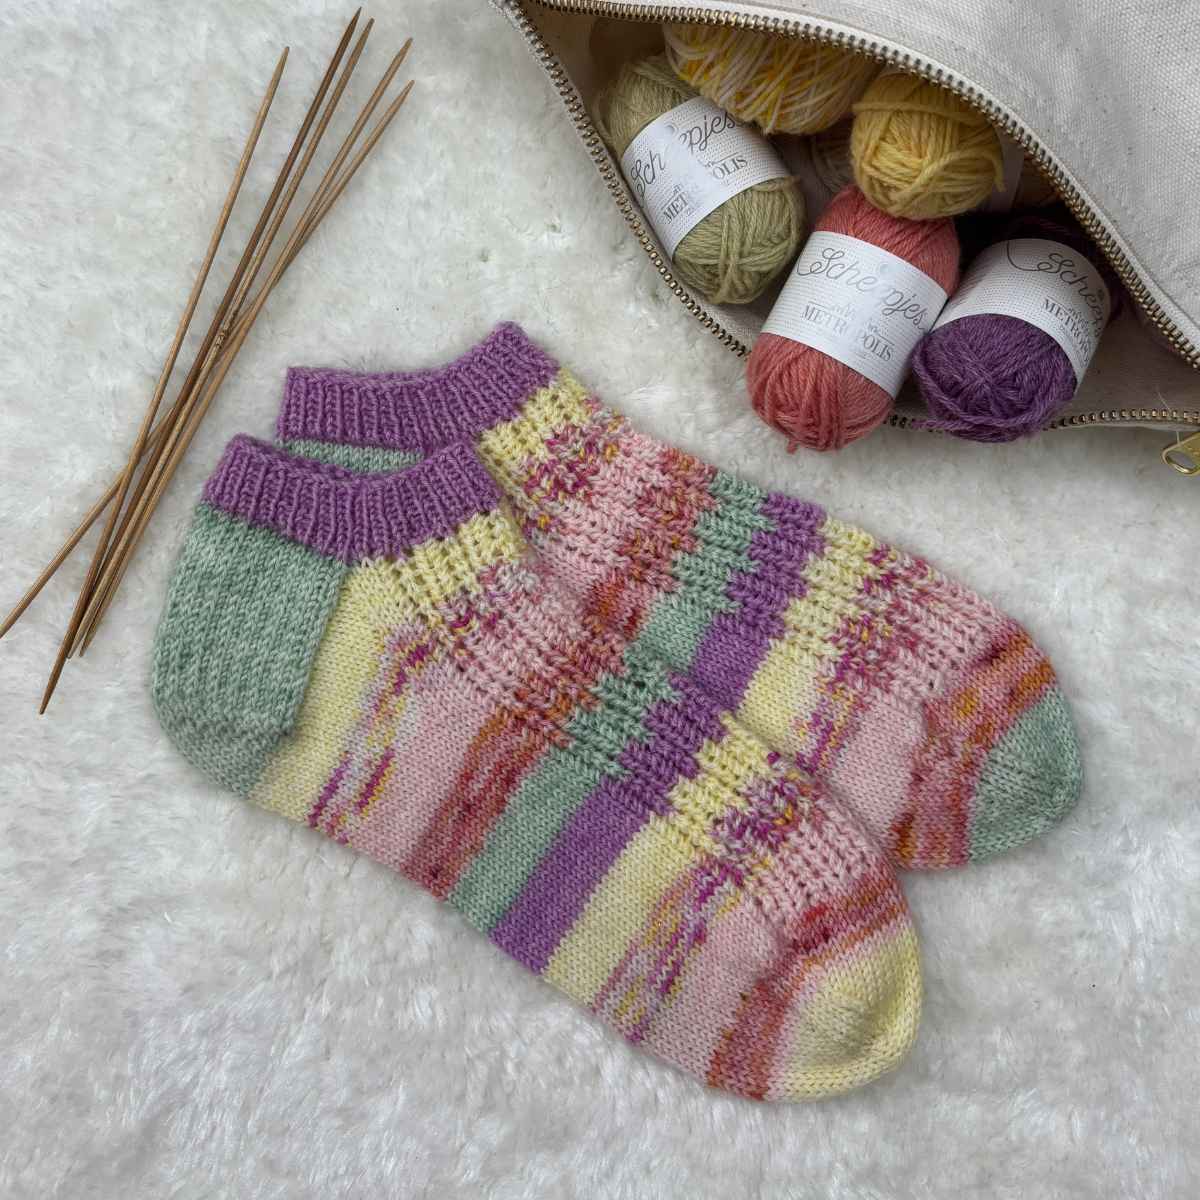
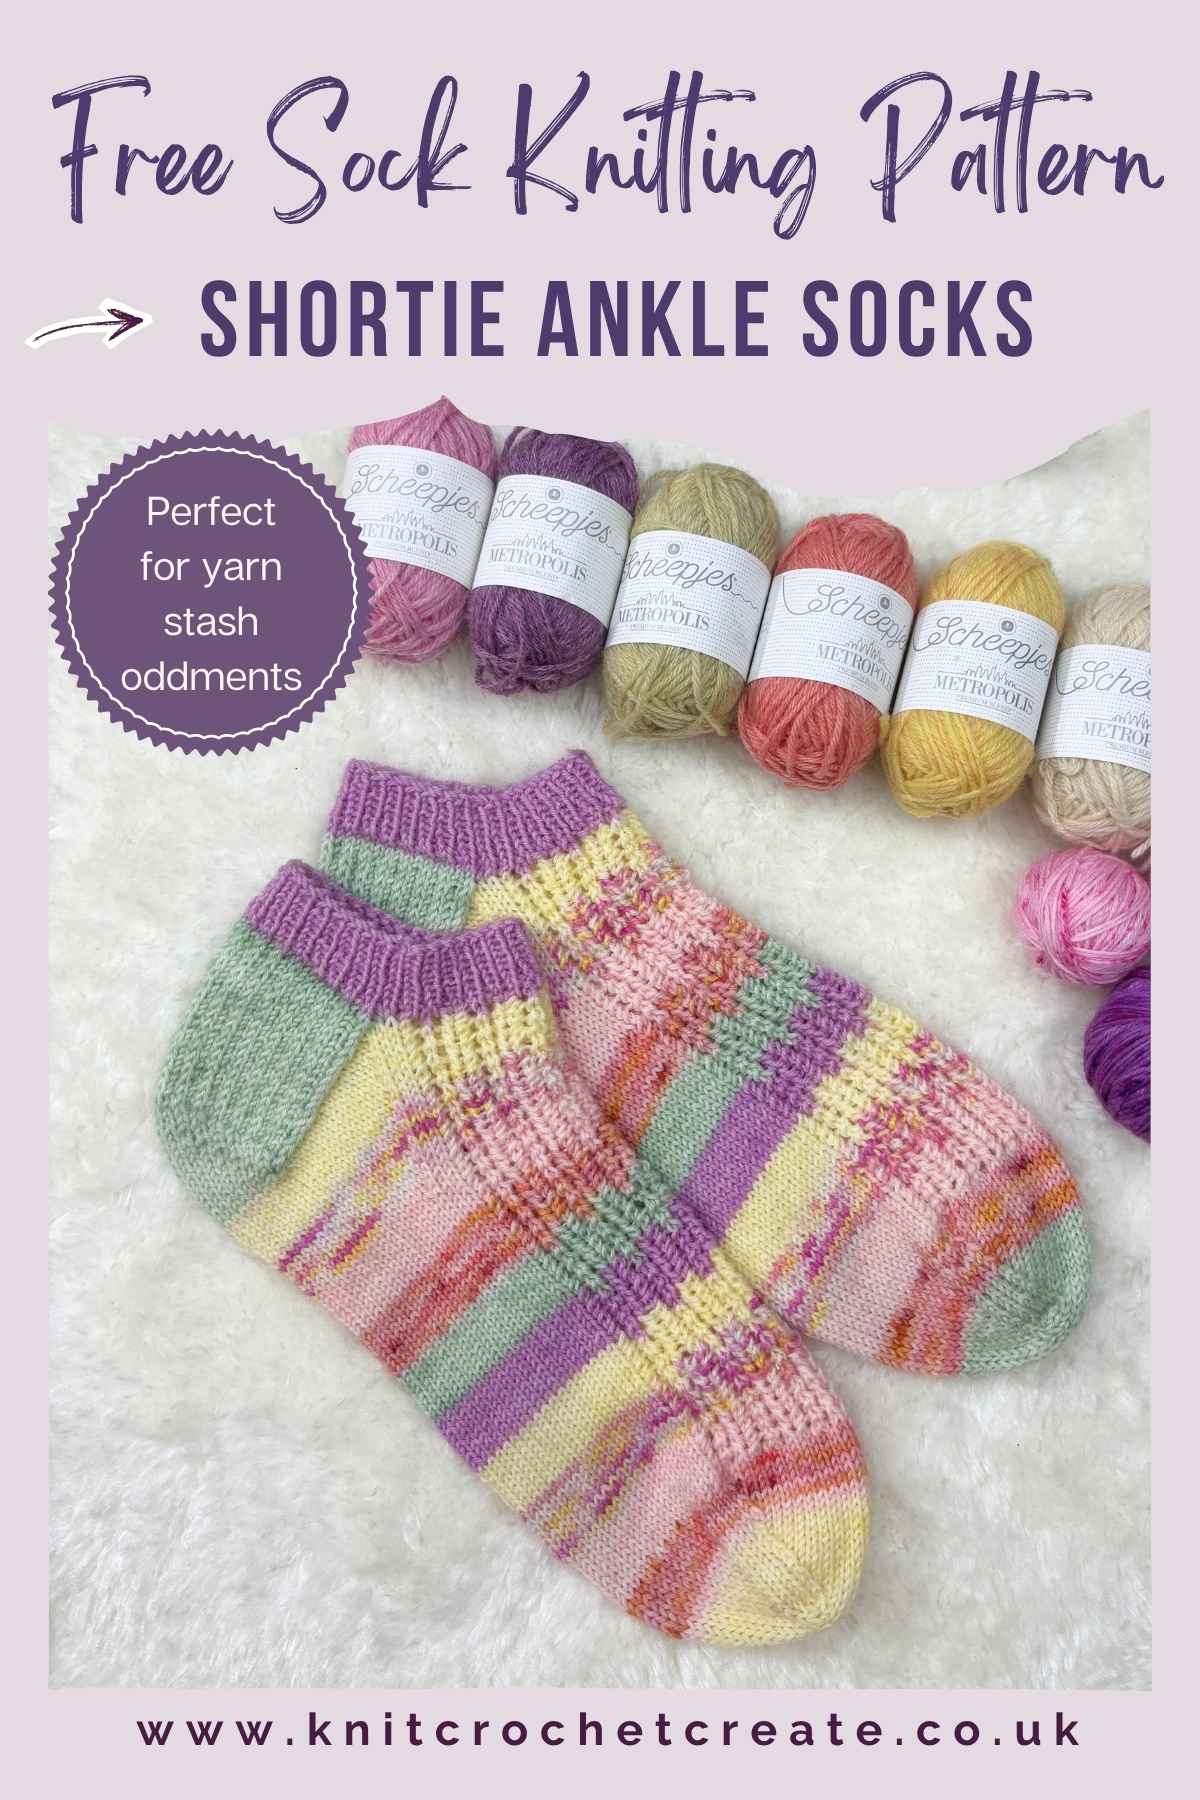
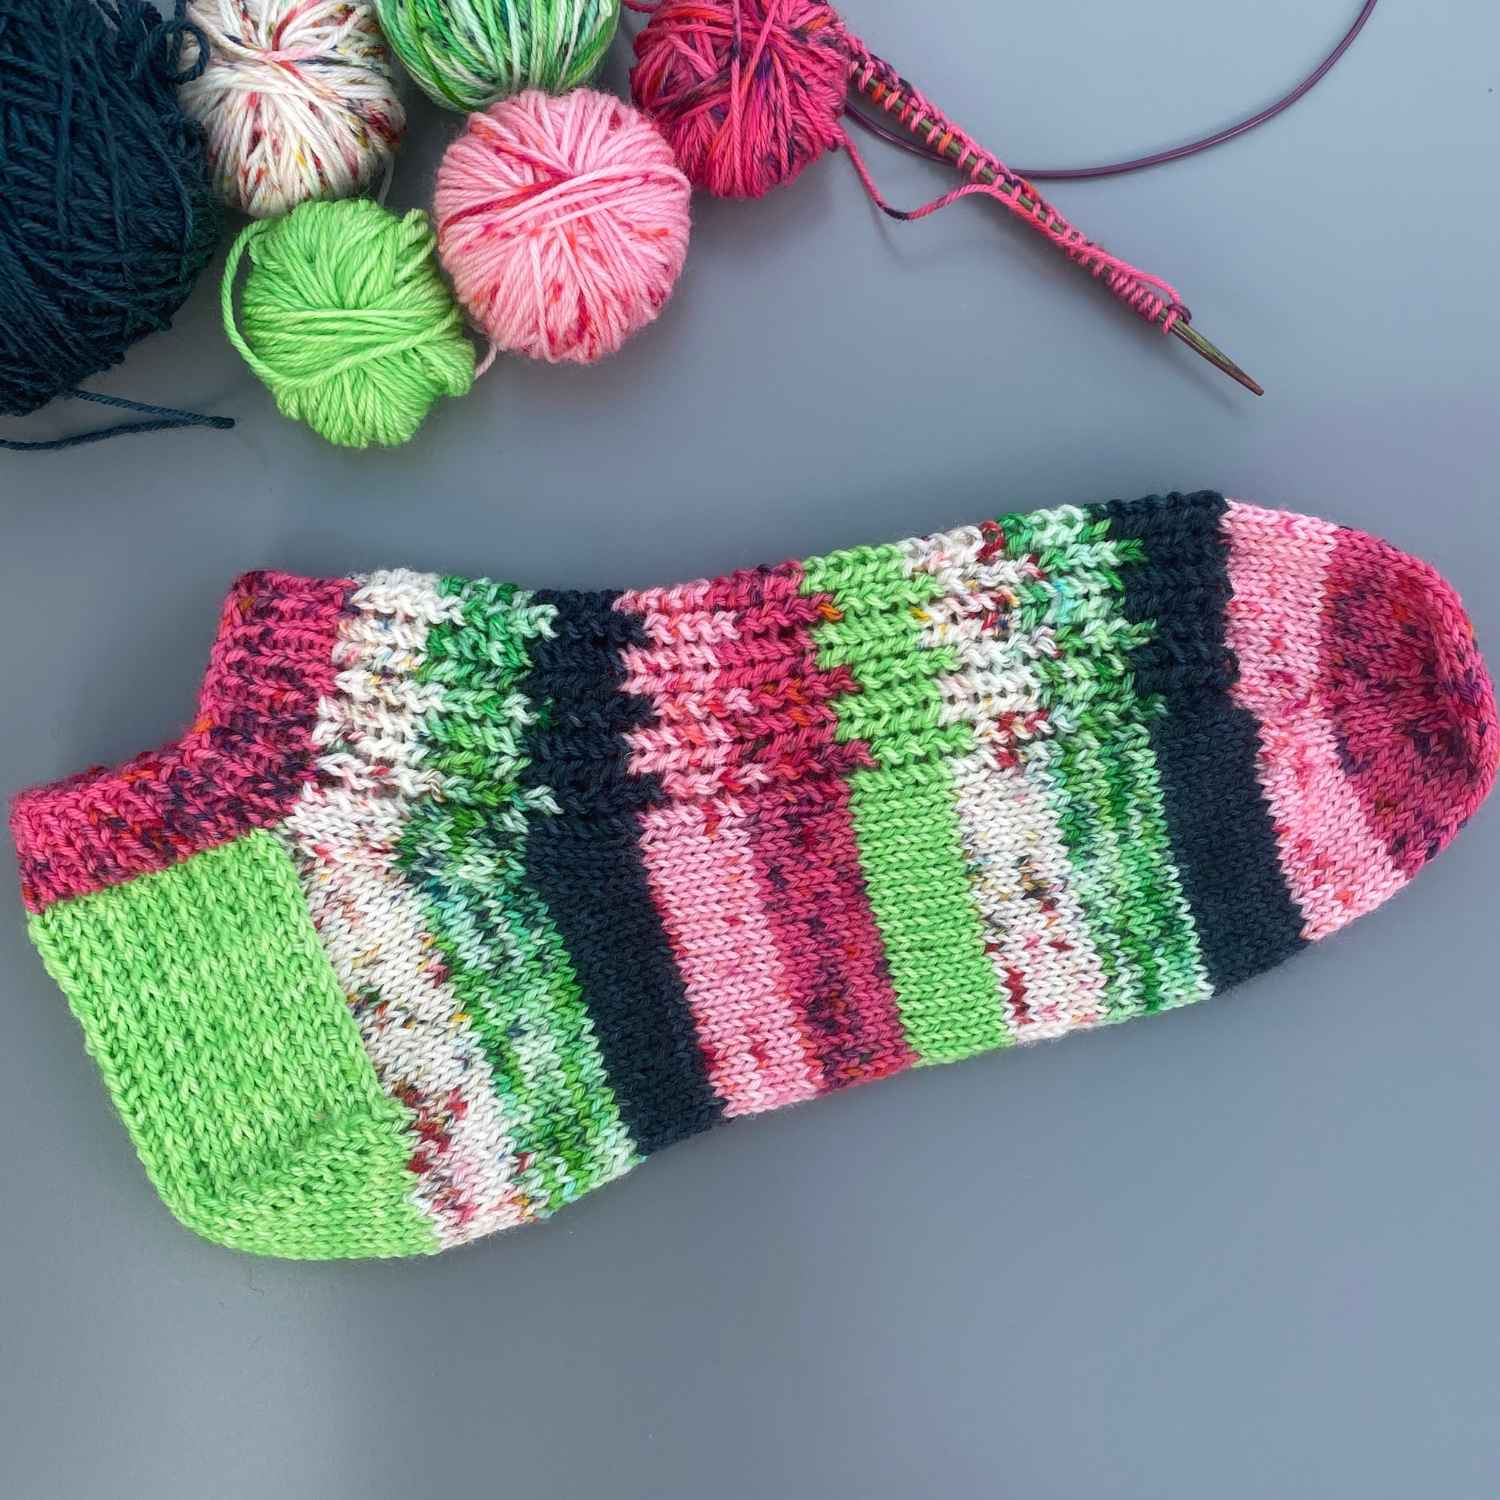
My free sock knitting pattern is perfect if you love using leftover sock yarn, because these scrappy shortie socks are designed to use up your yarn stash oddments. The simple 1 x 1 rib gives a good grip around the ankle, and the pretty stitch pattern is easy to remember.
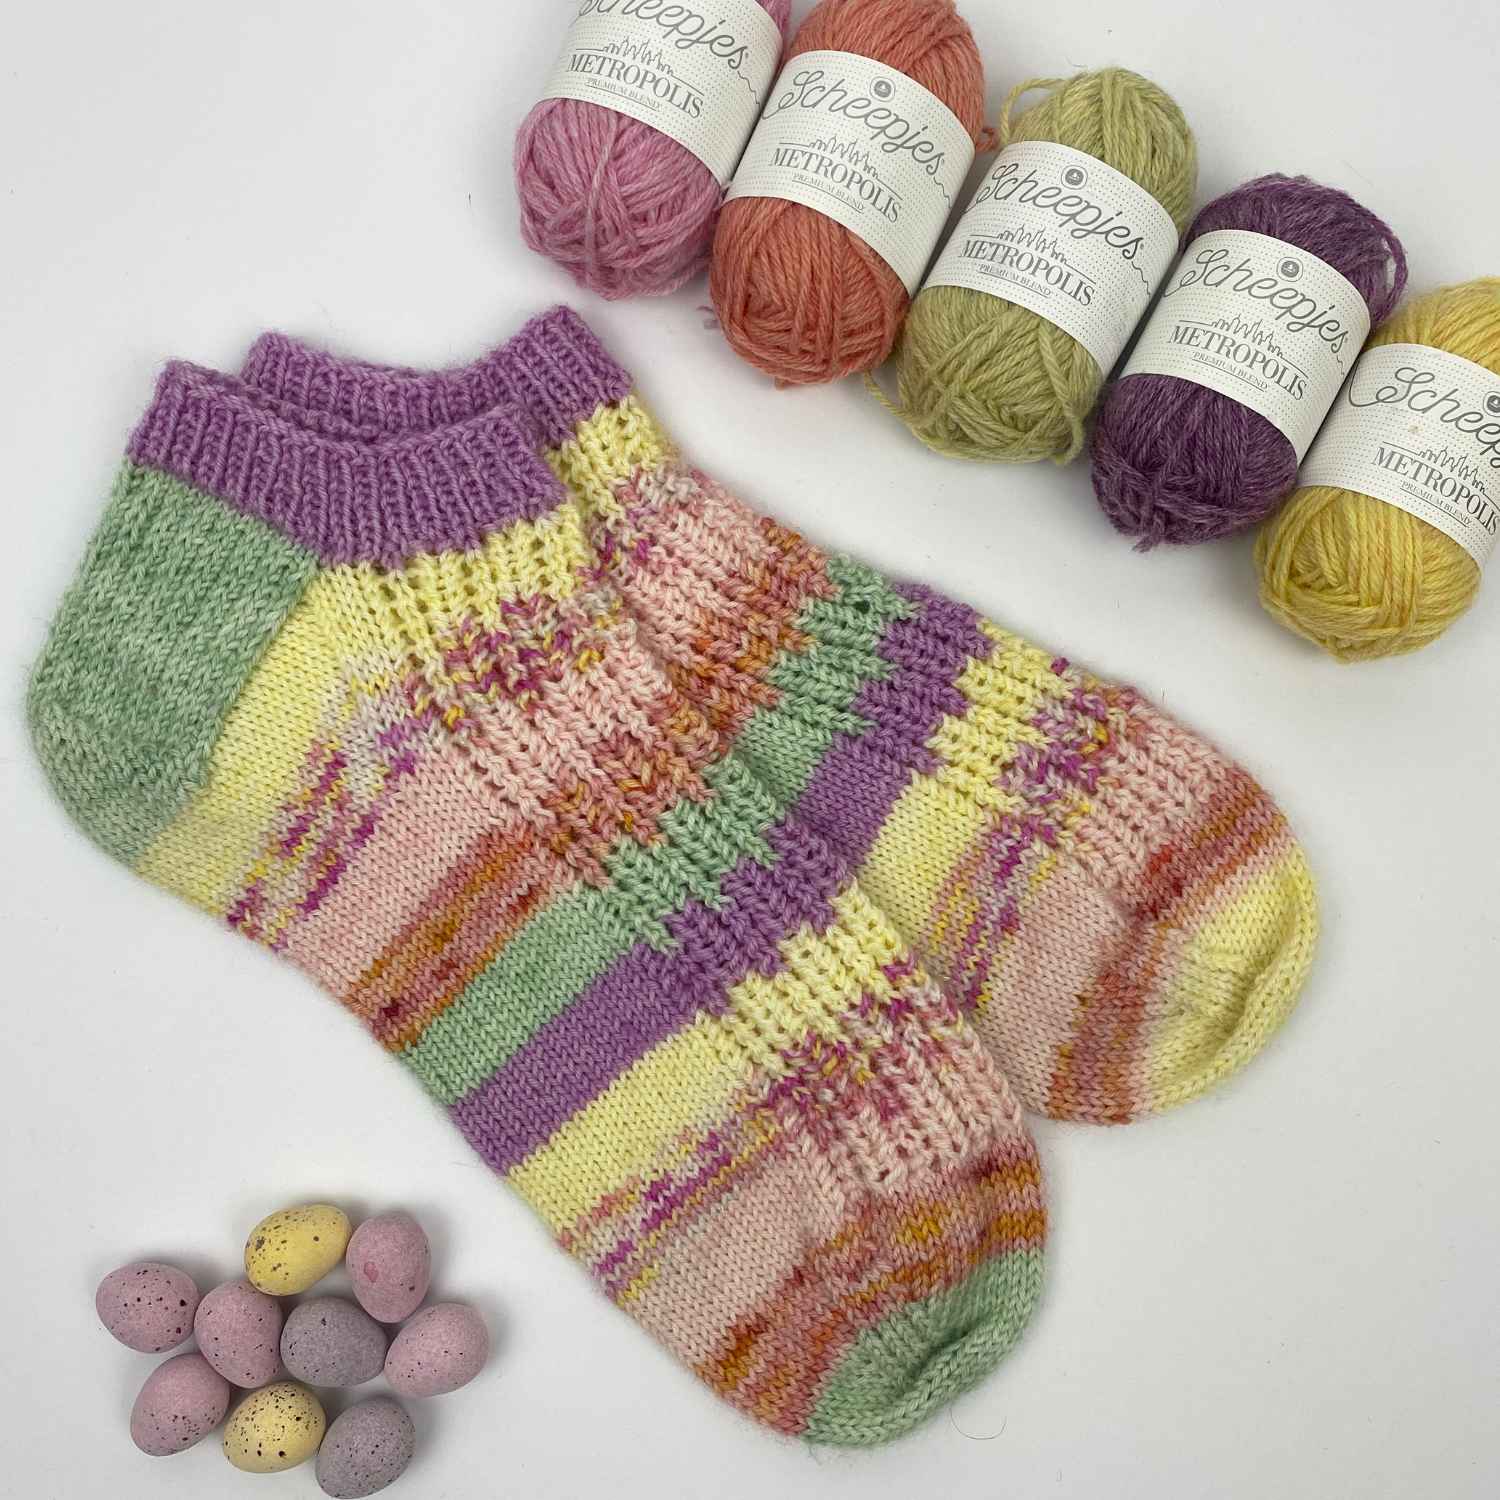
You can use small leftover balls from previous projects, or partial skeins that are too good to waste. You can even use one colour throughout, or mix and match colourful scraps to make each pair truly unique. I used colours that reminded me of Refresher Sweets from my childhood, so they bring back lovely memories when I'm wearing them.
The sock pattern covers three sizes, making them ideal for gifting or knitting for yourself. If you're ready to get started, go and grab your stash yarn oddments and let's get knitting.
Why You’ll Love This Free Sock Knitting Pattern
- Perfect for scraps and self-striping yarns too.
- Simple 1 x 1 rib – so you get a good grip around the ankle.
- The pretty stitch pattern is easy to memorise.
- Great TV or travel project, because socks are very portable.
- Three sizes included.
- Because the stitch pattern is simple, it lets your yarn do the talking.
Level of Difficulty and Techniques Used
Easy, for a confident sock knitter: You need to be comfortable with:
- Knit and Purl stitches.
- Knitting in the round.
- Simple decreasing.
- Picking up stitches.
- Grafting stitches to close toe (Kitchener Stitch).
- Changing yarn colour.
How To Get Your Free Sock Knitting Pattern
Find the full pattern instructions written out below. You don’t need to sign up or log in because it’s FREE right here on the blog.
Buy the Premium Pattern to download and keep forever
Want to save it to your device or print it out? You can buy the ad-free PDF version to use over and over again. There are lots of helpful images in the paid-for version too.
- Buy on Etsy: Shorty Sock Knitting Pattern on Etsy
- Buy on Ravelry: Shorty Sock Knitting Pattern on Ravelry
Copyright
Please read the copyright terms, which apply globally, before using or downloading your pattern:
The contents of this page, including the pattern instructions and images, are published under copyright to me ©Lynne Rowe 2026 under my brand Knit Crochet Create® and are for your own personal use only.
You are welcome to sell items made from this pattern for charity fundraising purposes, or to gift them to family and friends, but selling small numbers for profit is only allowed with permission. Email lynne@knitcrochetcreate.com.
By downloading or using this pattern, you therefore agree to these terms.
Sock Knitting Pattern Information
You Will Need:
Yarn
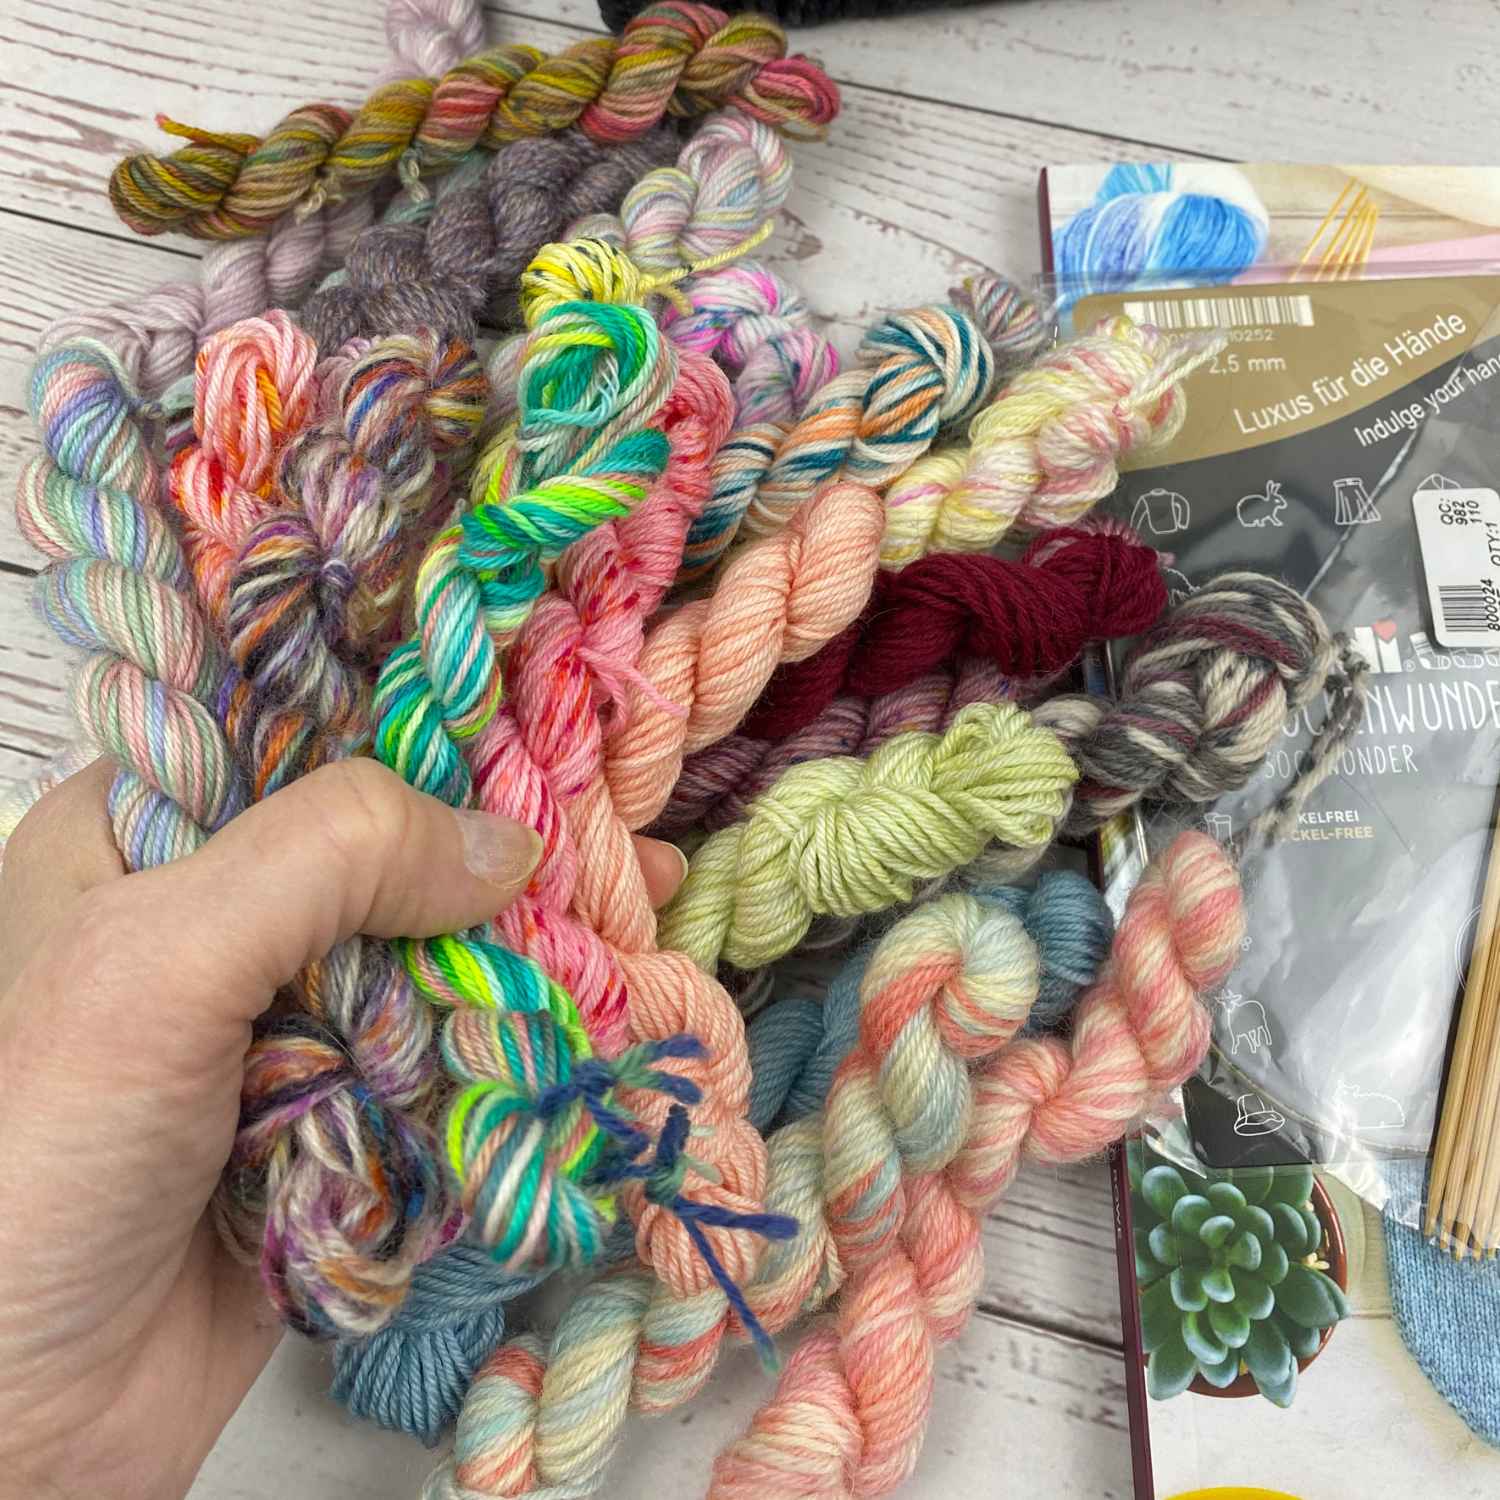
4-ply (fingering weight) sock yarn oddments in the following quantities. These vary, depending on which option you choose. You can use any combination of leftovers, from a variegated, speckled, or self-striping yarn, and have so much fun turning your leftovers into scrappy socks.
- OPTION 1: 8-round stripes:
- 5 x 10g mini skeins or 10g leftovers.
- 1 x 20g mini skein or leftovers of 4ply sock yarn (also used for the heels).
- I used a variety of left over sock yarns as follows:
- Colour 1: Lilac (10g)
- Colour 2: Pale Green (20g)
- Colour 3: Lemon (10g)
- Colour 4: Variegated Pink/Yellow (10g)
- Colour 5: Apricot (10g)
- Colour 6: Variegated Orange (10g)
- OPTION 2: Single colour with contrast heels and toes:
- Colour 1 = 50g.
- Colour 2 = 20g for heels and toes. Alternatively, use 2 x 10g of 4ply sock yarn (10g of one colour for heels and 10g of different colour for toes).
You Will Also Need
- Set of 4 or 5 double pointed needles (DPNs) in size 2.5mm (or size needed to achieve correct tension).
- Or use your preferred needles for knitting in the round. These could be short circulars, magic loop or flexi trios.
- If using magic loop method, you will also need 2 x 2.5mm DPNs for the heel.
- 3 stitch markers; wool needle; measuring tape or ruler.
- Optional wool wash and a towel for blocking.
Sock Knitting Pattern: Gauge or Tension
Before blocking: 32 sts and 44 rows to 10 x 10cm (4 x 4in) over stocking stitch (stockinette), knitted in the round, using 2.5mm needles (or 8 sts per inch).
Sock Knitting Pattern: Finished Sizes
- To fit Adult foot Small (Medium) (Large), written as S (M) (L).
- Actual foot circumference: 20 (21) (22.25)cm (or 8 (8¼) (8¾)in).
- Finished foot circumference: 19 (20) (21.5)cm (or 7½ (8) (8½)in).
- Note: Finished socks have a small amount of negative ease so they are slightly smaller than actual foot circumference because they will stretch to fit.
FOOT LENGTH: Foot length is adjustable, because socks can be made to fit any length of foot. As a reference guide, generic shoe sizes and foot lengths are included below:
UK 1 (EU 34) = 20.5cm; UK 2 (EU 35) = 21.5cm; UK 3 (EU 36) = 22.5cm; UK 4 (EU 37) = 23cm; UK 5 (EU 38) = 24cm; UK 6 (EU 39) = 24.5cm; UK 7 (EU 40) = 25.5cm; UK 8 (EU 41) = 26.5cm; UK 9 (EU 42) = 27cm; UK 10 (EU 43) = 28cm; UK 11 (EU 44) = 28.5cm.
Sock Knitting Pattern: Abbreviations Used
- BOR = beginning of round
- DPN(s) = double-pointed needle(s)
- K = knit
- K2tog = knit 2 sts together (to decrease 1 st)
- P = purl
- PM = place marker
- P2tog = purl 2 sts together (to decrease 1 st)
- SKPO = slip next st onto right-hand needle knitwise, k next st, lift slipped st over knitted st (to decrease 1 st)
- Sl1P = slip 1 st purlwise
- Sl1K = slip 1 st knitwise
- St(s) = stitch(es)
- Wyib = with yarn at back of work
- Wyif = with yarn in front of work
- YO = yarn over (also known as yarn round needle)
- [ ] = work instructions within brackets as stated
FRONT PANEL STITCH PATTERN FOR EACH SIZE
- Choose the correct size and follow this when instructed in the full pattern.
- This stitch pattern is worked across half of your stitches, for the top half of your sock.
- The stitch pattern is slightly different for each size, due to the different stitch counts.
Small (S) Stitch Pattern – worked over 30 sts:
- Row 1: [K2tog, YO, K1, YO, SKPO] 6 times.
- Row 2: K all sts.
- Repeat these 2 rounds as instructed in the pattern.
Medium (M) Stitch Pattern – worked over 32 sts:
- Row 1: K1, [K2tog, YO, K1, YO, SKPO] 6 times, K1.
- Row 2: K all sts.
- Repeat these 2 rounds as instructed in the pattern.
Large (L) Stitch Pattern – worked over 34 sts:
- Row 1: K2, [K2tog, YO, K1, YO, SKPO] 6 times, K2.
- Row 2: K all sts.
- Repeat these 2 rounds as instructed in the pattern.
FREE SOCK KNITTING PATTERN BEGINS
RIB (CUFF)
With Colour 1 cast on 60 (64) (68) sts onto your preferred needles for knitting in the round. Taking care not to twist your stitches, join to work in the round. Place a stitch marker to mark the start of the round then slip this marker on each round.
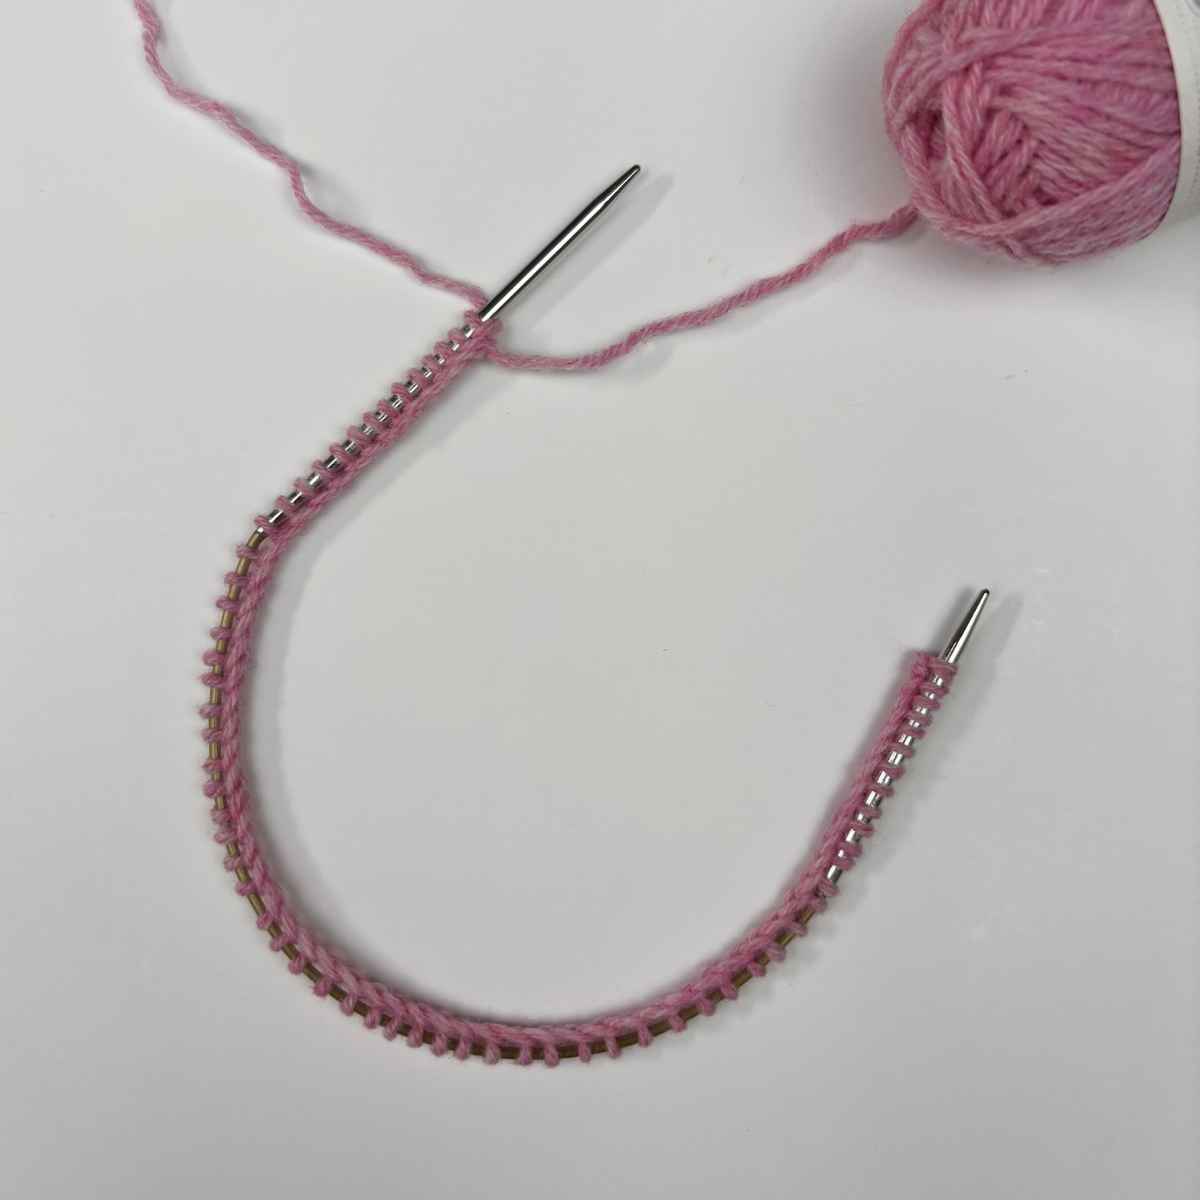
- Round 1 (right side): [K1, P1] to the end.
- Round 1 creates 1x1 rib pattern.
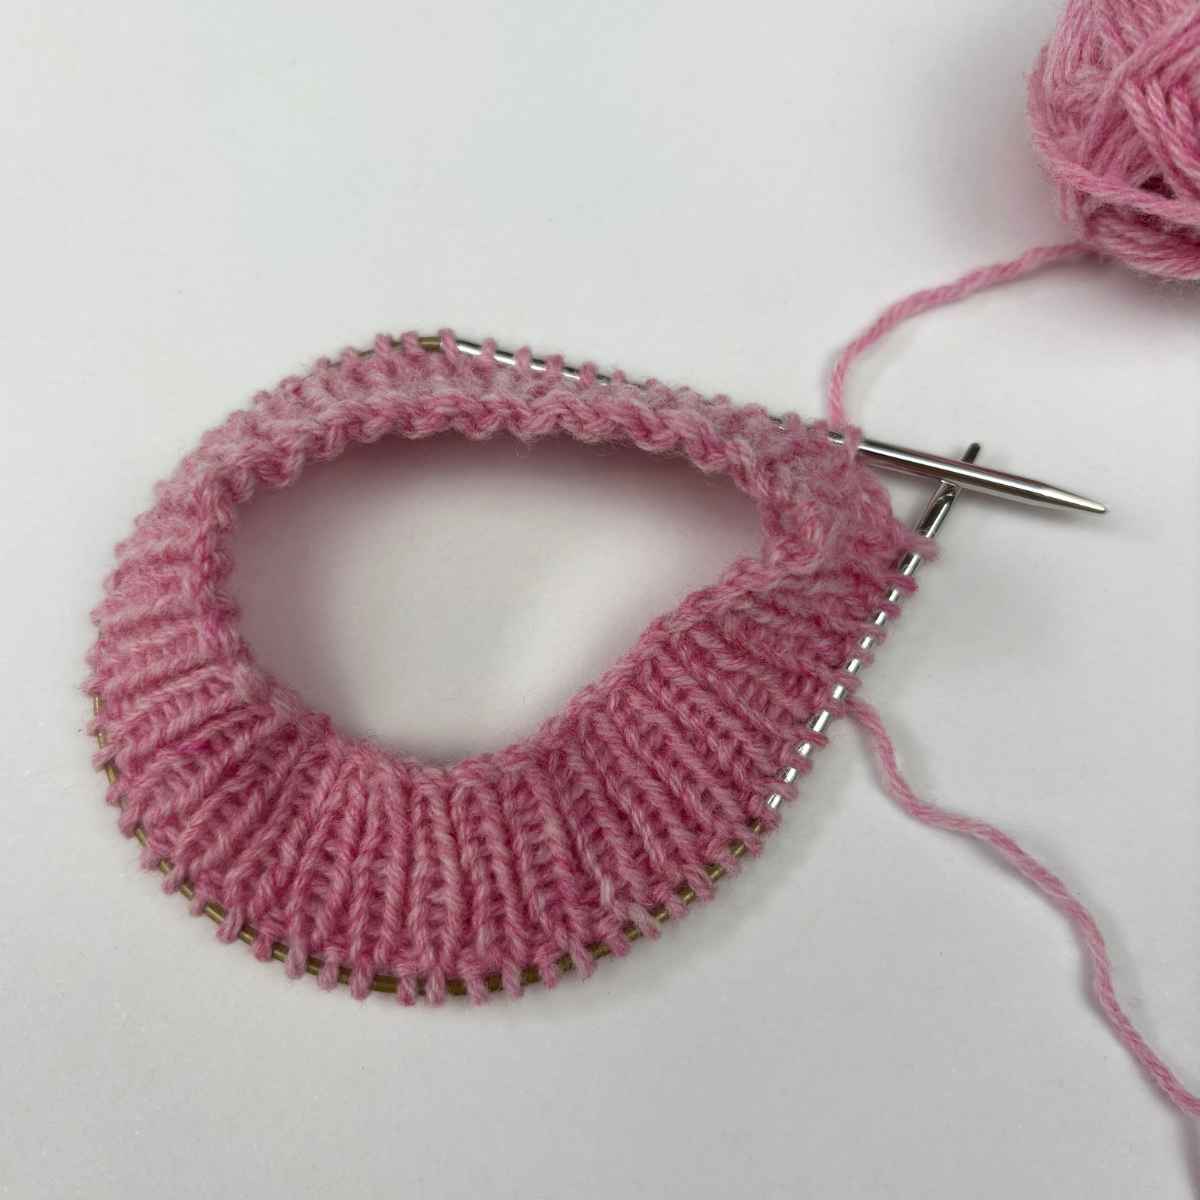
- Rounds 2-9: Repeat Round 1, a further 8 times. Remove stitch marker. Rib is complete.
HEEL FLAP
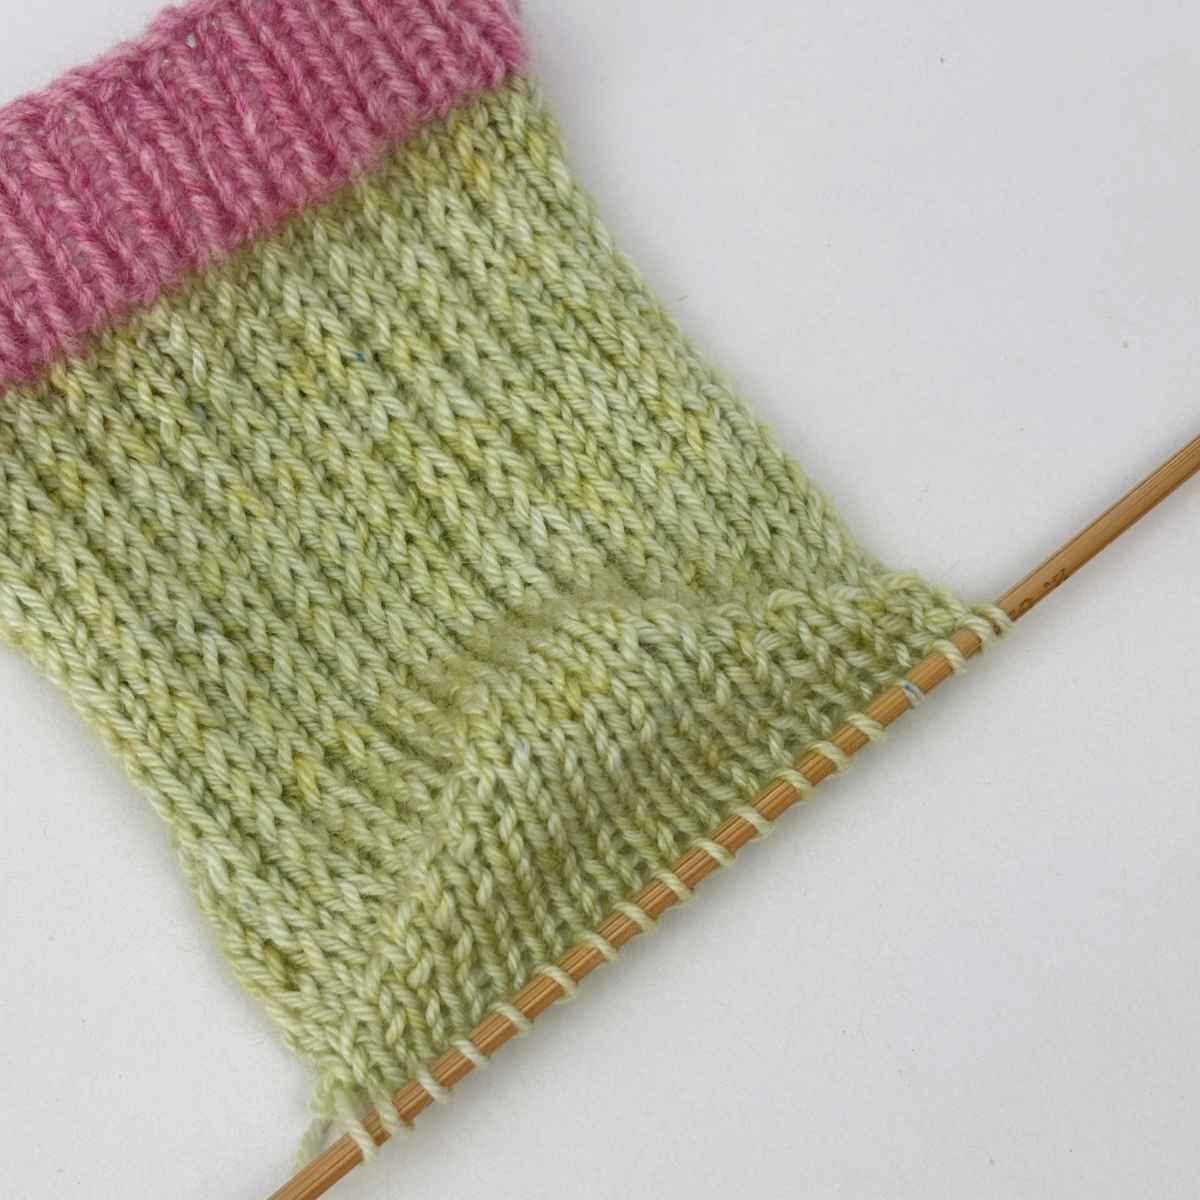
Change to Colour 2 (heel colour) and use 2 DPNs to knit back and forth in rows on first half of your stitches only. Cut Colour 1, leaving a long tail to weave in later.
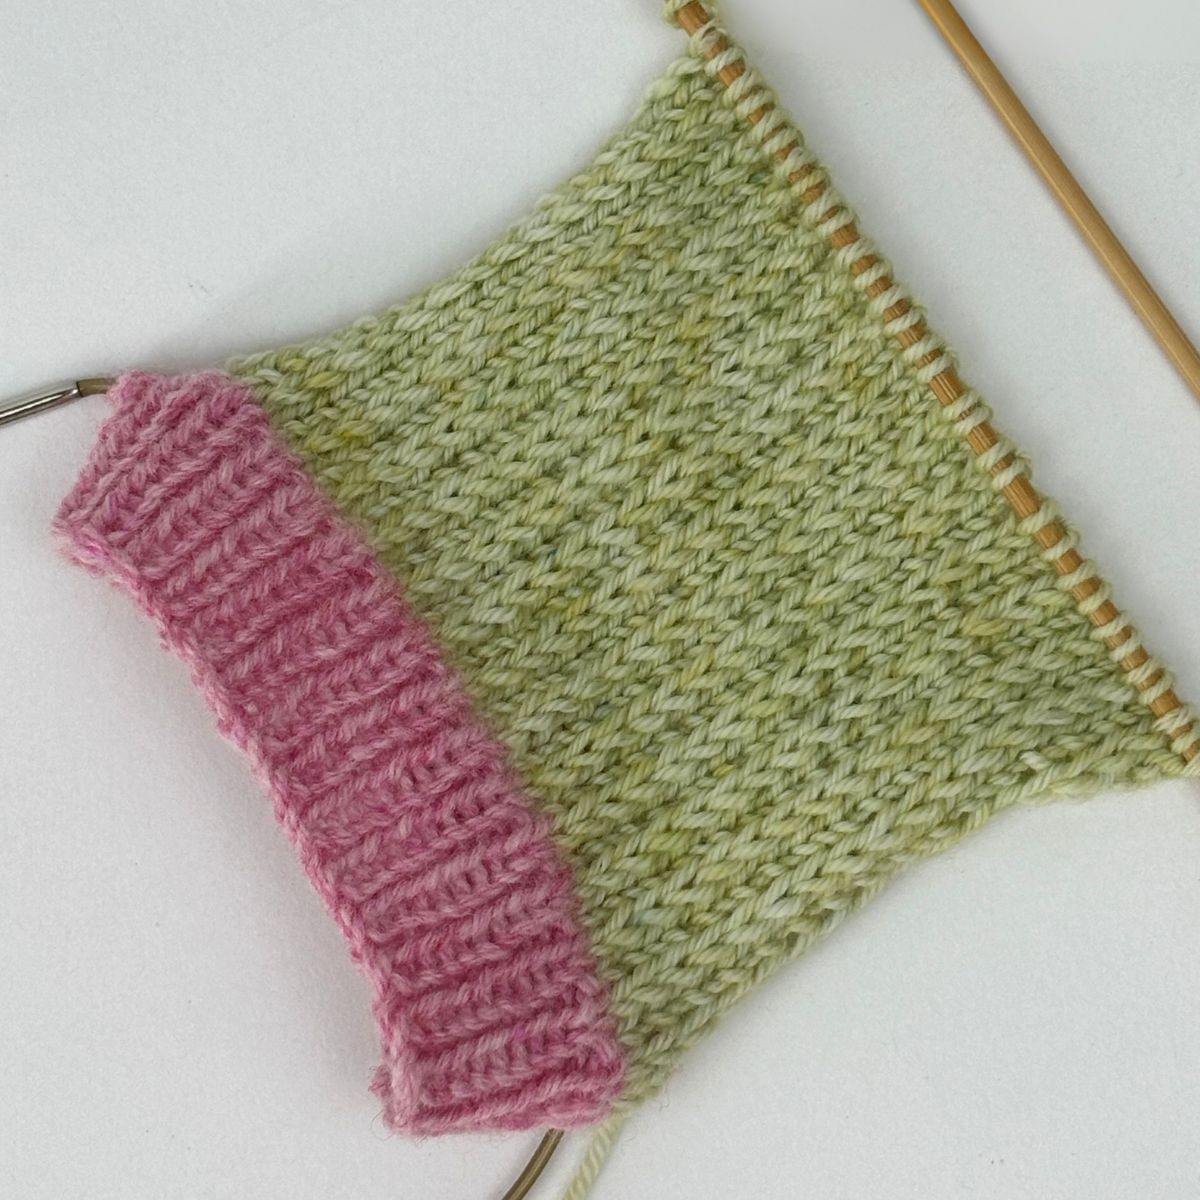
- Row 1: K30 (32) (34) sts, then turn.
- Row 2: Sl1P wyif, p29 (31) (33) sts, turn. (30 (32) (34) sts).
- Row 3 (right side): Sl1K wyib, K1, *Sl1P wyib, K1; repeat from * to the end, then turn.
- Row 4 (wrong side): Sl1P wyif, P to the end, then turn.
- Repeat Rows 3 and 4 a further 14 (15) (16) times.
HEEL TURN (to shape heel)
- Row 1: Sl1K wyib, K16 (17) (18), SKPO, K1, then turn (leaving remaining sts unworked).
- Row 2: Sl1P wyif, P5, P2tog, P1, then turn (leaving remaining sts unworked).
- Row 3: Sl1K wyib, K6, SKPO, K1, then turn.
- Row 4: Sl1P wyif, P7, P2tog, P1, then turn.
- Pattern is set for the heel shaping, which is to work one extra stitch before the decrease on each following row.
- Therefore the next two rows will be Row 5: Sl1K, K8, SKPO, K1. Row 6: Sl1P, P9, P2tog, P1.
- Continue in this way until all heel stitches have been used up.
- Note: On the last 2 rows for size (M) you will miss off the K1 or P1 at the end of each row, thus ending these rows with the SKPO, and the P2tog. (18 (18) (20) sts remain).
GUSSET
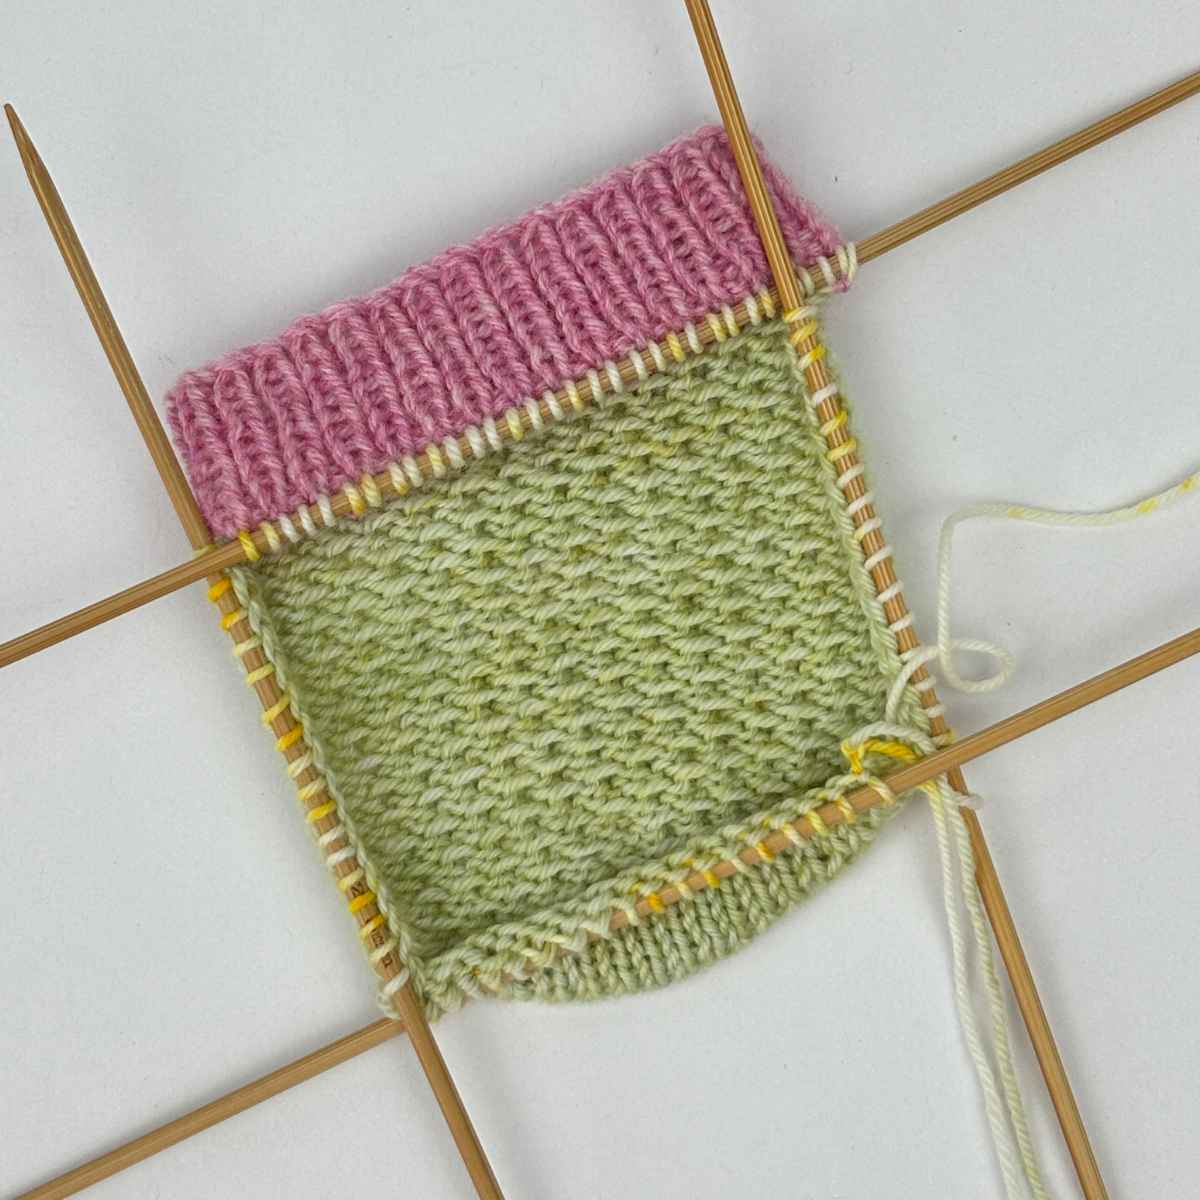
- Pick-up round: Change to Colour 3 (or back to Colour 1 for single-colour socks) and K across the 18 (18) (20) heel sts, pick up and knit 16 (17) (18) sts along the first edge of the heel flap, PM 1, K across next 30 (32) (34) sts, PM 2, pick up and knit 16 (17) (18) sts along next edge of heel flap. (80 (84) (90) sts).
- It’s OK to pick up an extra stitch if needed - just make sure to pick up same number on both sides of heel flap.
- Place marker for BOR. The start of the round is now at the right-hand side of the heel base.
- This is the perfect place for colour changes, because it leaves the sole smooth, without any lumpy bumpy bits from the colour changes.
GUSSET SHAPING
You will now use the relevant STITCH PATTERN for your size, see FRONT PANEL STITCH PATTERN above.
- Round 1: K to 3 sts before marker 1, K2tog, K1, slip marker 1, work pattern Row 1, slip marker 2, K1, SKPO, K to end of round, slip BOR marker. (2 sts decreased).
- Round 2: K to marker 1, slip marker 1, work pattern Row 2 to next marker, slip marker 2, K to end of round, slip BOR marker.
- Repeat last 2 rounds, while maintaining 8-round stripes for Option 1, until 60 (64) (68) sts remain, ending after a Round 2. Keep the stitch markers in place as you work the foot.
- Use your preferred colour-change method when switching colours.
- To prevent colour jog: K1 into the stitch below on third round of colour to help minimise visual jog.
FOOT
- Next round: K to marker 1, slip marker, work pattern Row 1 over next 30 (32) (34) sts, slip marker 2, then K to end of round. (60 (64) (68) sts).
- Next round: K to marker 1, work pattern Row 2 over next 30 (32) (34) sts, slip marker 2, then K to end of round.
- Repeat last 2 rounds, while maintaining 8-round stripes for Option 1, until sock measures approximately 4.5 (5) (5)cm (1¾ (2) (2)in) less than the desired foot length (see generic foot length table, page 4) ending after a Pattern Row 2.
- Next, remove the BOR marker, leaving only the gusset markers 1 and 2, then knit to marker 1. This is the new start of the round.
TOE
- Maintain stripes while following instructions below. When nearing the end of the toe, continue in same colour to finish. Or you can change to toe colour now, to knit all of toe in a single colour.
- Round 1: [K1, SKPO, K to 3 sts before next marker, K2tog, K1] twice. (56 (60) (64) sts).
- Round 2: K all sts and slip both markers.
- Row 3: As Round 2.
- Repeat Rows 1-3 once more. (52 (56) (60) sts).
- Next row: [K1, SKPO, K to 3 sts before next marker, K2tog, K1] twice. (48 (52) (56) sts).
- Next row: K all sts and slip both markers.
- Repeat last 2 rows until 22 (24) (26) sts remain (11 (12) (13) sts on top of sock and 11 (12) (13) sts on bottom of sock).
TO FINISH
- Divide sts over 2 DPNS and use Kitchener stitch to graft toes together. Weave all ends into WS and trim. Block your socks if desired. Use a spray water bottle to wet your socks, then lay them flat to dry.
- I don’t recommend sock blockers as they can cause the cuffs to stretch too wide.
FREE SOCK KNITTING PATTERN ENDS
What Next?
If you enjoyed my free sock knitting pattern, you might also like my similar free patterns that also use yarn stash oddments.
Share your makes from my Free Sock Knitting Pattern
If you love this pattern, then I’d love to see your finished projects! Tag me on Instagram [@knitcrochetcreate] so I can admire your colour combinations and see what you make with them.
Let's keep in touch!
I'd love to chat more.
Sign up for my newsletter and receive a weekly dose of crafting inspiration, featuring the latest trends, tips, and projects to fuel your creativity.