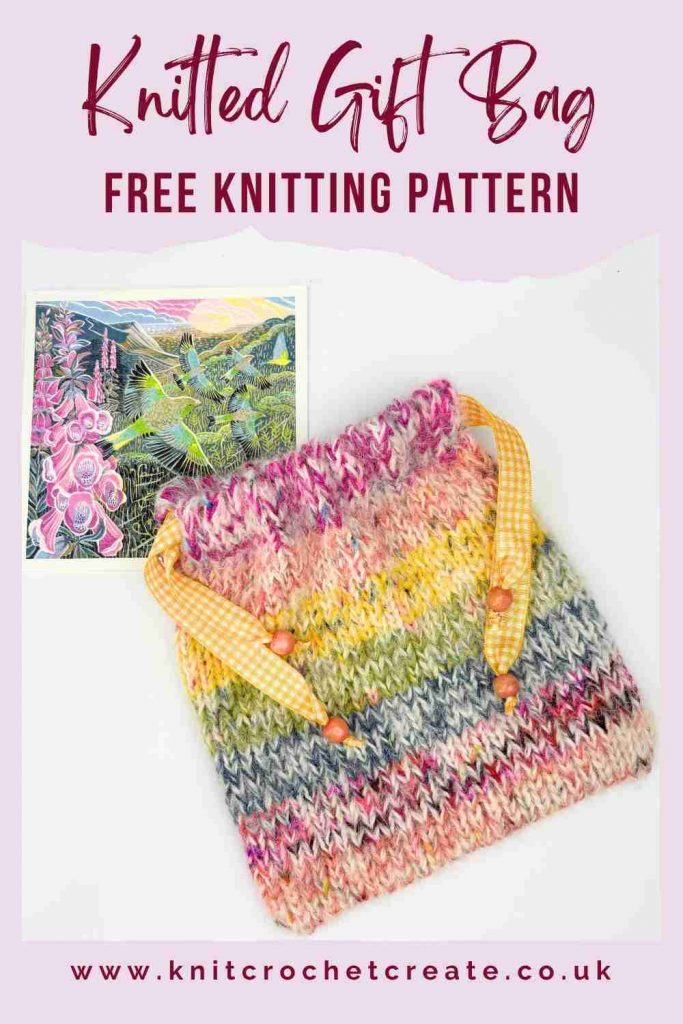
Knitted Gift Bag Pattern (Free)
My free knitted gift bag pattern is a simple and practical project, which is perfect for using up oddments of aran-weight yarn.
It’s a quick make that’s ideal for small gifts, and a lovely way to add a handmade touch to your wrapping. Whether you’re making for birthdays, special occasions, or 'just because', this knitted gift bag is both useful and reusable.
You can use leftover aran yarn, or try holding two strands of 4ply together with a strand of mohair or brushed alpaca, for a soft, slightly fluffy finish.
This knitted gift bag pattern includes two sizes (15cm and 20cm wide), and features a channel at the top for threading a ribbon, so you can close the bag neatly.
Skill Level
Easy – suitable for adventurous beginners. You’ll need to know how to:
- Knit.
- Purl.
- Work a simple yarn over.
- Knit 2 stitches together.
- Knit in the round, or knit flat in rows.
Why You’ll Love This Knitted Gift Bag Pattern
- Perfect for stash-busting
This knitted gift bag pattern is ideal for using up small amounts of aran yarn or combining lighter-weight yarns from your stash. - Quick and satisfying project
A great choice when you want a fast make that still feels useful and thoughtful. - Two practical sizes
The pattern includes 15cm and 20cm width options, therefore making it suitable for a range of smaller gifts. - Flexible yarn choices
Use aran yarn, or follow the alternative method with multiple strands held together. - Reusable and eco-friendly
A knitted gift bag can be used again and again, making it a more sustainable option than paper wrapping.

Knitted Gift Bag Pattern FAQs
- Can I use different yarn weights for this knitted gift bag pattern?
Yes. This pattern is very flexible. Just aim for a firm fabric so the finished bag keeps its shape. Holding strands together works well, because it creates a strong fibre. - Do I have to use mohair?
No. The mohair adds a soft halo, but you can use multiple strands of 4 ply or any yarn you have instead. You can also use brushed alpaca. - Can I knit this gift bag flat?
Yes, you can adapt the knitted gift bag pattern to be worked flat and seam it afterwards. Full instructions are included below. - What can I use instead of ribbon?
You can use cord, I-cord, a crochet chain, or even a strip of fabric. - Is this knitted gift bag pattern suitable for beginners?
Yes, if you’re comfortable with basic stitches. It’s a simple project with practical results, because you can create a useful project with easy stitches.
Yarn Stash Tip
For a unique look, try holding different colours together when following this knitted gift bag pattern. It creates a lovely marled effect and also helps you use up even the smallest leftovers.
How To Get Your Knitted Gift Bag Pattern
Find the full pattern instructions written out below. You don’t need to sign up or log in because it’s free right here on the blog.
Copyright
Please read the copyright terms, which apply globally, before using or downloading your pattern:
The contents of this page, including the pattern instructions and images, are published under copyright to me ©Lynne Rowe 2025 under my brand Knit Crochet Create® and are for your own personal use only.
You are welcome to sell items made from this pattern for charity fundraising purposes, or to gift them to family and friends, but selling small numbers for profit is only allowed with permission. Please email lynne@knitcrochetcreate.com for permission.
FREE Knitted Gift Bag Pattern
Materials
- Approximately 50-80g in total of aran-weight yarn (10ply/worsted weight).
- Oddments of standard aran-weight yarn for stripes, or use a single colour throughout.
- Or try 2 strands of 4ply (sock yarn) with 1 strand of mohair or brushed alpaca, for a marled effect.
- Or try 1 stand of double knitting (8ply/light worsted) weight) with 1 strand of mohair or brushed alpaca.
- For knitting in the round: 5mm (US 8) circular needles (40cm length) or double-pointed needles (DPNs), and a pair of 5mm (US 8) straight needles.
- For knitting in rows: 5mm (US 8) straight needles.
- Extras: Wool needle; stitch holders; stitch marker; 1m of ribbon or cord; 4 small beads.
Gauge/Tension
- Standard aran-weight gauge/tension of 18 sts and 24 rows to 10 x 10cm, using 5mm needles.
- Check tension before you begin, or your bag may turn out a different size.
- If you have more than 18 sts per 10cm, try one needle size up; if you have less stitches per 10cm, try one needle size smaller.
Finished Size Of Gift Bags In Two Sizes: Small (Large)
- Approximately 15cm (20cm) [6in (8in)] wide (when flat) and 18cm (23cm) [7in (9in)] long.
Abbreviations For Stitches Used
- K = knit
- K2tog = knit 2 stitches together
- P = purl
- RS = right side
- St(s) = stitch(es)
- Stocking stitch in rows: 1 row knit, 1 row purl
- Stocking stitch in rounds: knit every round
- Yo = yarn over needle (bring yarn forward between needles and over right needle, to make 1 st)
- WS = wrong side
KNITTED GIFT BAG PATTERN BEGINS
TO KNIT IN THE ROUND
Using first colour and 5mm (US 8) straight needles, cast on 27 (35) sts.
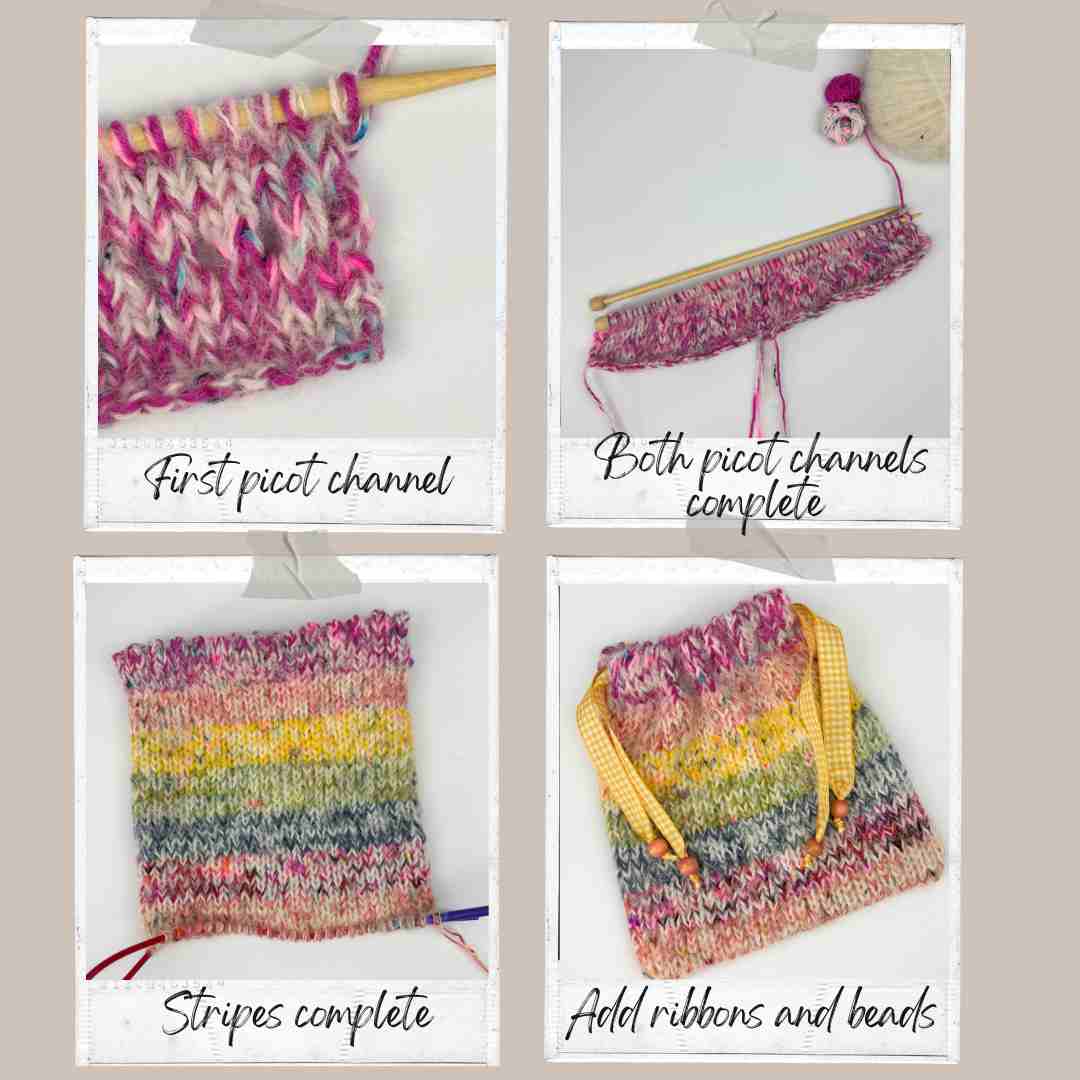
PICOT CHANNEL WORKED IN ROWS
- *Starting with a P row, work 5 rows in stocking stitch. First Row is WS.
- Next Row (picot-fold RS): K1, [Yo, K2tog] to end.
- Starting with a P row, work 5 rows in stocking stitch**.
- Cut yarn then push stitches to bottom of needle (the picot channel will be folded and stitched at the end).
- Using same colour yarn, cast on 27 (35) sts onto empty needle, then repeat from * to ** for second picot channel (do not cut yarn at end). Both pieces are now on same needle.
- Next, slide all stitches onto the 5mm (US 8) circular needle (or DPNs), with RS of both pieces facing you. (54 (70) sts)
MAIN BAG:
- With RS facing, join to start knitting in the round.
- My method of joining: Slip the first stitch on the left needle to the right needle, then with the left needle lift the second stitch on the right needle over the first st, leaving it on the left needle. This will be the first stitch of the round. Place a stitch marker on right needle to mark the start of the round, and slip the stitch marker on every round.
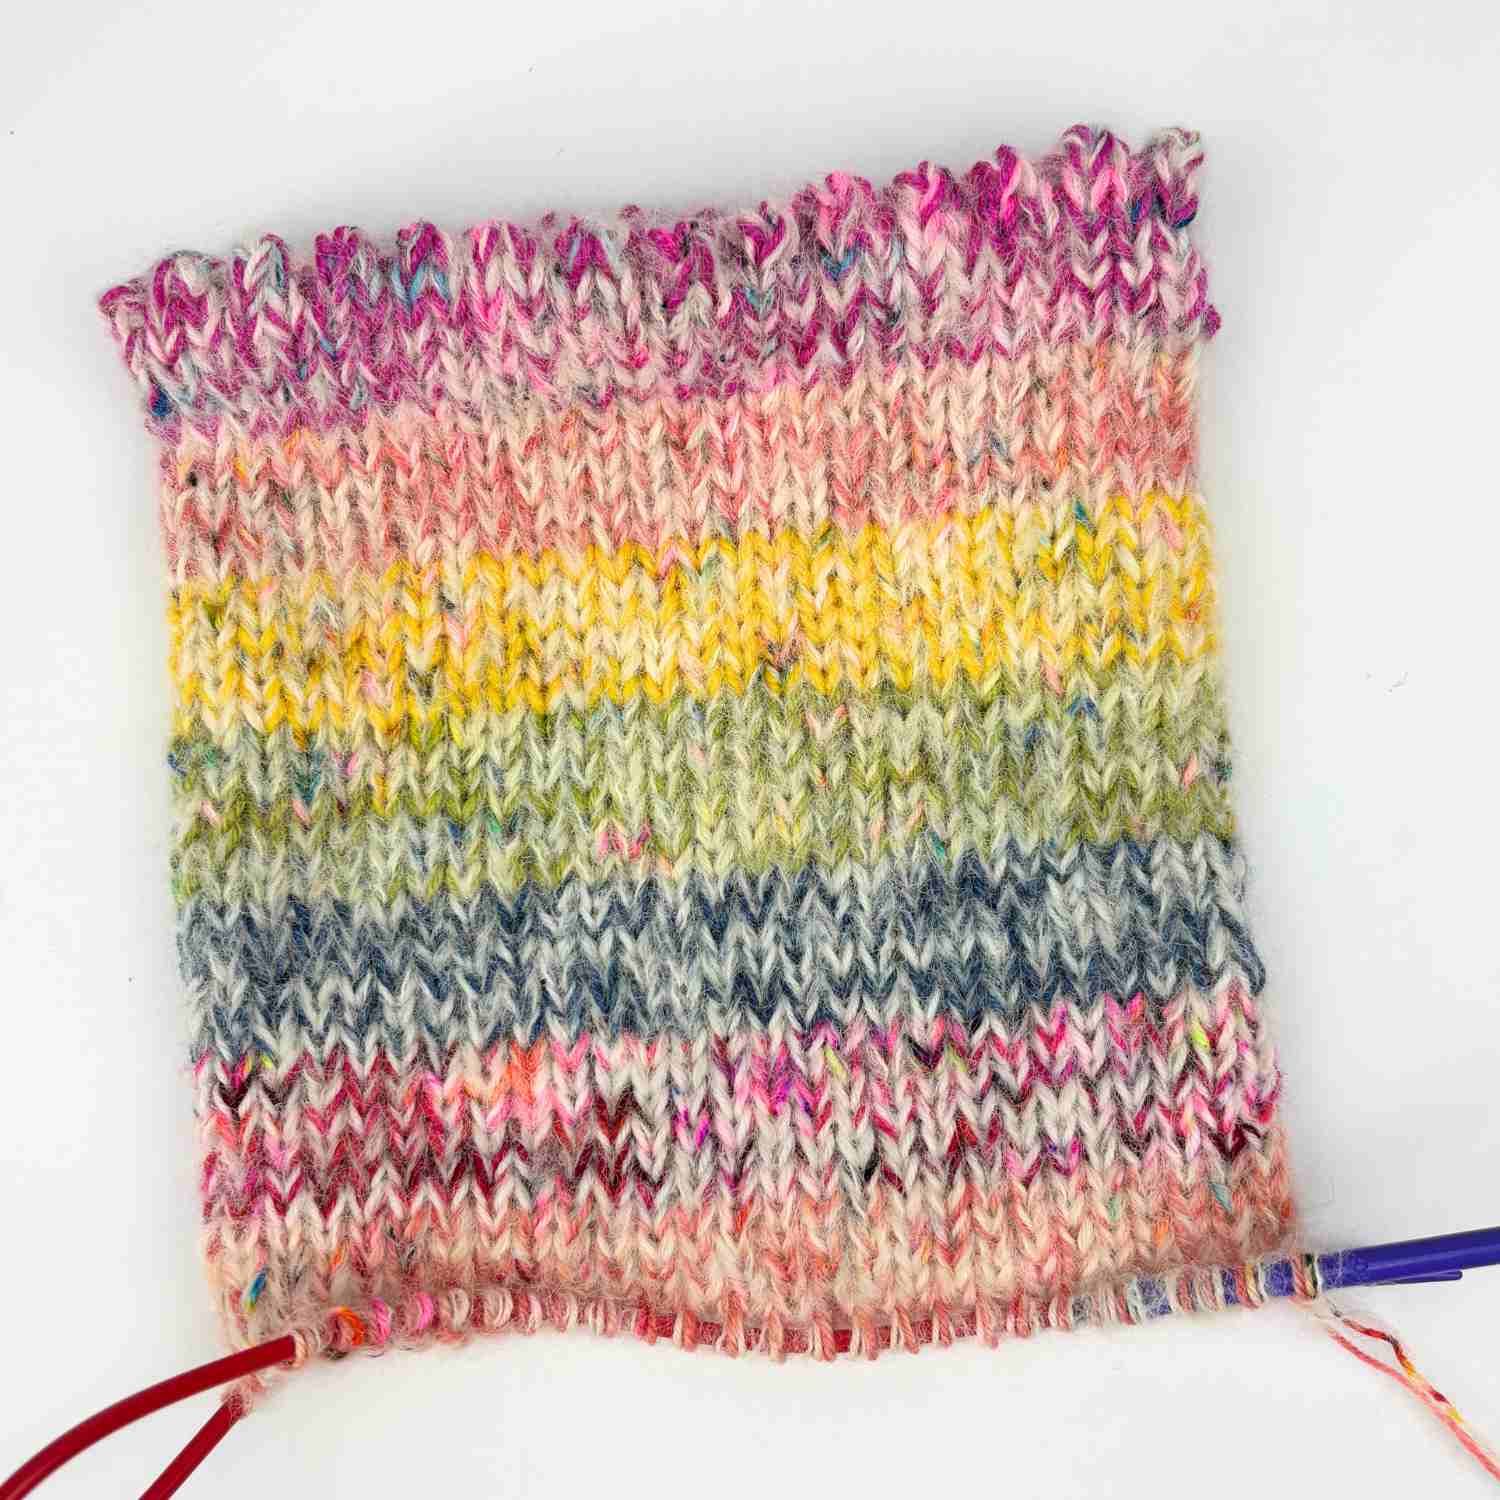
- Knit 1 round in first colour, then change colour to start working in stripes, changing colour after every 6 rounds. Continue in stocking stitch in the round, until bag measures approximately 18 (23)cm [7 (9)in] from picot-fold row, ending after a full stripe.
MAKING UP:
- Option 1: Cast off all stitches, place bag flat with side edges lining up with edges of picot channels, then sew the seam on WS, with matching yarn.
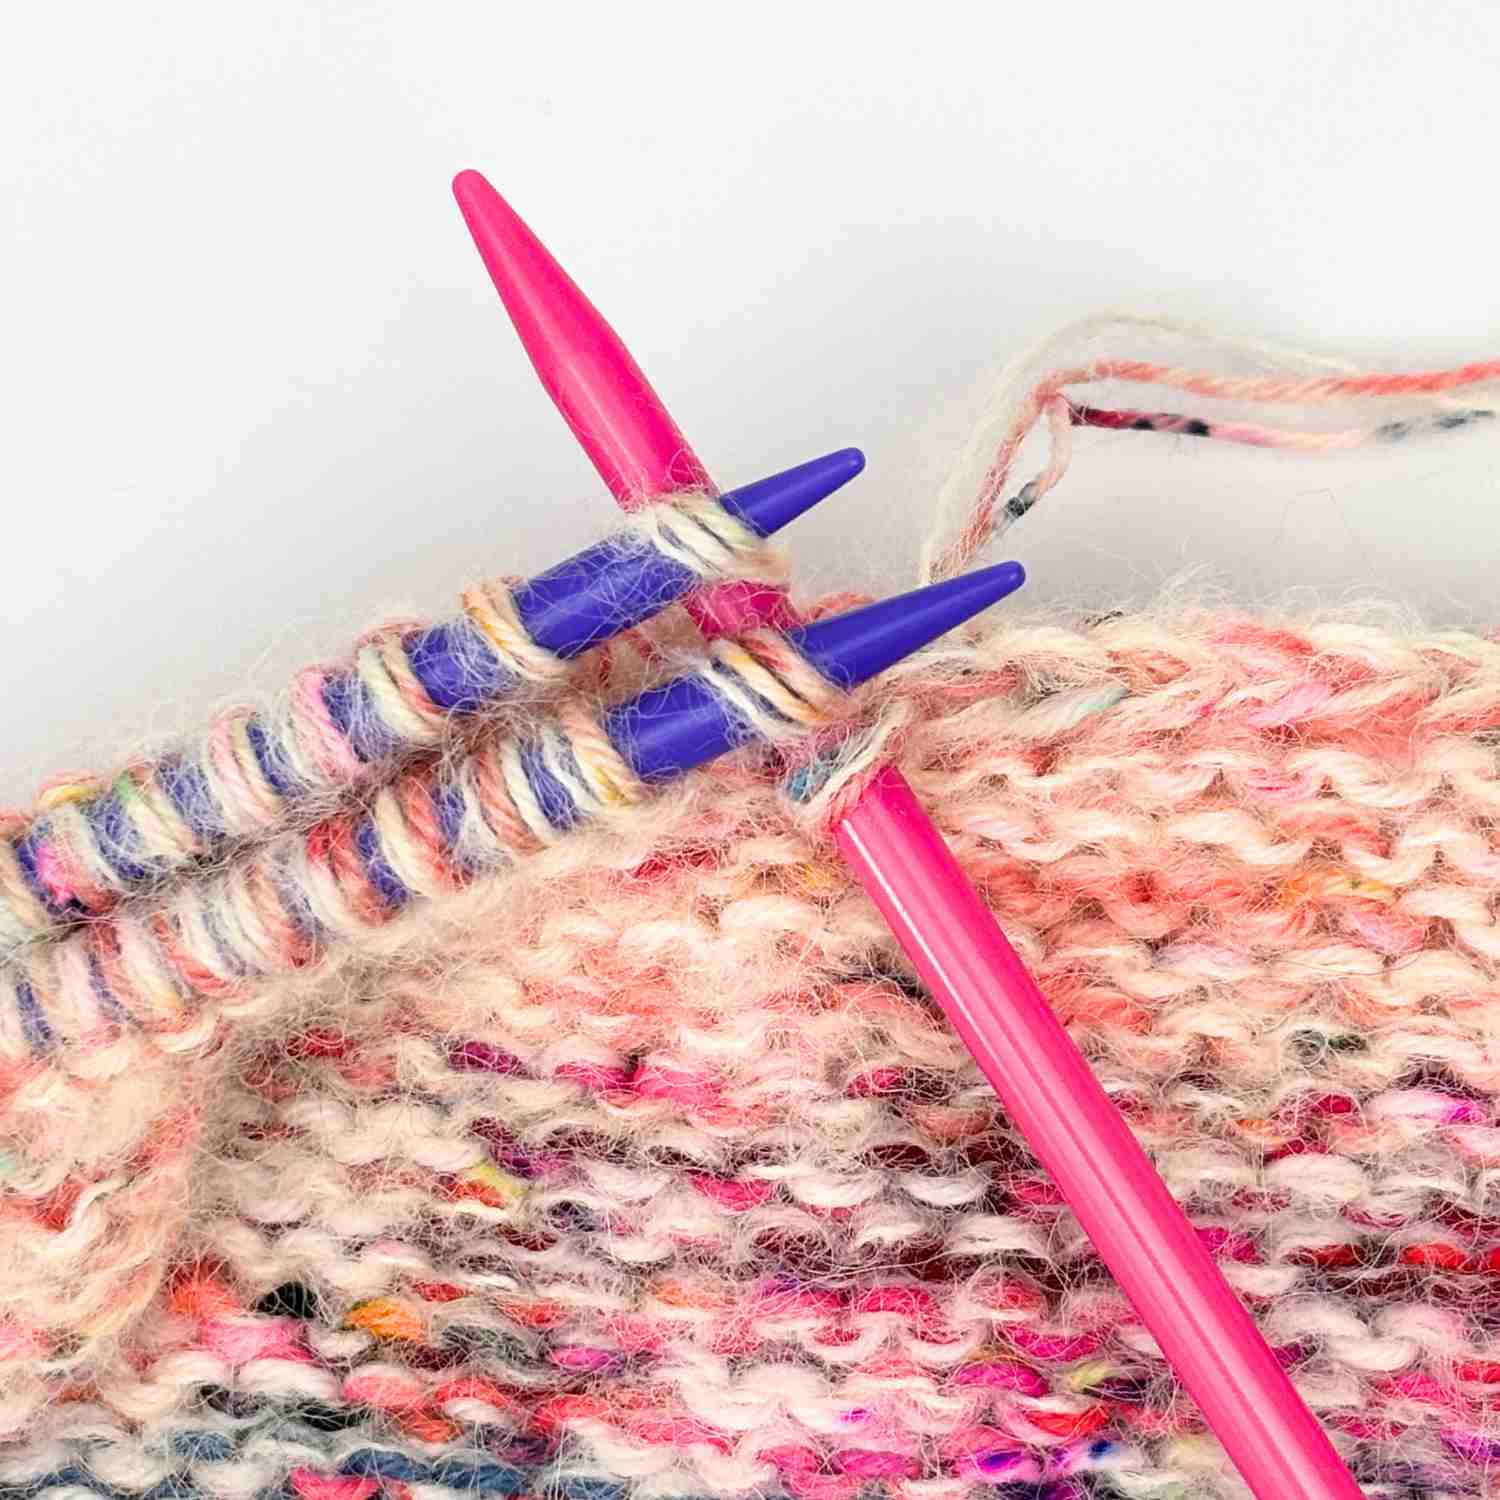
- Option 2 (three needle bind-off): Turn work inside out carefully. With side edges lining up with edges of picot channels, place needles parallel to each other and arrange half of the stitches onto each needle tip so that the stitches on each needle are lined up. With a spare 5mm straight needle work a three-needle bind off (cast off). Simply knit through both sets of stitches as you cast off (see image below).
- *** Next, fold each picot channel to the wrong side and slip stitch in place using matching yarn, leaving the ends open. Make ties as follows: Cut 2 x 45 (50)cm lengths of ribbon or cord. Tie onto a safety pin, then thread pin through one picot channel then straight through the second picot channel. Thread second length of ribbon through both channels, starting from the opposite side. Thread beads onto ends of ribbon, then tie a knot to stop beads from falling off.
TO KNIT IN ROWS: PATTERN BEGINS
- Work as given for knitting in the round instructions above, making first picot channel only, until **.
- Then, changing colour after every 6 rows if desired, continue in stocking stitch in rows, until bag measures approximately 36 (46)cm [14 (18)in] from picot-fold row ending after a P row, at the end of a full stripe. Make sure this last full stripe is your first colour (same colour as first picot).
- Next Row (picot fold RS): K1, [Yo, K2tog] to end.
- Starting with a P row, work 5 rows in stocking stitch.
- Cast off.
- Sew side seams with Mattress Stitch to bottom of picot channel rows.
- Follow Making Up instructions above, from *** to end.
What Next?
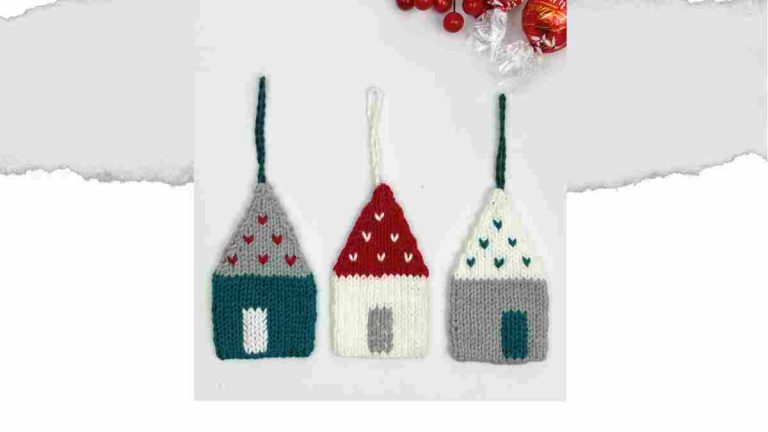
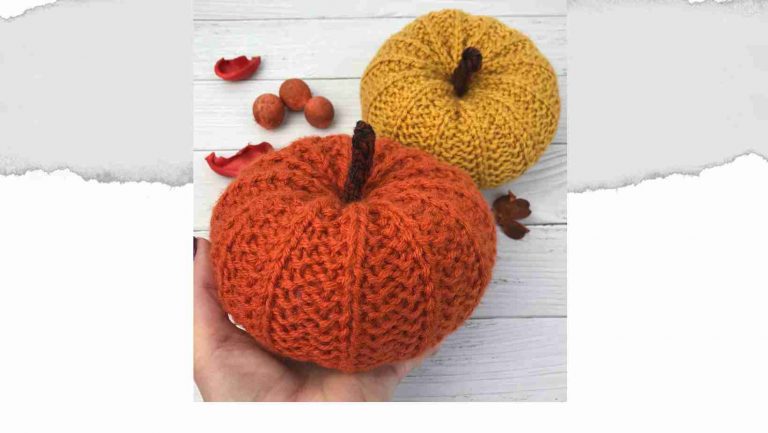
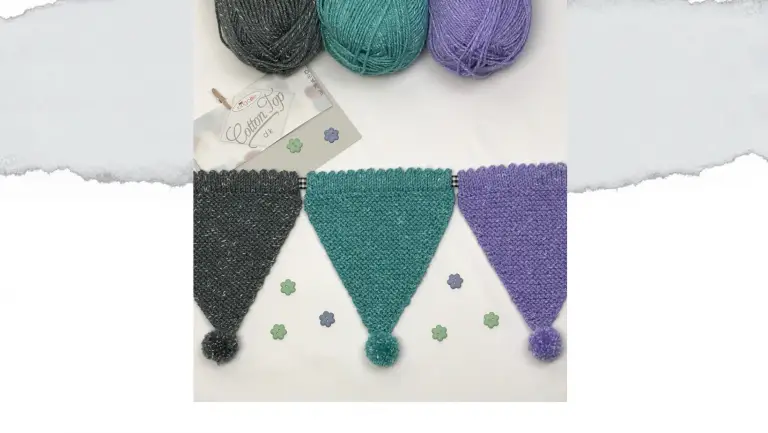
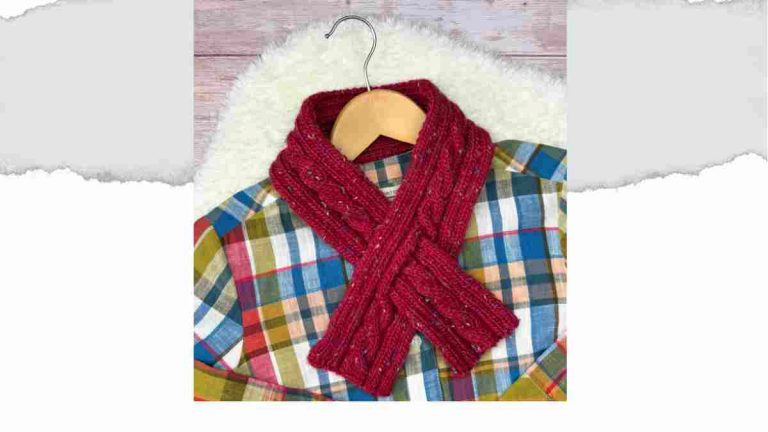
If you enjoyed this pattern, you might also like my similar free patterns that are also suitable for gifts to knit:
Share your makes from my Knitted Gift Bag Pattern
If you love this pattern, then I’d love to see your finished projects! Tag me on Instagram [@knitcrochetcreate] so I can admire your creations.
Let's keep in touch!
I'd love to chat more.
Sign up for my newsletter and receive a weekly dose of crafting inspiration, featuring the latest trends, tips, and projects to fuel your creativity.