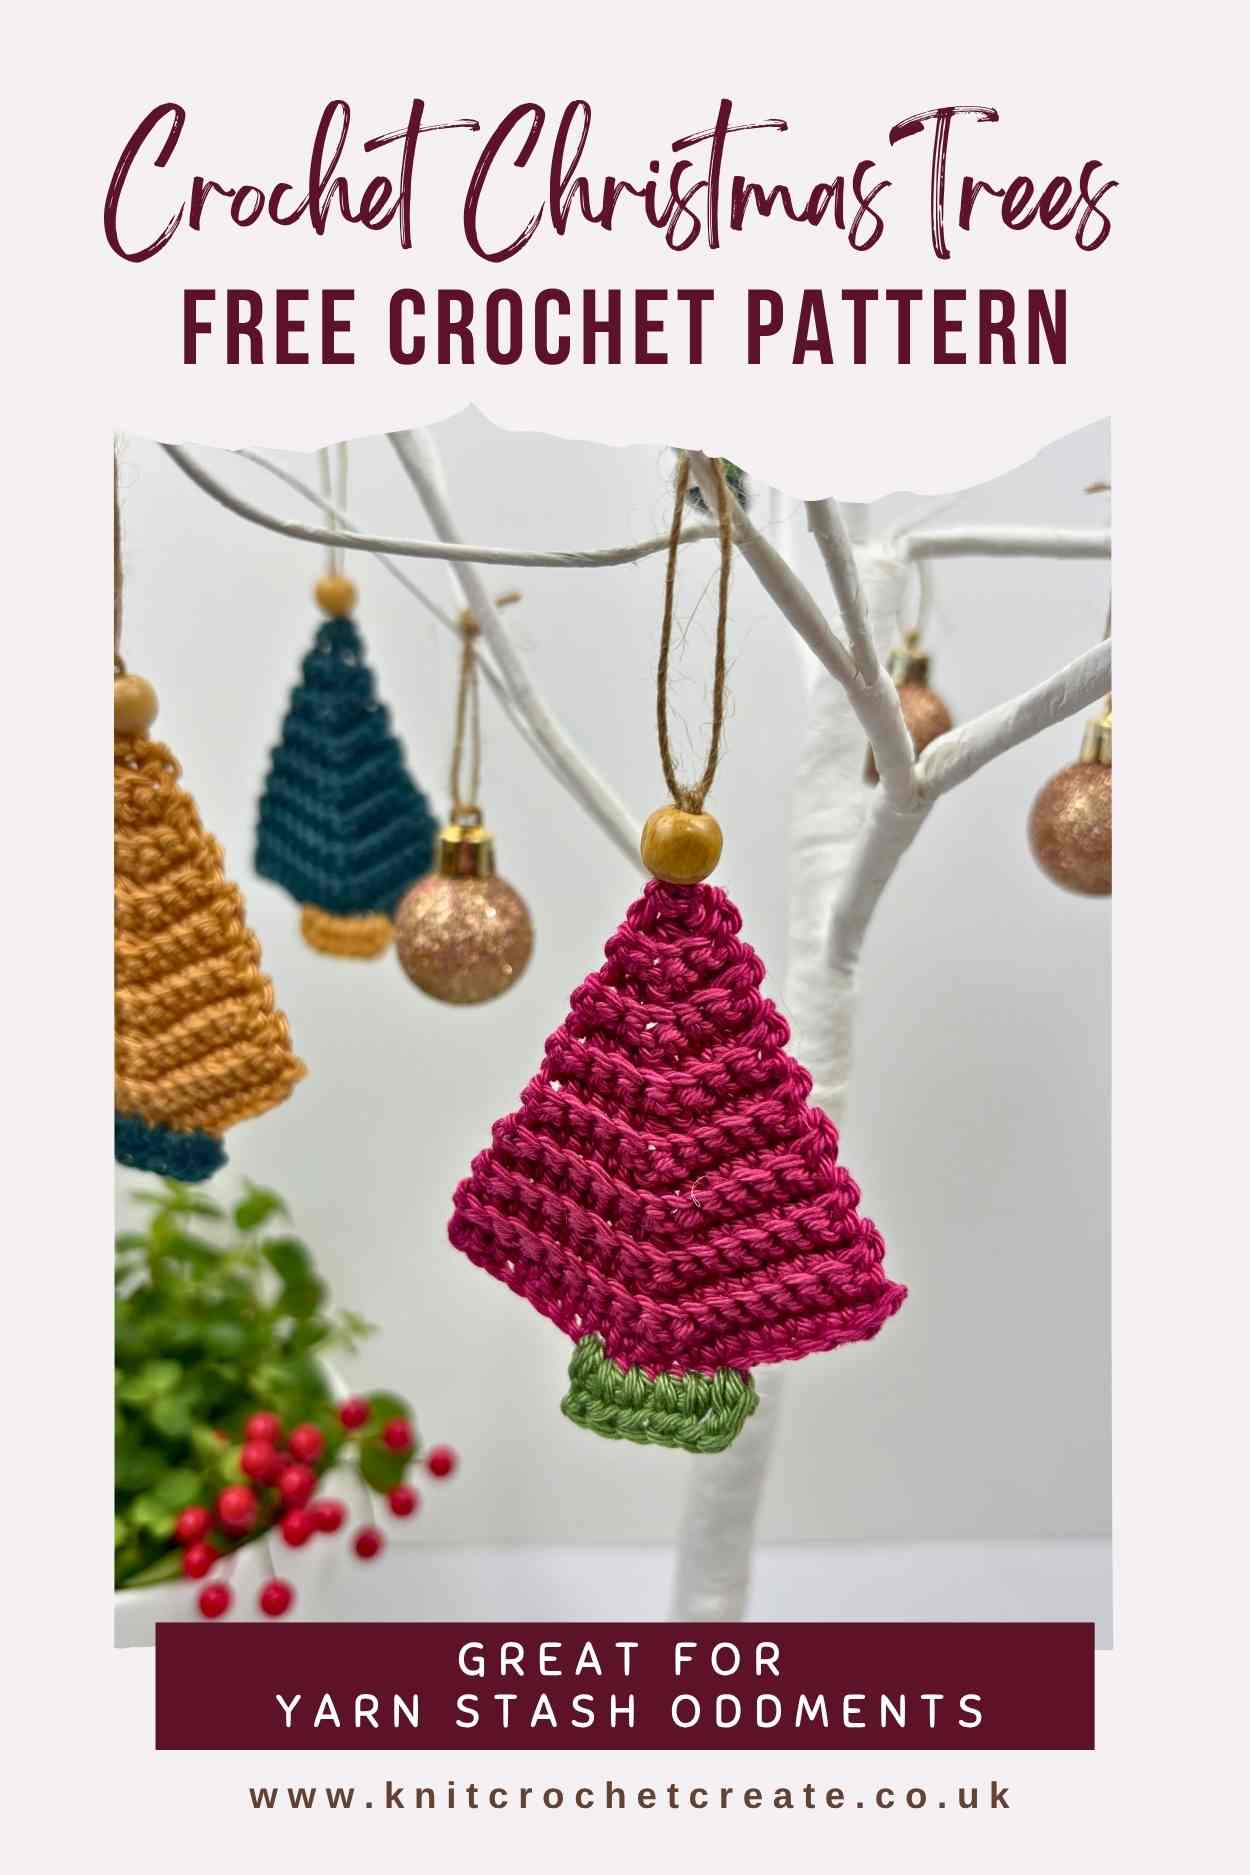
Crochet Christmas Tree Pattern - Free Hanging Decorations
With my Free Crochet Christmas Tree Pattern you can make cute little hanging trees to decorate your home or to give as gifts. They’re quick to make, great for using up yarn scraps, and perfect for adding a handmade touch to your festive decorations.
Whether you hang them on the Christmas tree, add them to gift wrapping, or make a little garland for your mantelpiece, these crochet trees are a fun, simple, and satisfying make for this time of year.
About My Crochet Christmas Tree Pattern
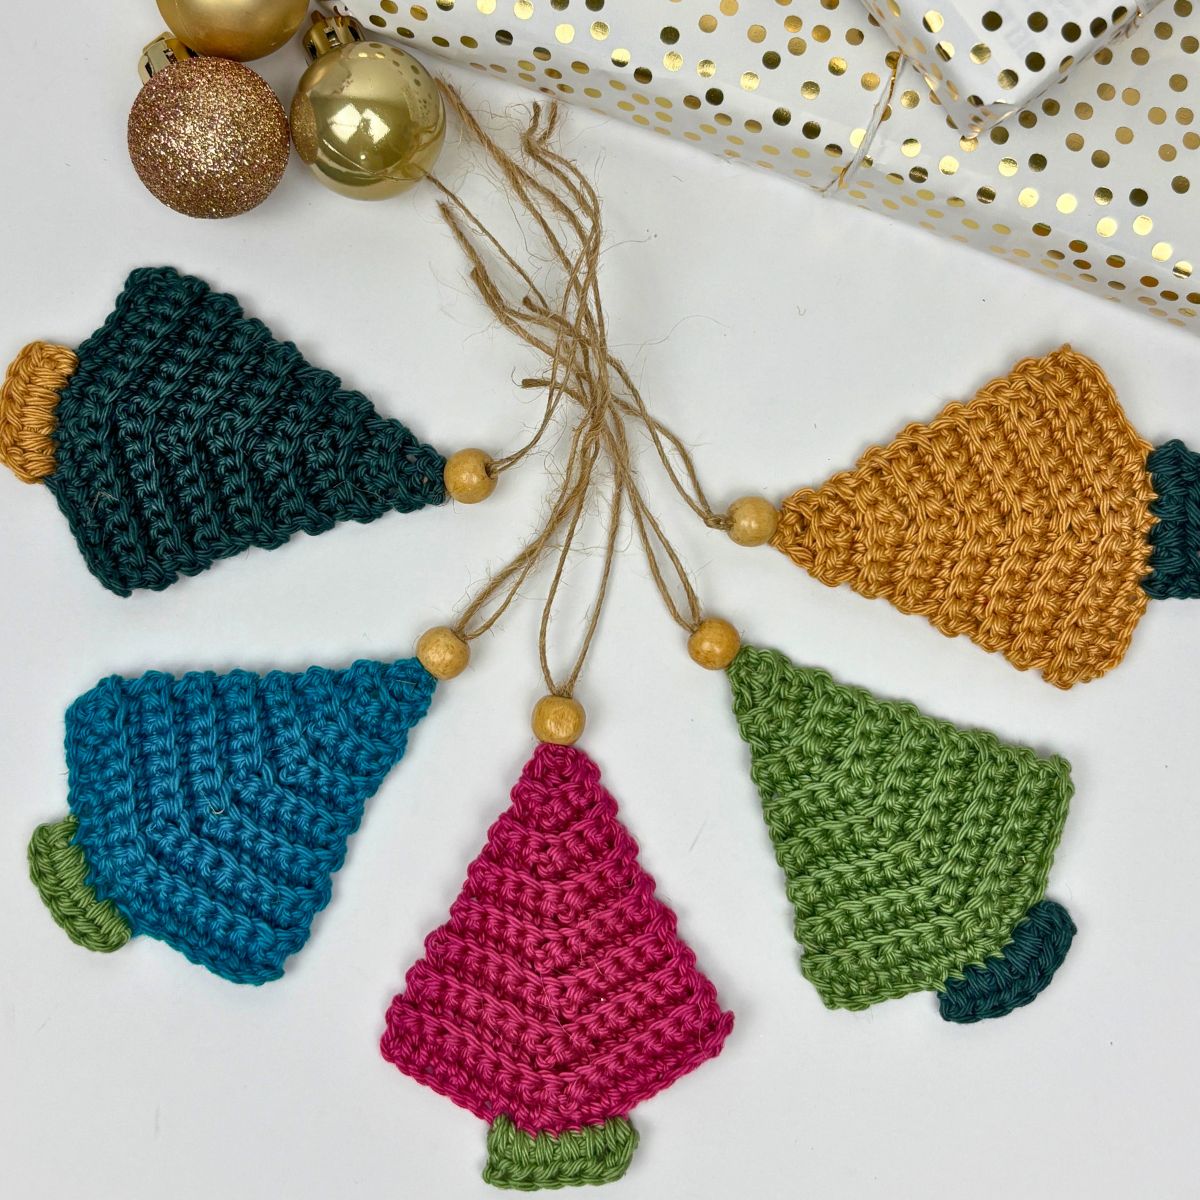
These festive crochet trees are the fourth project in the Stash to Sparkle CAL Blog Hop (see below for blog hop details). They are worked from the bottom up, in rows, using back loop only crochet stitches. The gentle shaping comes from a simple central decrease on each row, which naturally creates the tree shape.
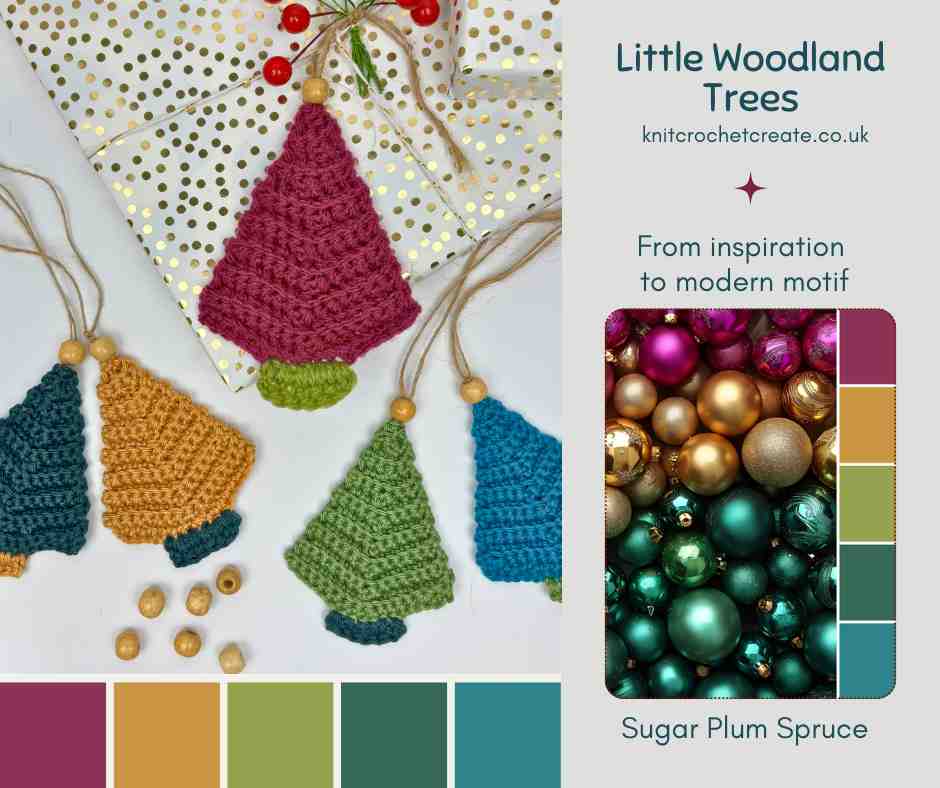
I’ve taken inspiration from this week's colour palette, Sugar Plum Spruce, to create a colourful set in deep fuchsia, teal blue, gold and greens. My quick and simple trees are perfect for using up those small yarn scraps hiding in your stash. And if you happen to have a bit of sparkle thread, then you can use that too for a festive touch.
You can make them in our Sugar Plum Spruce shades, or choose your own colours to match your home decor, or gift wrapping.
Why not make a few in different sizes and shades for a coordinated festive display?
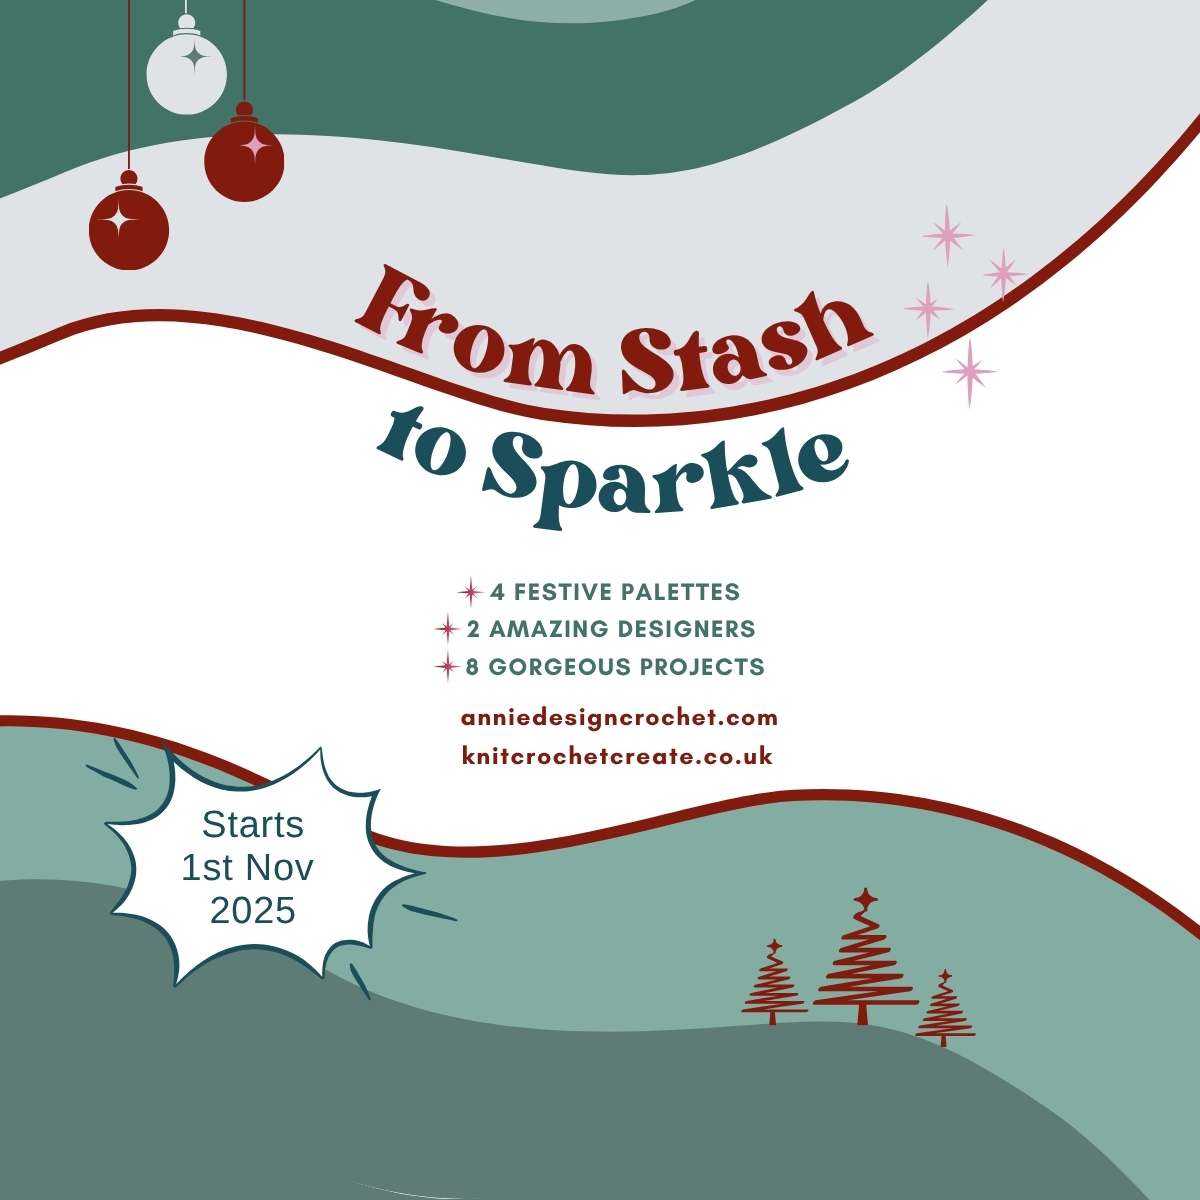
The Stash To Sparkle CAL Blog Hop
The Stash to Sparkle CAL is a 4-week blog hop running through November, with 8 free stash-busting crochet projects shared between Annie Design Crochet and myself. You can read all about it in the blog post here: Stash To Sparkle CAL.
How To Use And Enjoy Your Crochet Christmas Tree Pattern:
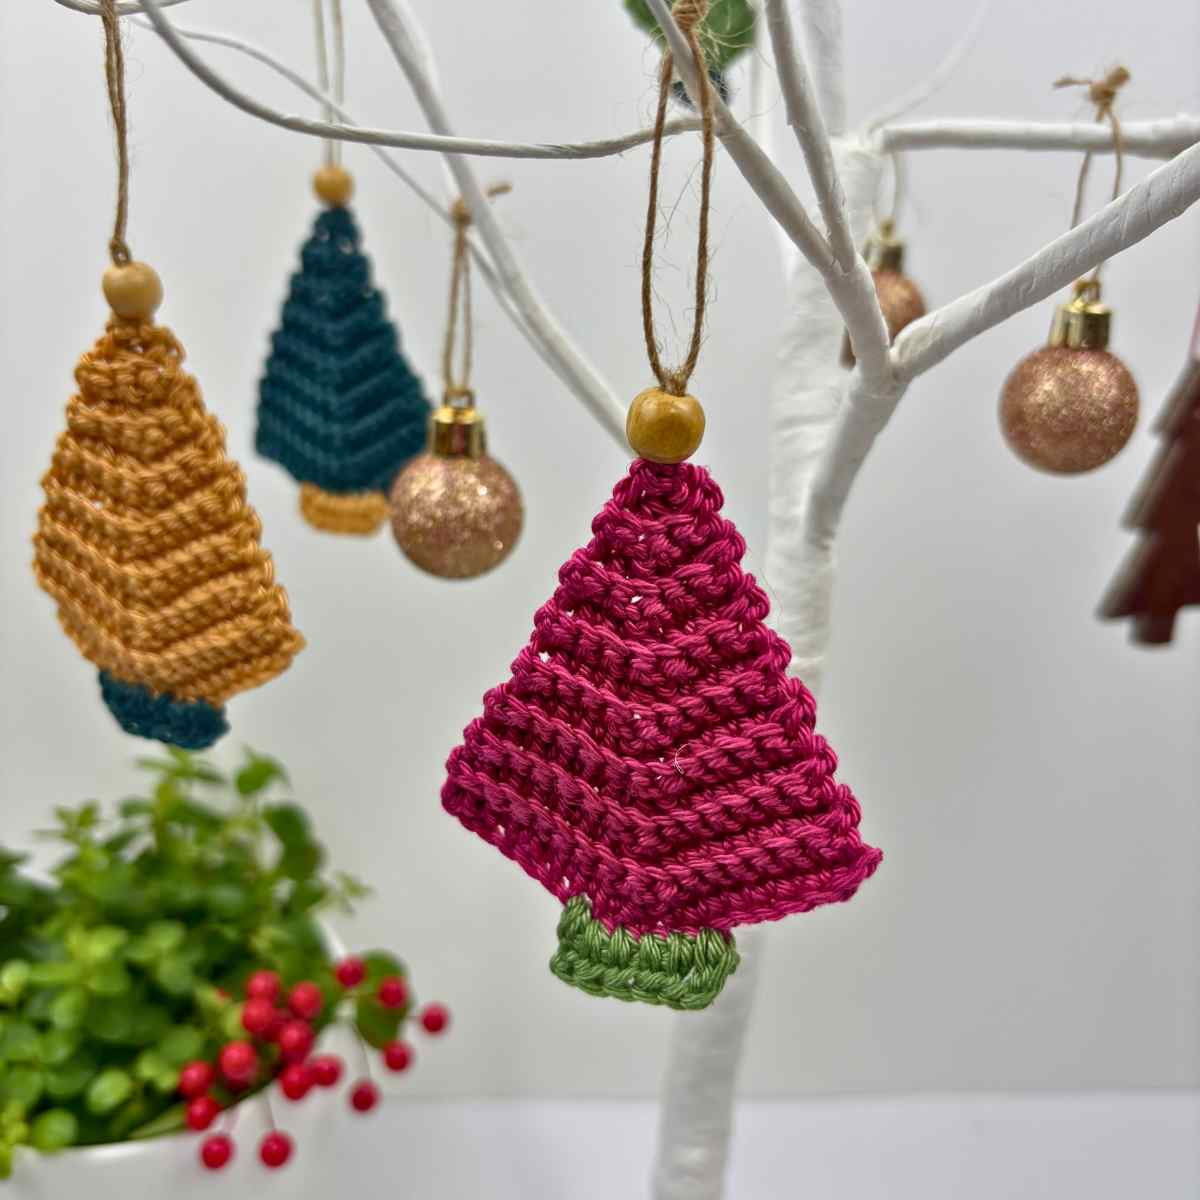
- Hang them on your Christmas tree - use yarn to match your tree decorations.
- Use them as gift toppers – because they'd make lovely, reusable embellishments.
- String several together – for a festive garland.
- Attach a few to a wreath – for a cosy handmade look.
- Make mini versions – because these would be perfect for cards or table decorations.
They’re ideal for stash-busting and they're also sure to make you smile whilst you're making them.
How To Get Your Free Crochet Christmas Tree Pattern
The pattern is written out in full in both US and UK crochet terms. US terms are given first, followed by UK terms.
Scroll down to the relevant pattern section to find the step-by-step instructions for the terms you prefer. You don’t need to sign up or log in because it’s free right here on the blog.
Copyright
Please read the copyright terms, which apply globally, before using or downloading your pattern:
The contents of this page, including the pattern instructions and images, are published under copyright to me ©Lynne Rowe 2025 under my brand Knit Crochet Create® and are for your own personal use only.
You are welcome to sell items made from this pattern for charity fundraising purposes, or to gift them to family and friends, but selling small numbers for profit is only allowed with permission. Please email lynne@knitcrochetcreate.com for permission.
By downloading or using this pattern, you therefore agree to these terms.

FREE Crochet Christmas Tree Pattern
Materials
Yarn
- EITHER 4ply or double knitting (8ply/light worsted weight) yarn in various colours:
- Approximately 4g of Main Colour for each tree.
- Approximately 1-2g of Contrast Colour for each tree trunk.
- NOTES
- Check hook sizes below for your chosen thickness of yarn.
- Note you can use any combination of colours.
- You can add in some sparkle if you have any gold or silver thread. Hold cotton with sparkle thread throughout, as one strand.
Yarn Alternatives
Try colourful sock yarn instead of cotton, or use sock yarn held double to create double knitting weight (light worsted). You can even make a larger tree if you use aran weight (10ply/worsted) or chunky (bulky) yarn.
Hook
- A 3mm (US D/3) crochet hook for 4ply.
- A 4mm (US G/6) crochet hook for double knitting yarn (light worsted weight).
You Will Also Need
- Wool needle for weaving in ends.
- One small bead or one tiny pompom per tree.
- Hanging ribbon, cord or twine – cut to length desired, for each tree.
- Optional tin of spray starch to stiffen trees.
Tension
Is not critical for this project, because it doesn't matter if your tree turns out slightly smaller or larger than the finished size given below.
Finished Size
- Approximately 10cm (4in) tall, using double knitting yarn and 4mm (US G/6) hook.
- Approximately 8cm (3.25in) tall using 4ply and 3mm (US D/3) hook.
Crochet Christmas Tree Pattern begins (US terms)
Stitches Used (US terms)
- BLO = back loop only
- ch(s) = chain or chain stitches
- sc = single crochet
- sc2tog = single crochet 2 stitches together (to decrease)
- slst = slip stitch
- sts(s) = stitch(es)
Instructions (US crochet terms)
TREE BODY
Foundation chain: With MAIN COLOR yarn and suitable hook (see Materials above), ch19, then work back along the chain just made, as follows:
Row 1 (right side): Skip first chain (does not count as a st), 8sc, sc2tog, 8sc, then turn. [17 sts]
Now you will work into the back loop only (BLO) of each stitch (see image A below):
Row 2: Ch1 (does not count as a stitch throughout), 8scBLO, sc2togBLO, 7scBLO, then turn. [16 sts]
Row 3: Ch1, 7scBLO, sc2togBLO, 7scBLO, then turn. [15 sts]
Row 4: Ch1, 6scBLO, sc2togBLO, 7scBLO, then turn. [14 sts]
Row 5: Ch1, 6scBLO, sc2togBLO, 6scBLO, then turn. [13 sts]
Row 6: Ch1, 6scBLO, sc2togBLO, 5scBLO, then turn. [12 sts]
Row 7: Ch1, 5scBLO, sc2togBLO, 5scBLO, then turn. [11 sts]
Row 8: Ch1, 4scBLO, sc2togBLO, 5scBLO, then turn. [10 sts]
Row 9: Ch1, 4scBLO, sc2togBLO, 4scBLO, then turn. [9 sts]
Row 10: Ch1, 4scBLO, sc2togBLO, 3scBLO, then turn. [8 sts]
Row 11: Ch1, 3scBLO, sc2togBLO, 3scBLO, then turn. [7 sts]
Row 12: Ch1, 2scBLO, sc2togBLO, 3scBLO, then turn. [6 sts]
Row 13: Ch1, 2scBLO, sc2togBLO, 2scBLO, then turn. [5 sts]
Row 14: Ch1, 2scBLO, sc2togBLO, 1scBLO, then turn. [4 sts]
Row 15: Ch1, 1scBLO, sc2togBLO, 1scBLO, then turn. [3 sts]
Row 16: Ch1, skip 1 st, sc2togBLO. [1 st]
Cut yarn then fasten off, leaving a long tail.

TRUNK
With right side facing, and Tree upside-down, join CONTRAST COLOR with slst to 7th stitch along Foundation Chain of Tree (join to the spare loop of the chain stitches). Do not ch1.
Row 1: 1sc in same st, 1sc in next 5 sts, then turn. [6 sts]
Row 2: 1dc over the top of each st (working into the same sts as Row 1 - see image B above). Fasten off, then weave in ends. Trunk is complete (see image C above).
FINISHING
Thread the fasten-off yarn from TREE onto wool needle then thread it through a small pompom or bead. Make a loop with the yarn and thread it back though the pompom or bead. Tie off and weave in ends. Alternatively, use twine or thin ribbon. Thread through top of tree, tie in a double knot, then slide on a bead, pushing it onto (and over) the double knot (see image D above).
Abbreviations (UK crochet terms)
- BLO = back loop only
- ch(s) = chain or chain stitches
- dc = double crochet
- dc2tog = double crochet 2 stitches together (to decrease)
- slst = slip stitch
- sts(s) = stitch(es)
Instructions (UK crochet terms)
TREE BODY
Foundation chain: With MAIN COLOUR yarn and suitable hook (see Materials above), ch 19, then work back along the chain just made, as follows:
Row 1 (right side): Skip first chain (does not count as a st), 8dc, dc2tog, 8dc, then turn. [17 sts]
Now you will work into the back loop only (BLO) of each stitch (see image A above):
Row 2: Ch1 (does not count as a stitch throughout), 8dcBLO, dc2togBLO, 7dcBLO, then turn. [16 sts]
Row 3: Ch1, 7dcBLO, dc2togBLO, 7dcBLO, then turn. [15 sts]
Row 4: Ch1, 6dcBLO, dc2togBLO, 7dcBLO, then turn. [14 sts]
Row 5: Ch1, 6dcBLO, dc2togBLO, 6dcBLO, then turn. [13 sts]
Row 6: Ch1, 6dcBLO, dc2togBLO, 5dcBLO, then turn. [12 sts]
Row 7: Ch1, 5dcBLO, dc2togBLO, 5dcBLO, then turn. [11 sts]
Row 8: Ch1, 4dcBLO, dc2togBLO, 5dcBLO, then turn. [10 sts]
Row 9: Ch1, 4dcBLO, dc2togBLO, 4dcBLO, then turn. [9 sts]
Row 10: Ch1, 4dcBLO, dc2togBLO, 3dcBLO, then turn. [8 sts]
Row 11: Ch1, 3dcBLO, dc2togBLO, 3dcBLO, then turn. [7 sts]
Row 12: Ch1, 2dcBLO, dc2togBLO, 3dcBLO, then turn. [6 sts]
Row 13: Ch1, 2dcBLO, dc2togBLO, 2dcBLO, then turn. [5 sts]
Row 14: Ch1, 2dcBLO, dc2togBLO, 1dcBLO, then turn. [4 sts]
Row 15: Ch1, 1dcBLO, dc2togBLO, 1dcBLO, then turn. [3 sts]
Row 16: Ch1, skip 1 st, dc2togBLO. [1 st]
Cut yarn then fasten off, leaving a long tail.
TRUNK
With right side facing, and Tree upside-down, join CONTRAST COLOUR with slst to 7th stitch along Foundation Chain of Tree (join to the spare loop of the chain stitches). Do not ch1.
Row 1: 1dc in same st, 1dc in next 5 sts, then turn. [6 sts]
Row 2: 1tr over the top of each st (working into the same sts as Row 1 - see image B above). Fasten off, then weave in ends. Trunk is complete (see image C above).
FINISHING
Thread the fasten-off yarn from TREE onto wool needle then thread it through a small pompom or bead. Make a loop with the yarn and thread it back though the pompom or bead. Tie off and weave in ends. Alternatively, use twine or thin ribbon. Thread through top of tree, tie in a double knot, then slide on a bead, pushing it onto (and over) the double knot (see image D above).
Share your crochet creations
If you love this pattern and make lots of trees, then I’d love to see your finished projects! Tag me on Instagram [@knitcrochetcreate] so I can admire your colour combinations and see what you make with them.
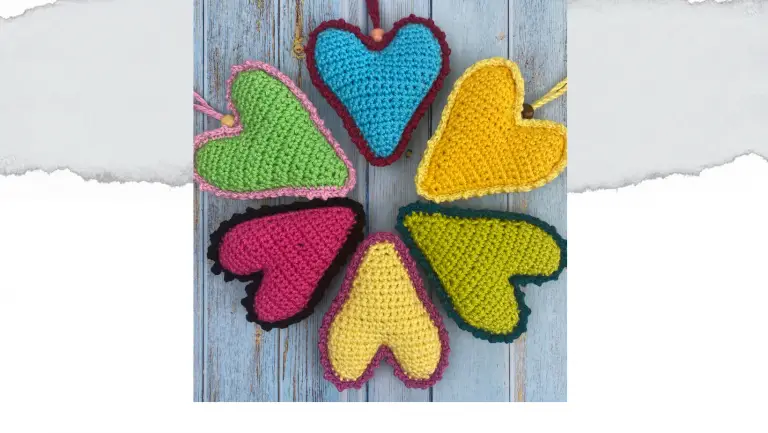
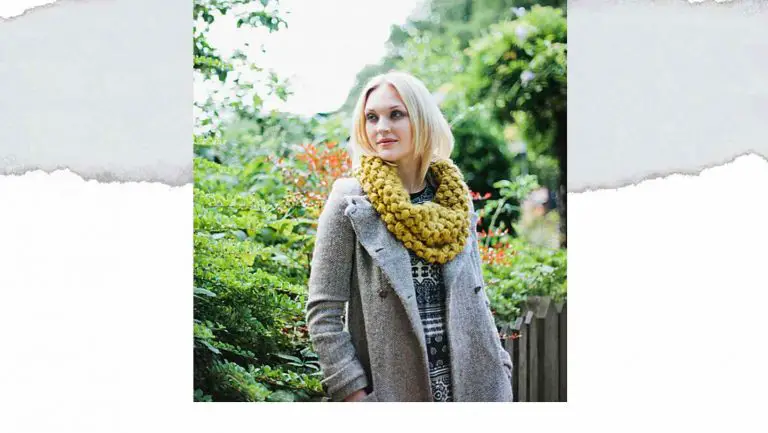
Check out my other stash-busting projects like the Cosy Reads Crochet Bookmark Pattern – or my Easy Scarf Crochet Pattern – both free on the blog.
Let's keep in touch!
I'd love to chat more.
Sign up for my newsletter and receive a weekly dose of crafting inspiration, featuring the latest trends, tips, and projects to fuel your creativity.