Free Crochet Heart Pattern for Valentine's Day
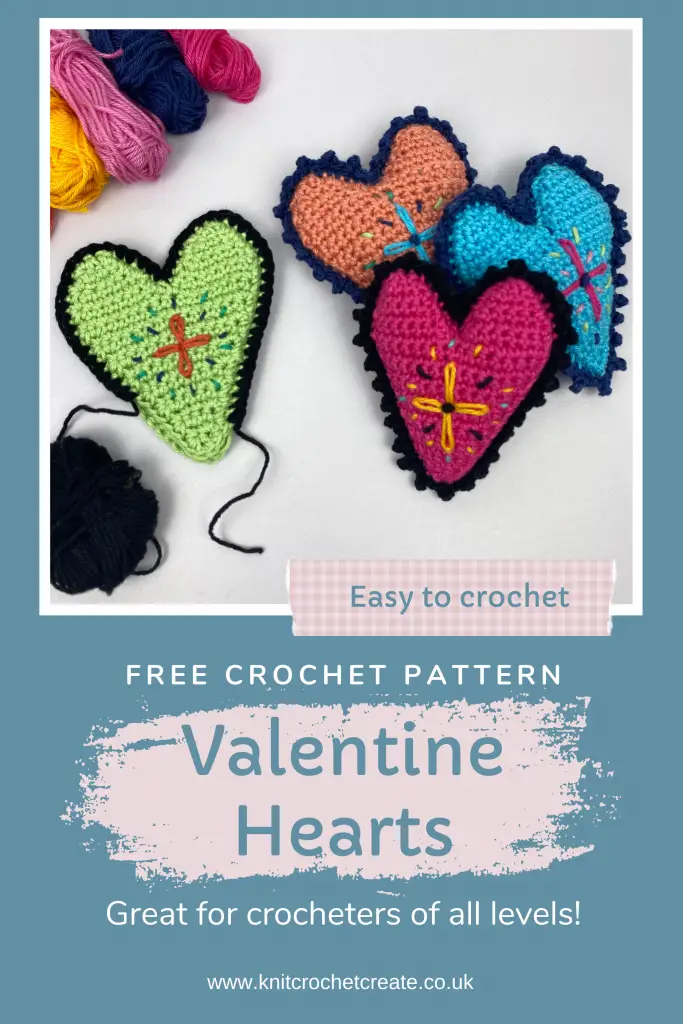
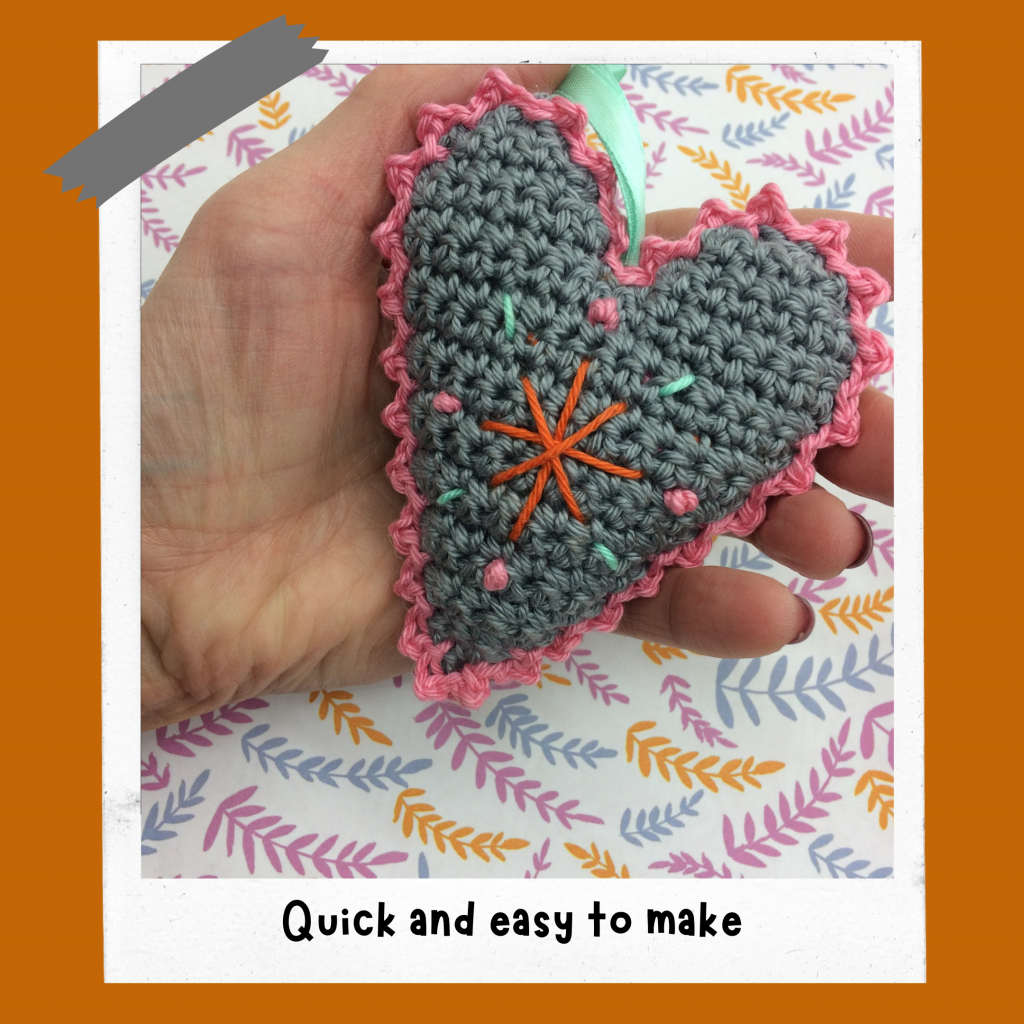
Free Pattern for a Crochet Heart that is quick and easy to make
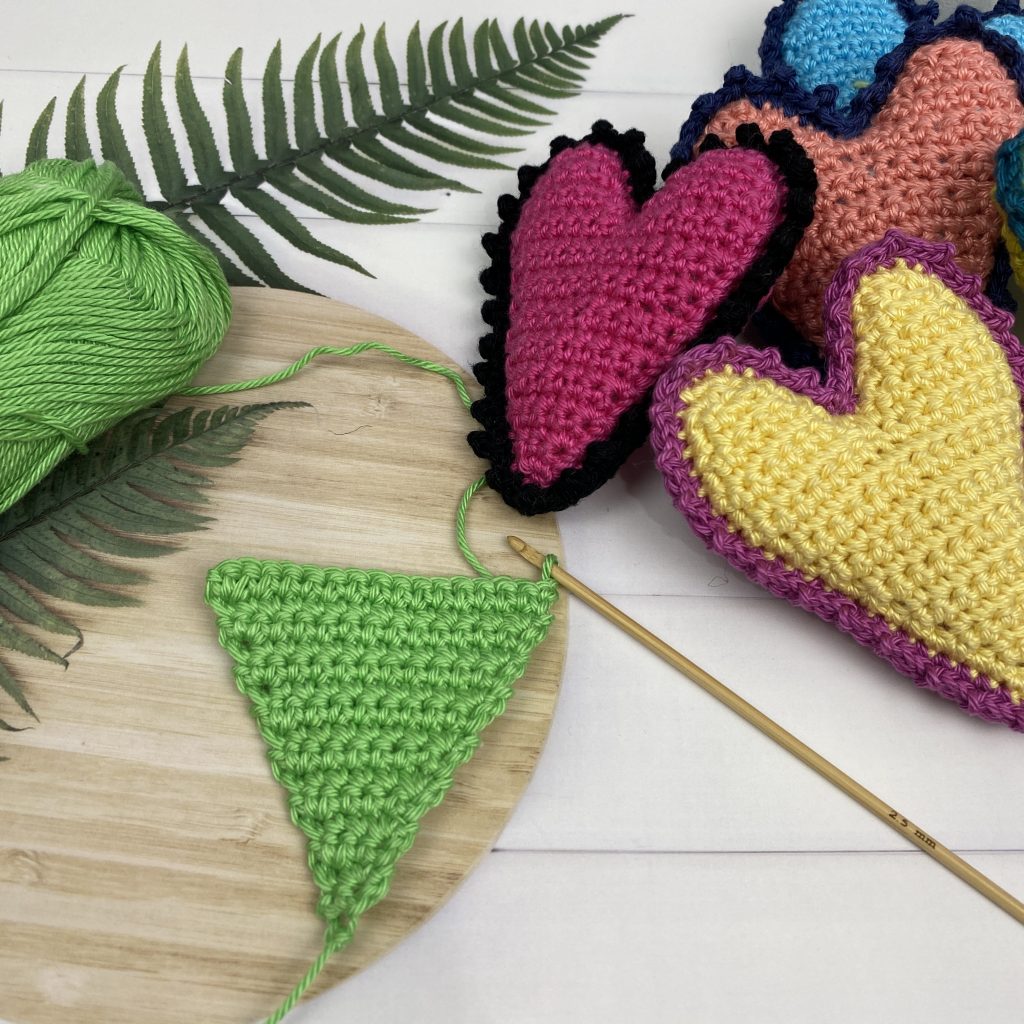
Use my free crochet heart pattern to crochet a heart, and add a handmade touch to your Valentine's celebrations. Whether you use them to decorate your home, add them as embellishments to gifts, or create a garland, these sweet hearts are perfect for spreading love and charm.
In this blog post, I’m excited to share a simple and free pattern for crochet hearts.
How to Crochet a Heart
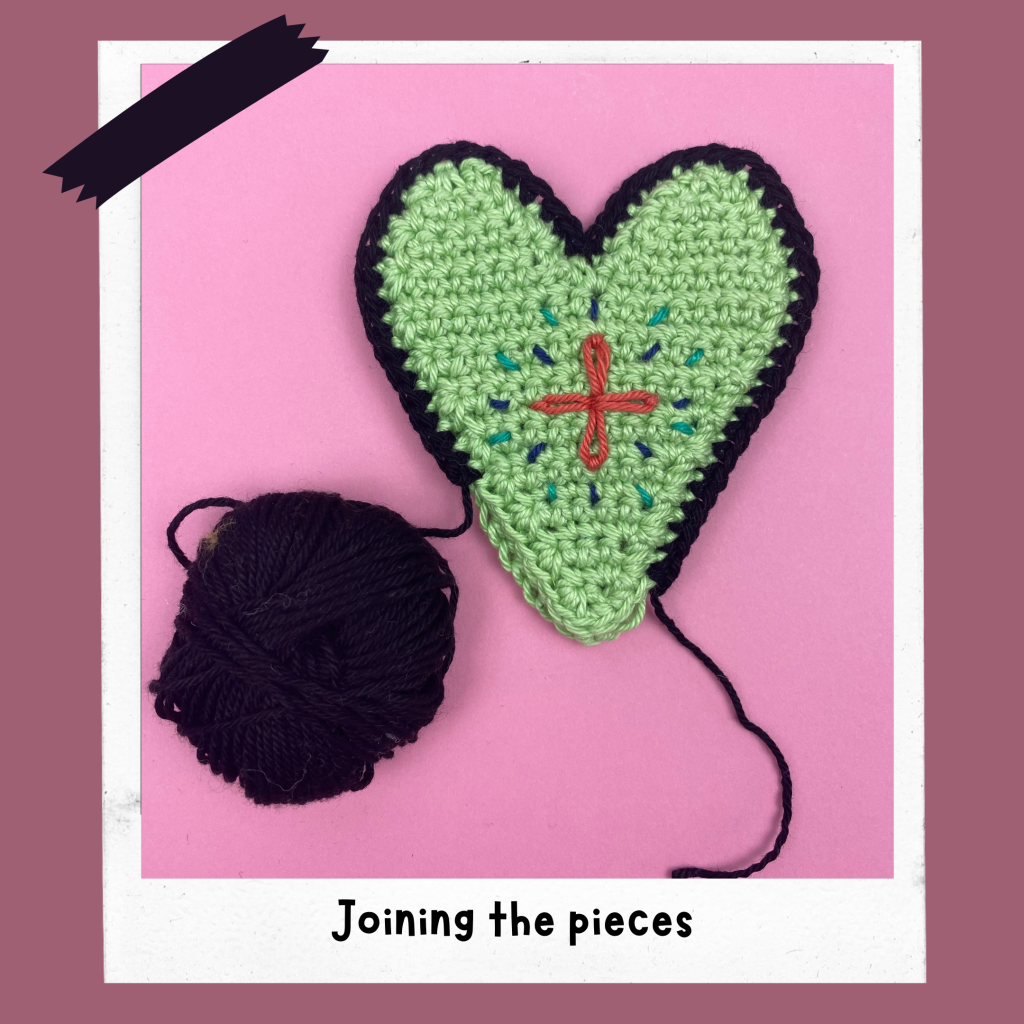
To crochet a heart, the front and back pieces are made separately, then joined together before adding a pretty border.
This project is ideal for both beginners and experienced crocheters, as it mainly uses the basic stitch of single crochet (UK double crochet).
In this tutorial, you’ll learn step-by-step how to crochet these adorable hearts. I’ll guide you through everything from the materials needed to assembling the heart's front and back, including ideas for embroidery to add a personal touch. So, let’s gather your supplies and get started on these delightful crochet hearts!
Why you’ll love my free crochet heart pattern
- Quick and Easy: These hearts are fast to make, because you can whip up a thoughtful handmade gift or decoration in no time.
- Stash Busting: Use up your leftover scraps of yarn to create something beautiful and meaningful.
- Versatile: Whether you keep them plain or add embroidery, these hearts are perfect for decorations, gift tags, or even garlands.
Materials you need to make a Heart from my Free Crochet Heart Pattern
- 4ply cotton: approximately 10g of Main Colour for each heart, plus oddments of Contrast Colours for edging and embroidery.
- US C/2 hook or UK 2.5mm.
- Small amount of toy stuffing for each heart.
- Yarn needle and scissors.
- To make a hanging heart: short length of thin ribbon that is approximately 6mm wide.
Finished Size of your Crochet Heart
Approximately 9.5cm tall and 8cm at widest point (3.75 x 3in), using 4ply cotton yarn and 2.5mm (US C/2) hook. This measurement will vary if different yarn/hook size is used.
Gauge/Tension
Tension is not critical for this project. Tension may differ from person to person, depending on yarn and hook size used.
Free Crochet Heart Pattern Notes
- Hearts are worked back and forth in rows, turning after each row.
- Front and back are made separately then joined together.
ABBREVIATIONS (US TERMS)
Ch = chain; ch-sp(s) = chain space(s), sc = US single crochet; rep = repeat; slst = slip stitch; st(s) = stitch(es); yrh = yarn round hook; RS = right side; WS = wrong side.
Pattern repeats are indicated by [ ... ] or * or ** meaning to repeat instruction within brackets or following the asterisk(s), as many times as stated.
SPECIAL STITCHES (US TERMS)
sc2tog = single crochet 2 sts together (to decrease 1 st): *insert hook in next st, yrh then pull a loop through*; rep from * to * into next st (3 loops on hook), yrh then pull through all 3 loops.
sc3tog = single crochet 3 sts together (to decrease 2 sts): *insert hook in next st, yrh then pull a loop through*; rep from * to * into each of next 2 sts (4 loops on hook), yrh then pull through all 4 loops.
ABBREVIATIONS (UK TERMS)
Ch = chain; ch-sp(s) = chain space(s); dc = UK double crochet; rep = repeat; slst = slip stitch; st(s) = stitch(es); yrh = yarn round hook; RS = right side; WS = wrong side.
Pattern repeats are indicated by [ ... ] or * or ** meaning to repeat instruction within brackets or following the asterisk(s), as many times as stated.
SPECIAL STITCHES (UK TERMS)
dc2tog = double crochet 2 sts together (to decrease 1 st): *insert hook in next st, yrh then pull a loop through*; rep from * to * into next st (3 loops on hook), yrh then pull through all 3 loops.
dc3tog = double crochet 3 sts together (to decrease 2 sts): *insert hook in next st, yrh then pull a loop through*; rep from * to * into each of next 2 sts (4 loops on hook), yrh then pull through all 4 loops.
Copyright
Please read the copyright terms, which apply globally, before downloading your pattern:
The contents of this page, including the pattern instructions and images, are published under copyright to me ©Lynne Rowe 2021 under my brand Knit Crochet Create® and for your own personal use only. Feel free to sell items made from this pattern for charity fundraising purposes, or to gift to family and friends, but selling small numbers for profit is only allowed with permission. Please email lynne@knitcrochetcreate.com for permission to sell in small numbers. By downloading or using this pattern, you therefore agree to these terms.
How to crochet a Heart from my free crochet heart pattern
Get the Free Pattern
Read the free version of the pattern below, so you can get started right away. If you prefer an ad-free experience or want to support my work, you can purchase the printable PDF version on ETSY here
You can also buy on RAVELRY here.
HEART PATTERN (US CROCHET TERMS)
Front and Back (both the same)
Using Main Color, ch2.
Row 1 (RS): 2sc in second ch from hook, turn. (2 sts)
Row 2: Ch1 (does not count as a st here and throughout), 2sc in first st, sc1 in each st to end, turn. (3 sts)
Rows 3-15: Repeat Row 2. (16 sts).

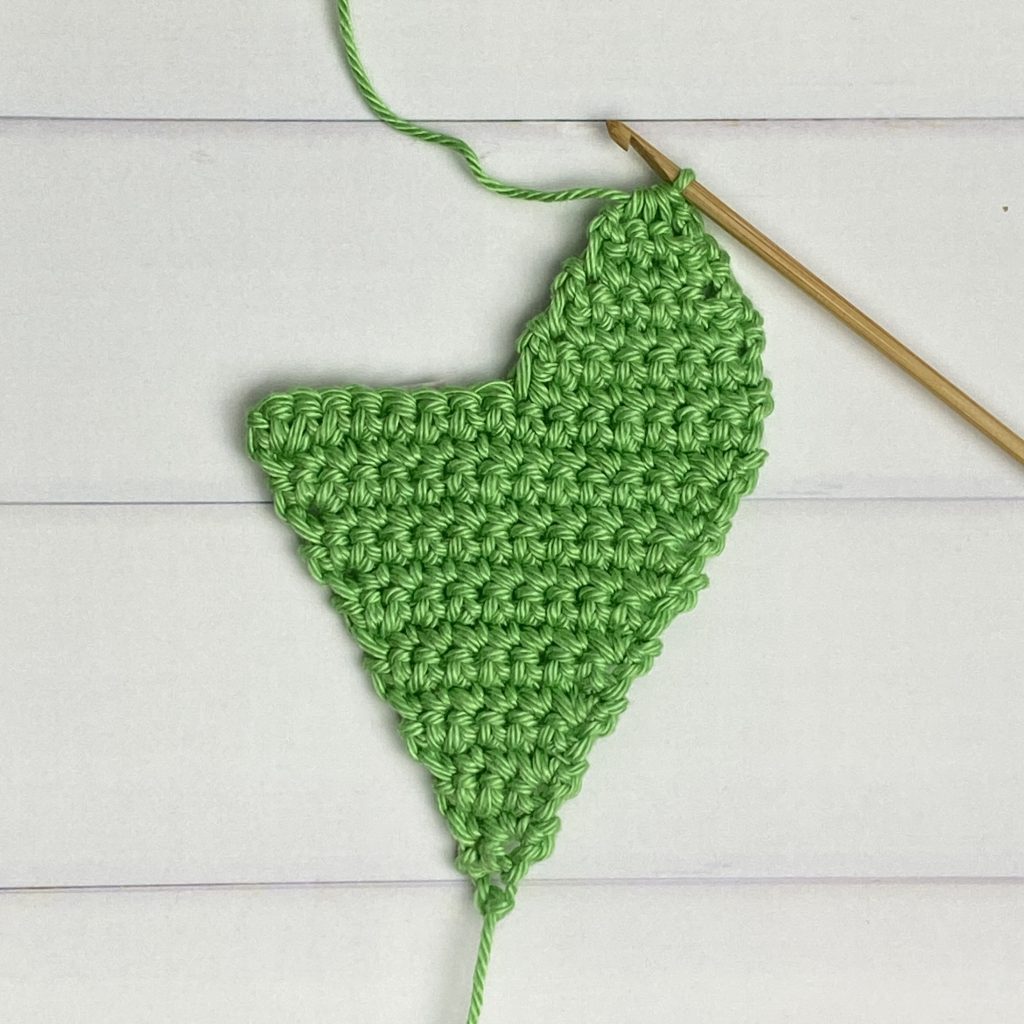
Next you will work on the first half of these stitches only, in order to make the first hump:
First hump: Row 1 (RS): Ch1, sc8, turn and leave remaining sts unworked. (8 sts)
Row 2: Ch1, sc2tog, sc6, turn. (7 sts)
Row 3: Ch1, sc7, turn.
Row 4: Ch1, sc2tog, sc3, sc2tog, turn. (5 sts)
Row 5: Ch1, sc5, turn.
Row 6: Ch1, sc2tog, sc1, sc2tog, turn. (3 sts)
Row 7: Ch1, sc3tog. Cut yarn then fasten off.
With RS facing rejoin Main Color with a slst to next stitch along Row 15 in order to work the second hump.
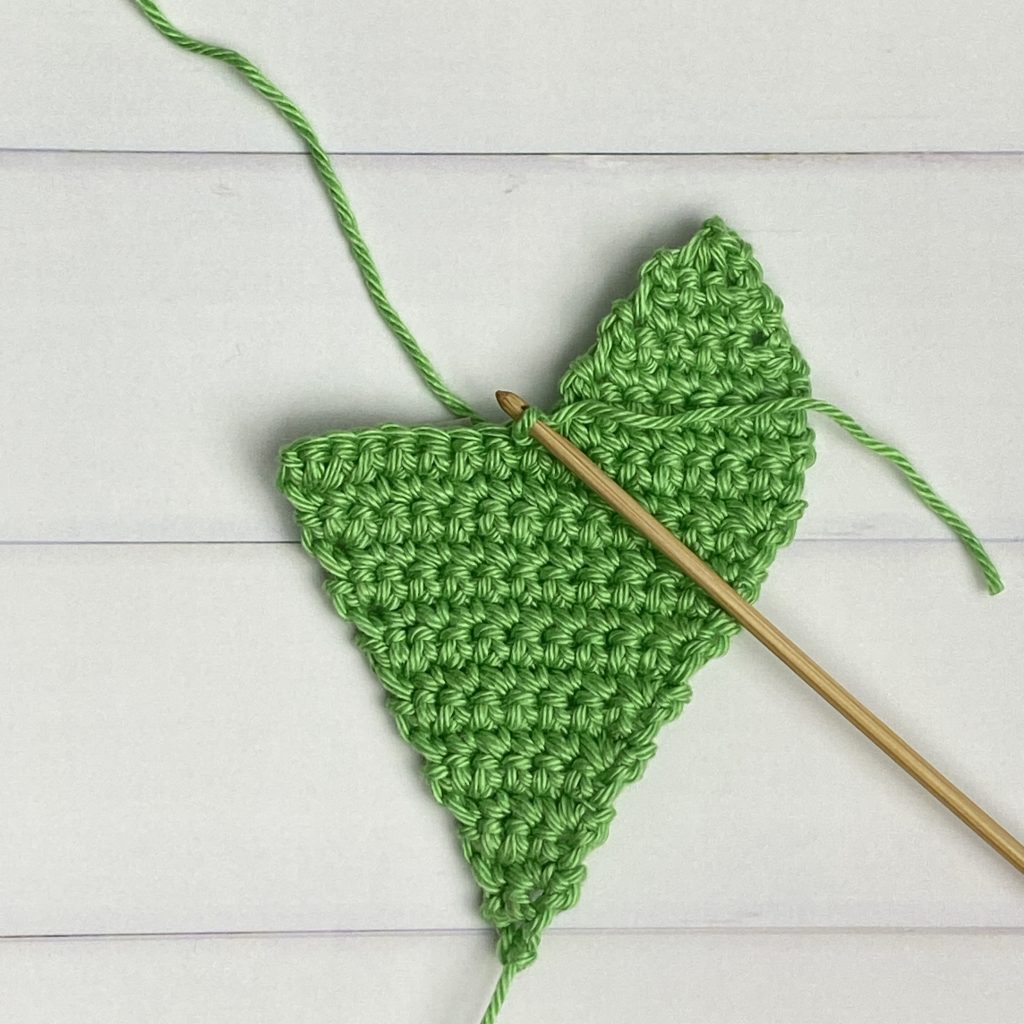
Second hump: Row 1 (RS): Ch1, sc1 into same st, sc7, turn. (8 sts)
Row 2: Ch1, sc6, sc2tog, turn. (7 sts)
Work from Row 3 as given for first hump but do not turn or fasten off at end of Row 7. Next, work the border as follows: ch1, then work a sc border all around the heart shape, working 1sc into each row-end and 2sc into stitches around the curves of the hump and 2sc into the stitch at the base (point) of the heart, slst in first sc and fasten off. Note that the stitch count isn't important, just make sure that your heart edges sit flat.
Make a second piece in the same way. Next, you will embroider the front piece as instructed below. Alternatively, you choose your own design, or add buttons or beads.
TO FINISH
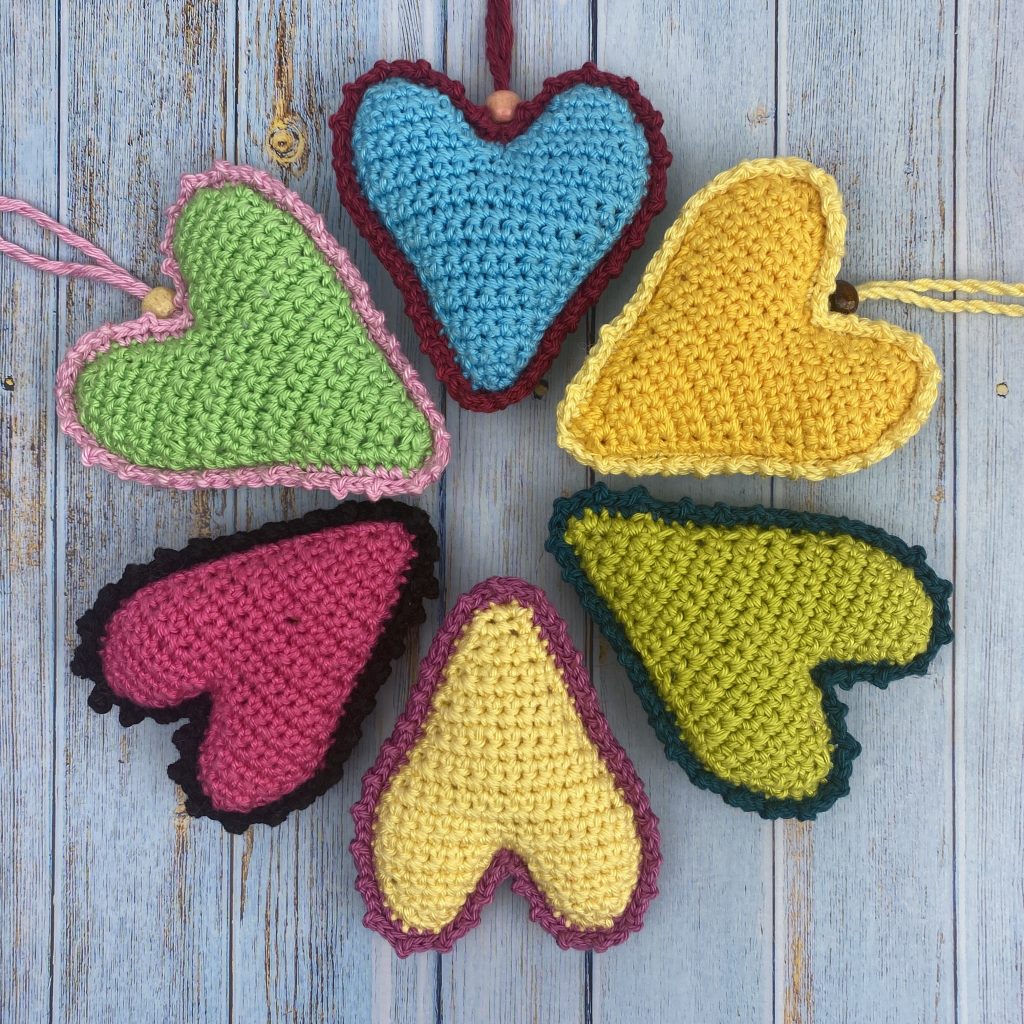
You can leave your heart plain, or embroider a cross or star motif using Contrast Colors (this will become the front piece). You can use straight stitches or lazy daisy stitch. Add little dashes around the cross or you can add French knots or small beads. Use the image below as a guide.
To join: Place both pieces together with WS together and RS facing outward and working through both thicknesses, join a contrast colour with a slst. Continue as follows:
Round 1: Ch1, sc1 into same st, sc1 through each set of adjoining stitches, stuffing lightly before completing the round, slst in first sc.
Round 2: *Ch2, slst in second ch from hook (to form a picot), slst in same st at base of picot, slst in each of next 2 sts; rep from * all around, then fasten off and weave ends into heart.
You can gift your heart to a friend, work colleague or a family member. Alternatively, you can turn it into a keyring by attached a keyring fob. You could make a strip of bunting by making lots of hearts in different colors then attach them to a long length of ribbon, or you could add a short length of ribbon to a single heart to make a hanging loop.
HEART PATTERN (UK CROCHET TERMS)
Front and Back (both the same)
Using Main Colour, ch2.
Row 1 (RS): 2dc in second ch from hook, turn. (2 sts)
Row 2: Ch1 (does not count as a st here and throughout), 2dc in first st, dc1 in each st to end, turn. (3 sts)
Rows 3-15: Repeat Row 2. (16 dc). Next you will work on the first half of these stitches only, in order to make the first hump:
First hump: Row 1 (RS): Ch1, dc8, turn and leave remaining sts unworked. (8 sts)
Row 2: Ch1, dc2tog, dc6, turn. (7 sts)
Row 3: Ch1, dc7, turn.
Row 4: Ch1, dc2tog, dc3, dc2tog, turn. (5 sts)
Row 5: Ch1, dc5, turn.
Row 6: Ch1, dc2tog, dc1, dc2tog, turn. (3 sts)
Row 7: Ch1, dc3tog. Cut yarn then fasten off.
With RS facing rejoin Main Color with a slst to next stitch along Row 15 in order to work the second hump:
Second hump: Row 1 (RS): Ch1, dc1 into same st, dc7, turn. (8 sts)
Row 2: Ch1, dc6, dc2tog, turn. (7 sts)
Work from Row 3 as given for first hump but do not turn or fasten off at end of Row 7. Next work the border as follows: ch1, then work a dc border all around the heart shape, working 1dc into each row-end and 2dc into stitches around the curves of the hump and 2dc into the stitch at the base (point) of the heart, slst in first dc and fasten off. Note that the stitch count isn't important, just make sure that your heart edges sit flat.
Make a second piece in the same way. Next, you will embroider the front piece as instructed on next page. Or you choose your own design, or add buttons or beads.
TO FINISH
You can leave your heart plain, or embroider a cross or star motif using Contrast Colours (this will become the front piece). You can use straight stitches or lazy daisy stitch. Add little dashes around the cross or you can add French knots or small beads. Use the image below as a guide.
To join: Place both pieces together with WS together and RS facing outward and working through both thicknesses, join a contrast colour with a slst. Continue as follows:
Round 1: Ch1, dc1 into same st, dc1 through each set of adjoining stitches, stuffing lightly before completing the round, slst in first dc.
Round 2: *Ch2, slst in second ch from hook (to form a picot), slst in same st at base of picot, slst in each of next 2 sts; rep from * all around. Fasten off and weave ends into heart.
You can gift your heart to a friend, work colleague or a family member. Alternatively, you can turn it into a keyring by attached a keyring fob. You could make a strip of bunting by making lots of hearts in different colors then attach them to a long length of ribbon, or you could add a short length of ribbon to a single heart to make a hanging loop.
Did you enjoy my free crochet heart pattern?
I would love to see your crochet hearts. Don't forget to follow me on Instagram and tag me @thewoolnest in your photos, so I can see them too and share them in my stories.
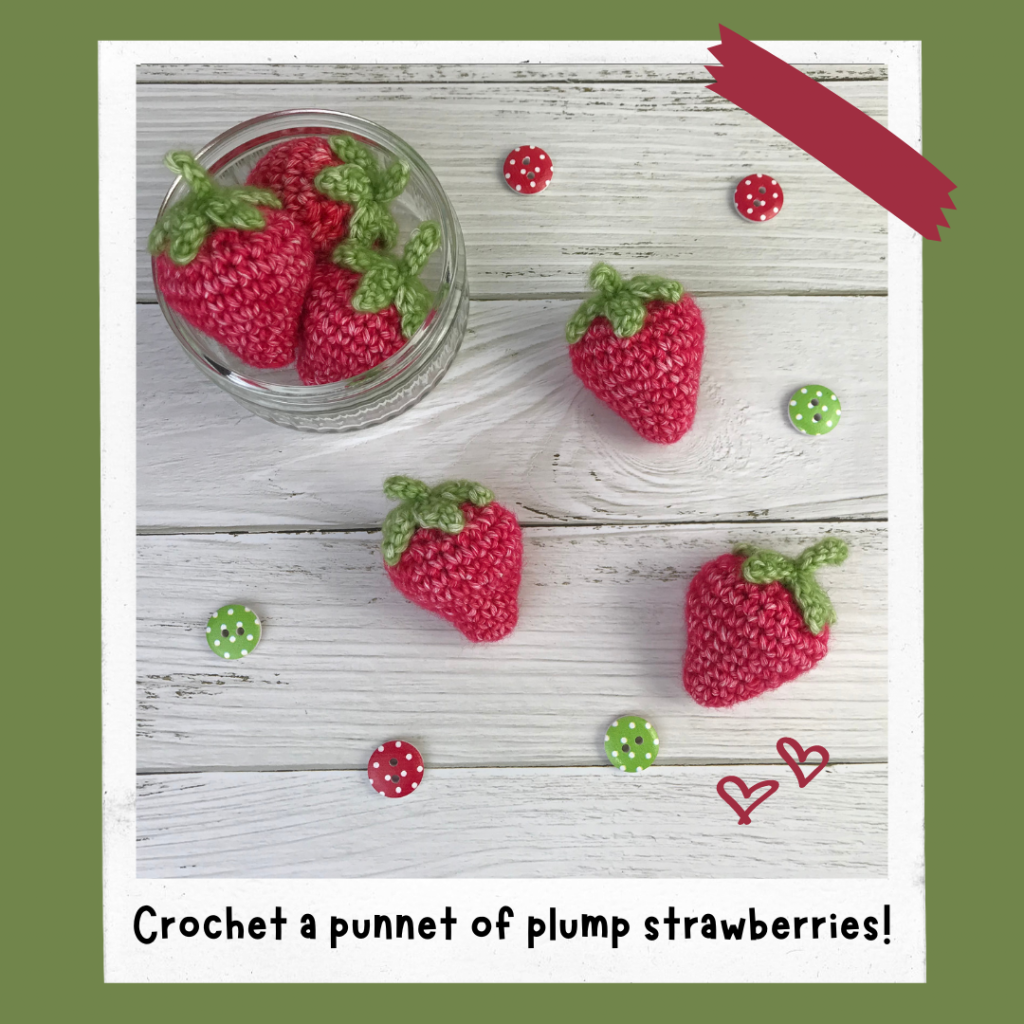
If you enjoyed crocheting your Valentine's hearts, you will also enjoy my crochet strawberries pattern which is also free. You can find the blog post here:
Let's keep in touch!
I'd love to chat more.
Sign up for my newsletter and receive a weekly dose of crafting inspiration, featuring the latest trends, tips, and projects to fuel your creativity.