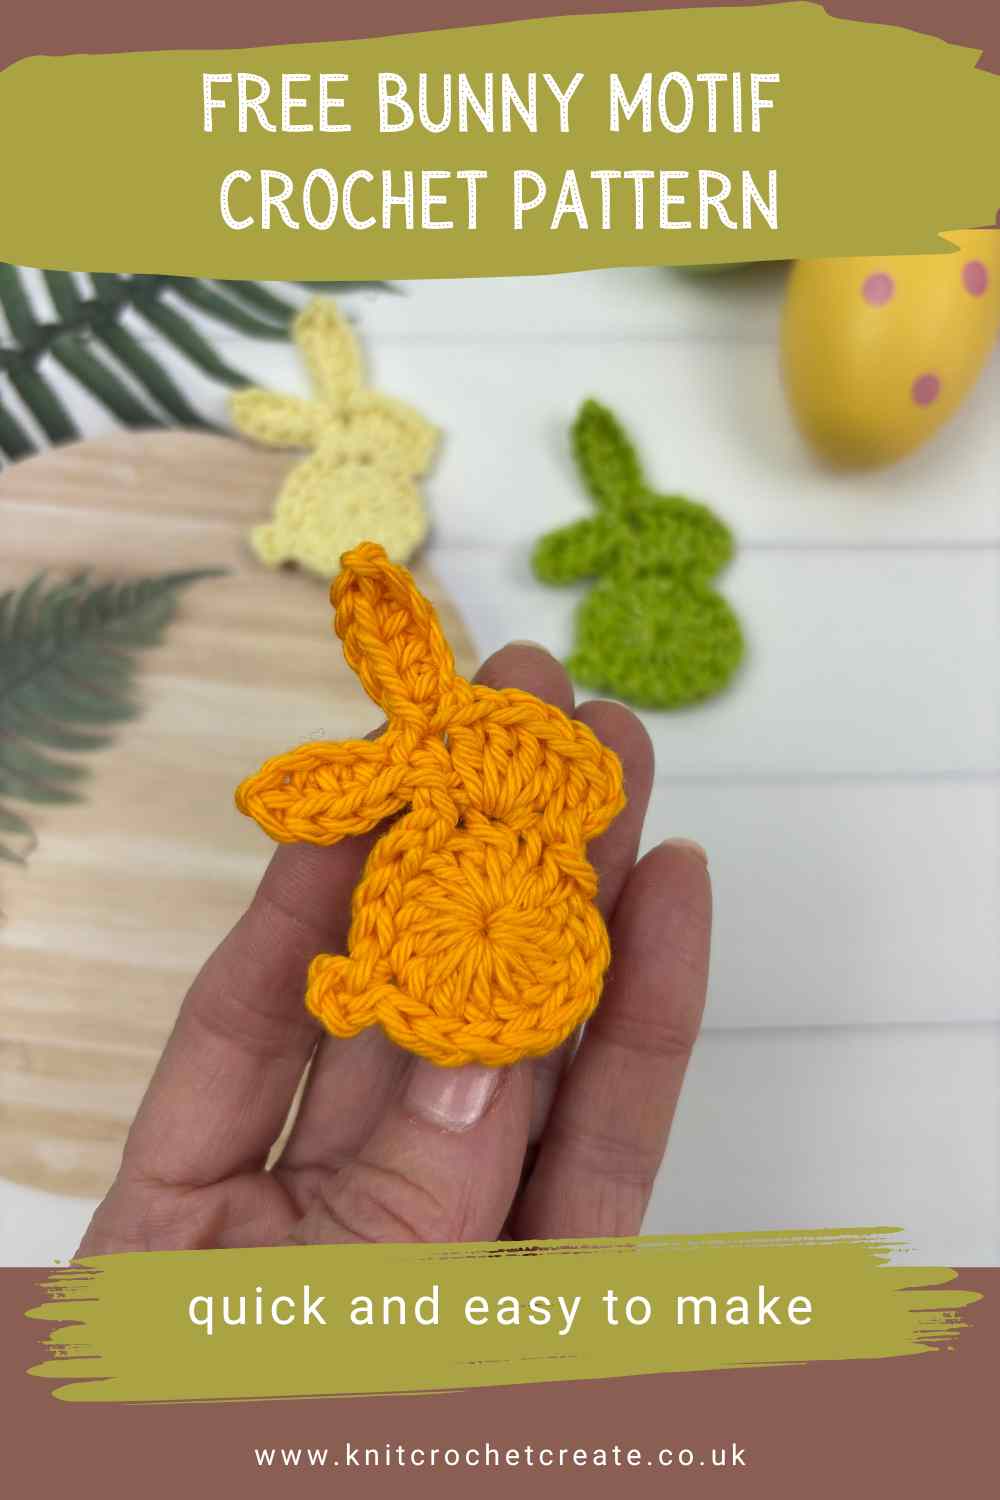
Free Crochet Bunny Pattern - How to Crochet a Bunny Motif
Are you looking for a free crochet bunny pattern for a quick and adorable motif? Then my bunny motif gift tag appliqué is the perfect little addition to your handmade gifts. It’s an easy crochet motif that you can attach to a gift tag, therefore making your presents extra special.
This stash-busting project is great for using up small amounts of yarn and can be made in no time! Follow the free pattern below to create your own bunny tag.
Why You’ll Love This Cute Free Crochet Bunny Pattern
- Quick & easy: Can be completed in under 30 minutes.
- Stash-buster: Uses small amounts of yarn, and therefore perfect for leftover scraps!
- Perfect for Easter & more: Great for Easter baskets, baby showers, or springtime gifts.
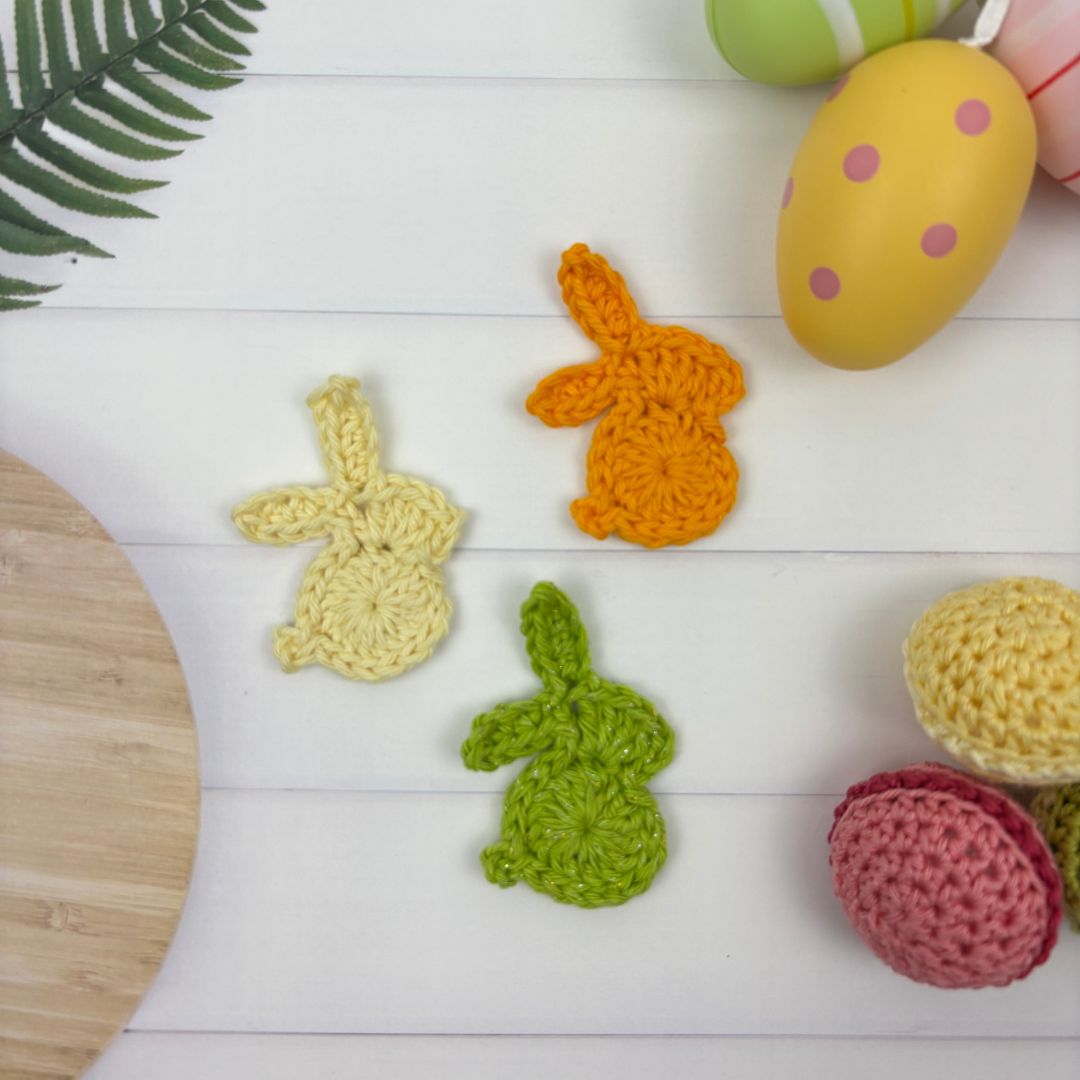
- Customisable: Choose your favourite colours so you can personalise your tags.
Copyright
Please read the copyright terms, which apply globally, before downloading your pattern:
The contents of this page, including the pattern instructions and images, are published under copyright to me ©Lynne Rowe 2025 under my brand Knit Crochet Create® and are for your own personal use only. Feel free to sell items made from this pattern for charity fundraising purposes, or to gift to family and friends, but selling small numbers for profit is only allowed with permission. Please email lynne@knitcrochetcreate.com for permission to sell in small numbers. By downloading or using this pattern, you therefore agree to these terms.
How to get your Free Pattern
- Read the free version of the pattern below, so you can get started right away.
- Pattern is provided in BOTH US and UK crochet terms.
- Buy a pdf to download and save on your own device for the future.
- Buy on Ravelry here: Pattern on Ravelry
- Buy on Etsy here: Pattern on Etsy
Yarn and Stitches
This pattern uses a few simple stitches, including:
- Single crochet (US terms) - double crochet (UK terms)
- Half double crochet (US terms) - half treble crochet (UK terms)
- Double crochet (US terms) - treble crochet (UK terms)
- I’ve used oddments of Ricorumi Cotton DK, which is available in a range of beautiful colours.
Materials You’ll Need For This Free Crochet Bunny Pattern
- Double knitting yarn (light worsted-weight) in any colour of your choice
- US E/4 (3.5mm) hook (note that a US G/6 (4mm) hook could also be used)
- Small amount of black yarn for the eye (optional)
- Patterned card with a plain back
- PVA glue or double-sided tape
- Short length of thin ribbon
- Hole punch
- Scissors
- Yarn needle
Free Crochet Bunny Pattern - US Crochet Terms
Abbreviations for US Crochet Terms
- ch(s) = chain or chain stitches
- sc = single crochet
- hdc = half double crochet
- dc = double crochet
- slst = slip stitch
Body
Using chosen yarn and hook, make a magic loop. Alternatively, ch4 then slst into the 4th ch from hook to join into a ring.
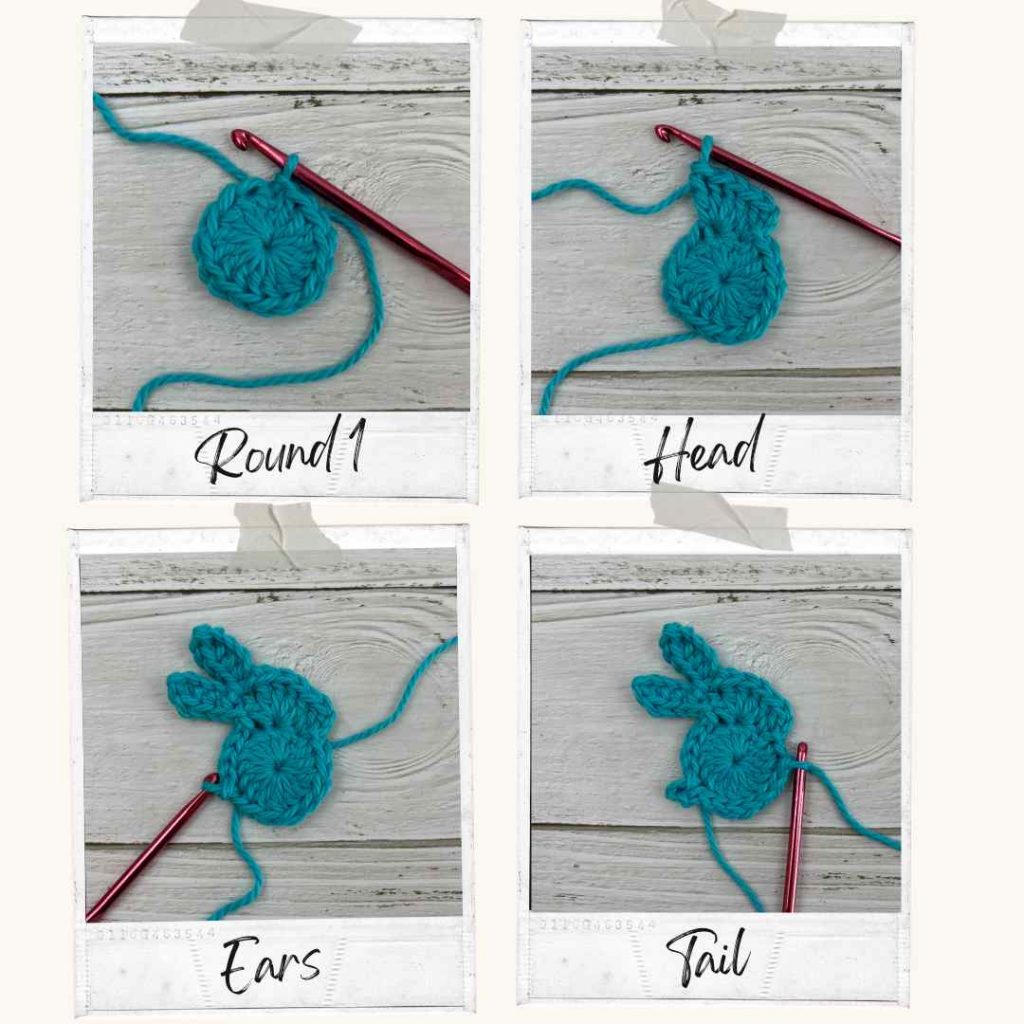
Round 1 (right side): Ch3 (counts as 1dc), 15dc into ring, slst in top of beginning ch3 to join. [16 sts]. Do not turn. Pull the magic ring tight to close up the hole.
Head and Ears
Round 2 is made up of the following steps:
- Ch2 and 1dc in same st at base of ch2, 4dc in next stitch.
- Ch6, 1sc in 2nd ch from hook, 1hdc in each of next 3 ch, slst in last ch.
- 1dc in same st as previous 4dc.
- Ch5, 1sc in 2nd ch from hook, 1hdc in each of next 2 ch, slst in last ch.
- Slst in side of previous dc (slide your hook into the side of the stitch and work a slst).
- Slst in each of next 6 sts around the body.
- Ch3, then slst in same stitch.
- Slst in each remaining stitch around the body until you reach the head.
- Cut yarn and fasten off, then scroll down the page and go to Finishing Touches.
Free Crochet Bunny Pattern - UK Crochet Terms
Abbreviations for US Crochet Terms
- ch(s) = chain or chain stitches;
- dc = double crochet
- htr = half treble crochet
- tr = treble crochet
- slst = slip stitch
Body
Using chosen yarn and hook, make a magic loop. Alternatively, ch4 then slst into the 4th ch from hook to join into a ring.
Round 1 (right side): Ch3 (counts as 1tr), 15tr into ring, slst in top of beginning ch3 to join. [16 sts]. Do not turn. Pull the magic ring tight to close up the hole.
Head and Ears
Round 2 is made up of the following steps:
- Ch2 and 1tr in same st at base of ch2, 4tr in next stitch.
- Ch6, 1dc in 2nd ch from hook, 1htr in each of next 3 ch, slst in last ch.
- 1tr in same st as previous 4tr.
- Ch5, 1dc in 2nd ch from hook, 1htr in each of next 2 ch, slst in last ch.
- Slst in side of previous tr (slide your hook into the side of the stitch and work a slst).
- Slst in each of next 6 sts around the body.
- Ch3, then slst in same stitch.
- Slst in each remaining stitch around the body until you reach the head.
- Cut yarn and fasten off, then go to Finishing Touches.
Share Your Makes from my Free Crochet Bunny Motif Pattern!
I’d love to see your version of the Bunny motif Pattern! Share your finished bunny motif on Instagram or Facebook and tag me @the_woolnest so I can admire your creations, or add your creations to Ravelry here: Little Easter Bunny Motif
Finishing Touches
- Add an eye using black yarn, if desired.
- Weave in all ends on the wrong side, then trim excess yarn.
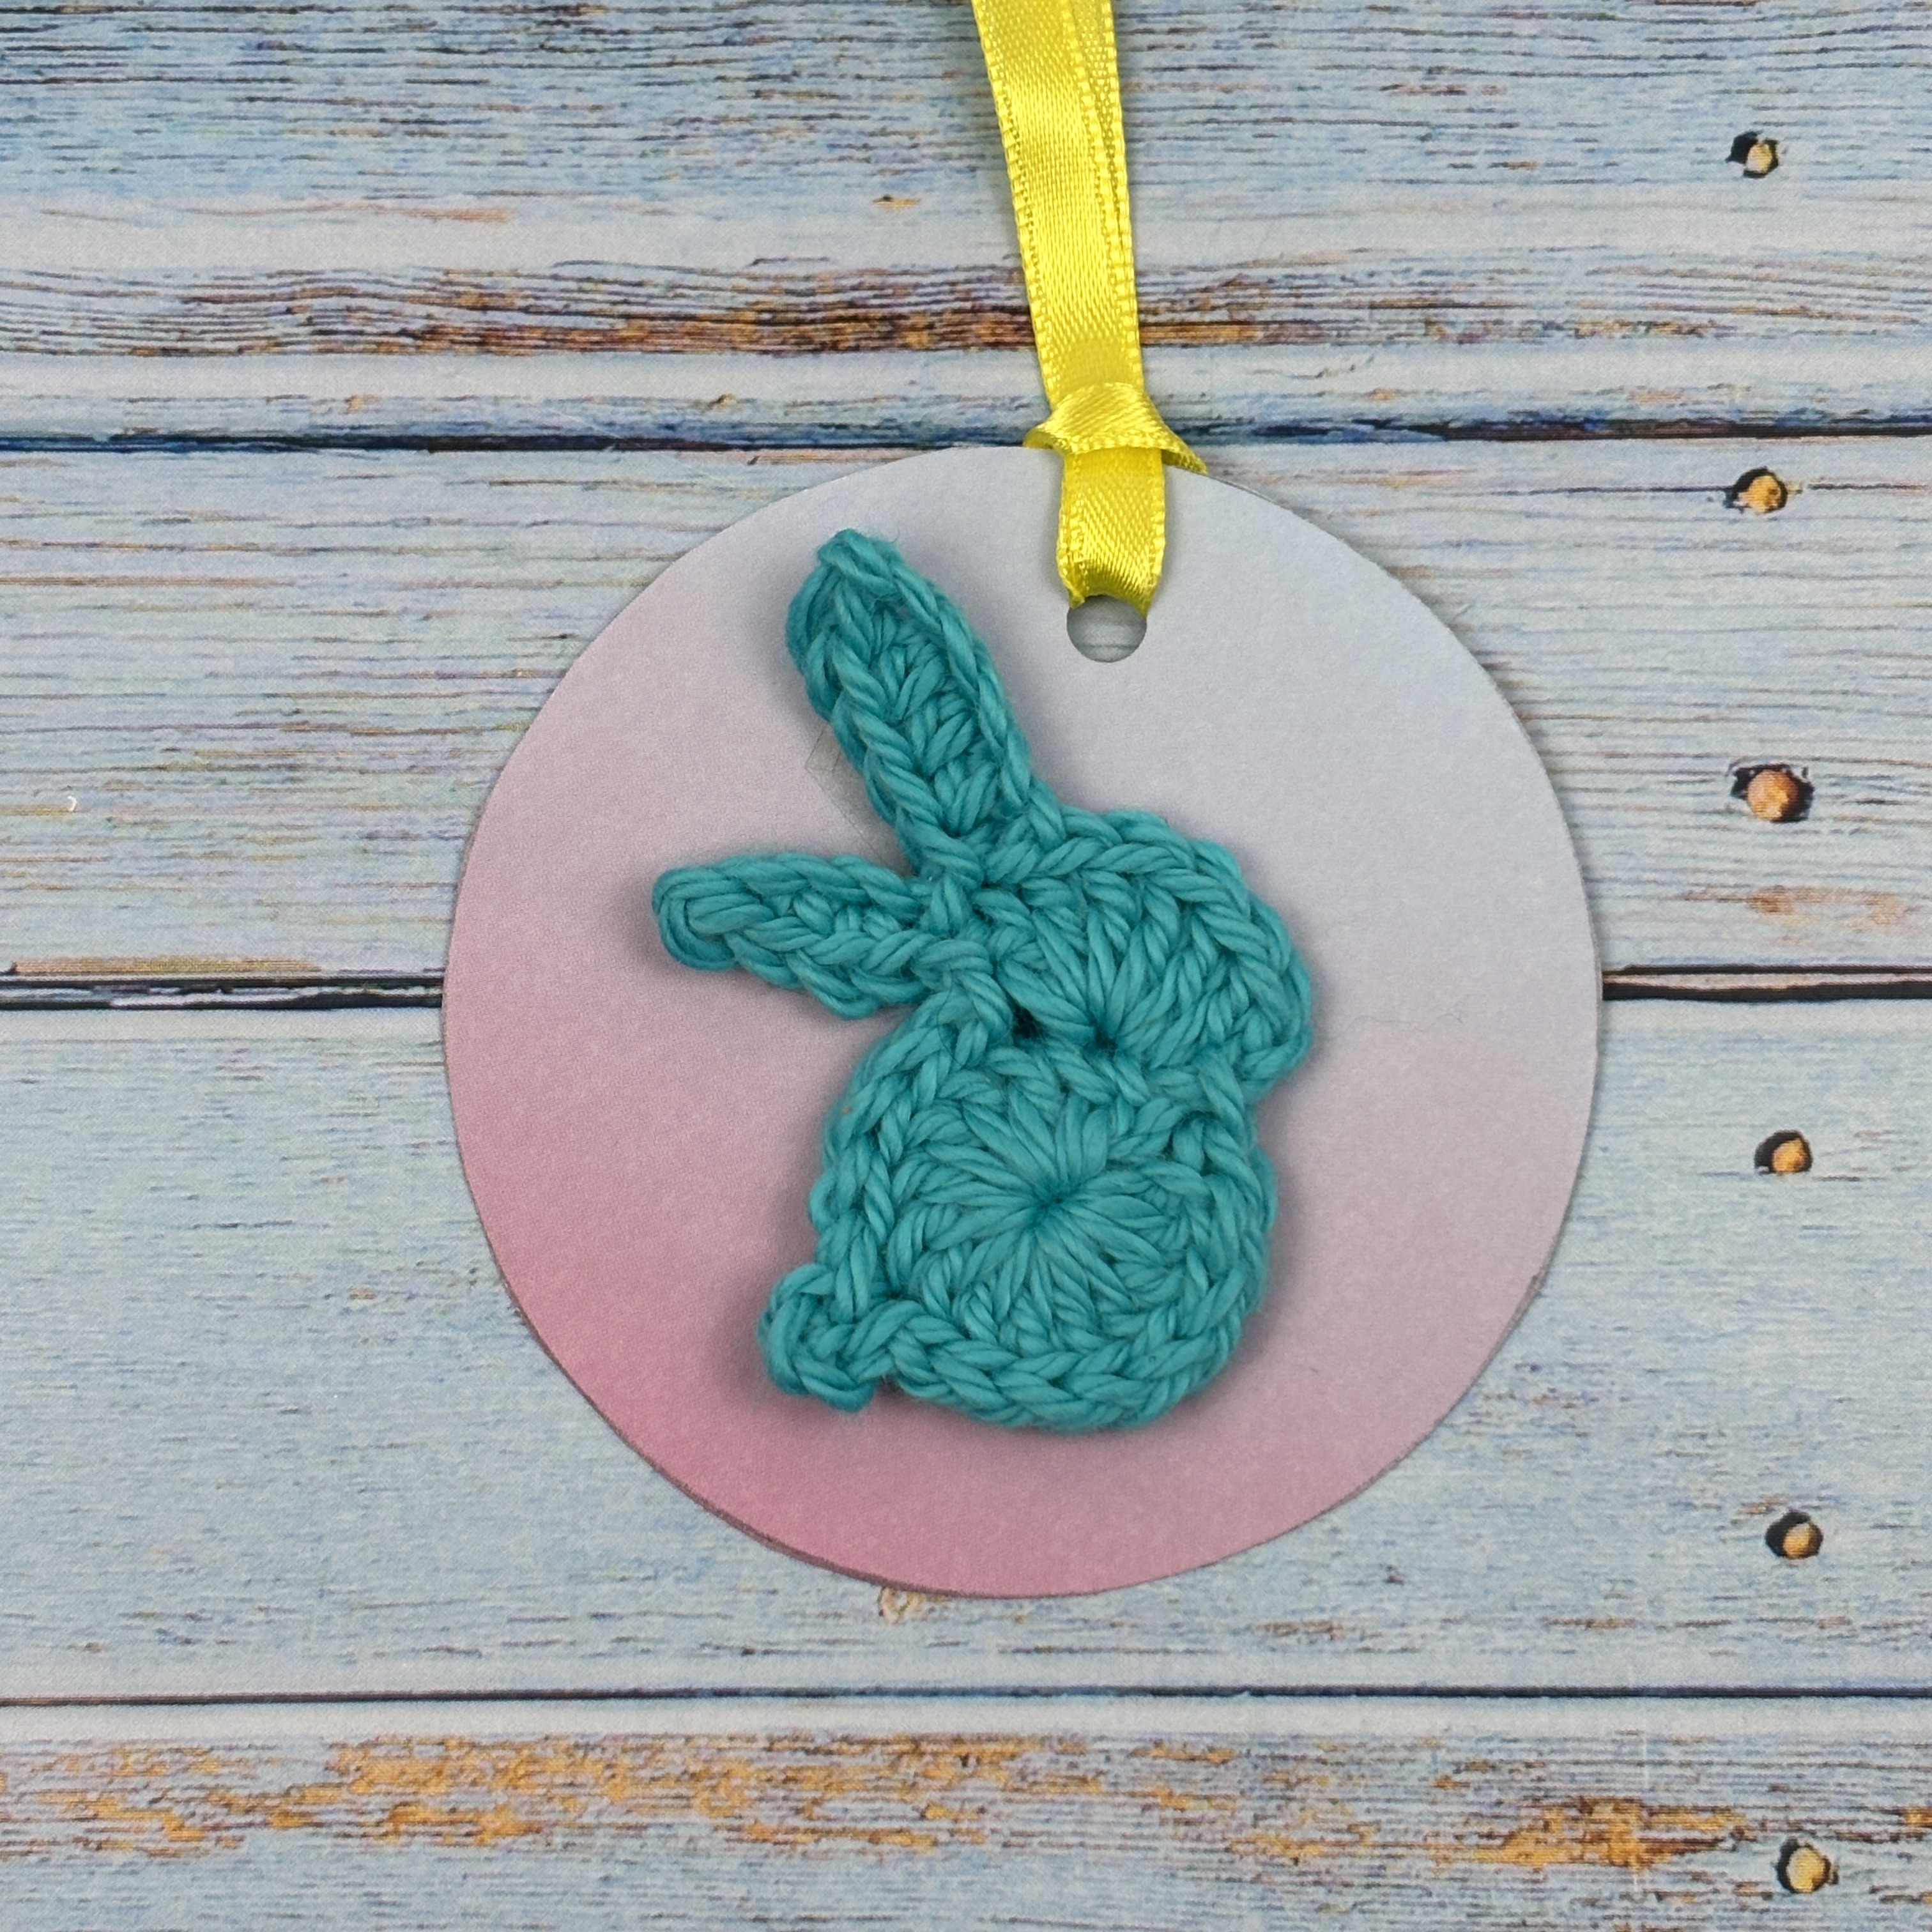
Assembling the Bunny Gift Tag
- Cut 1 circle from patterned card that is larger than the bunny motif.
- Attach the crochet bunny motif to the centre of the decorative card, using PVA glue or double-sided tape, then punch a hole at the top of the tag.
- Use the back of the tag to write your message.
- Finally, thread a short length of contrast yarn through the hole for tying onto gifts.
Ways to Use Your Crochet Bunny Tags
- Attach to Easter baskets or chocolate gifts.
- Use as a handmade touch for baby shower presents.
- Decorate greeting cards or scrapbooks.
- Add to handmade gift packaging for a personalised touch.
Final Thoughts on my Free Crochet Bunny Pattern
This adorable crochet bunny gift tag is a wonderful way to add a handmade touch to your gifts. It’s quick, fun, and also perfect for using up small yarn scraps. Whether you’re making these for Easter or other special occasions, they are sure to bring a smile, and saved as a keepsake.
Have you made this bunny tag? Share your finished projects with me on Instagram or Facebook!
Happy crocheting!
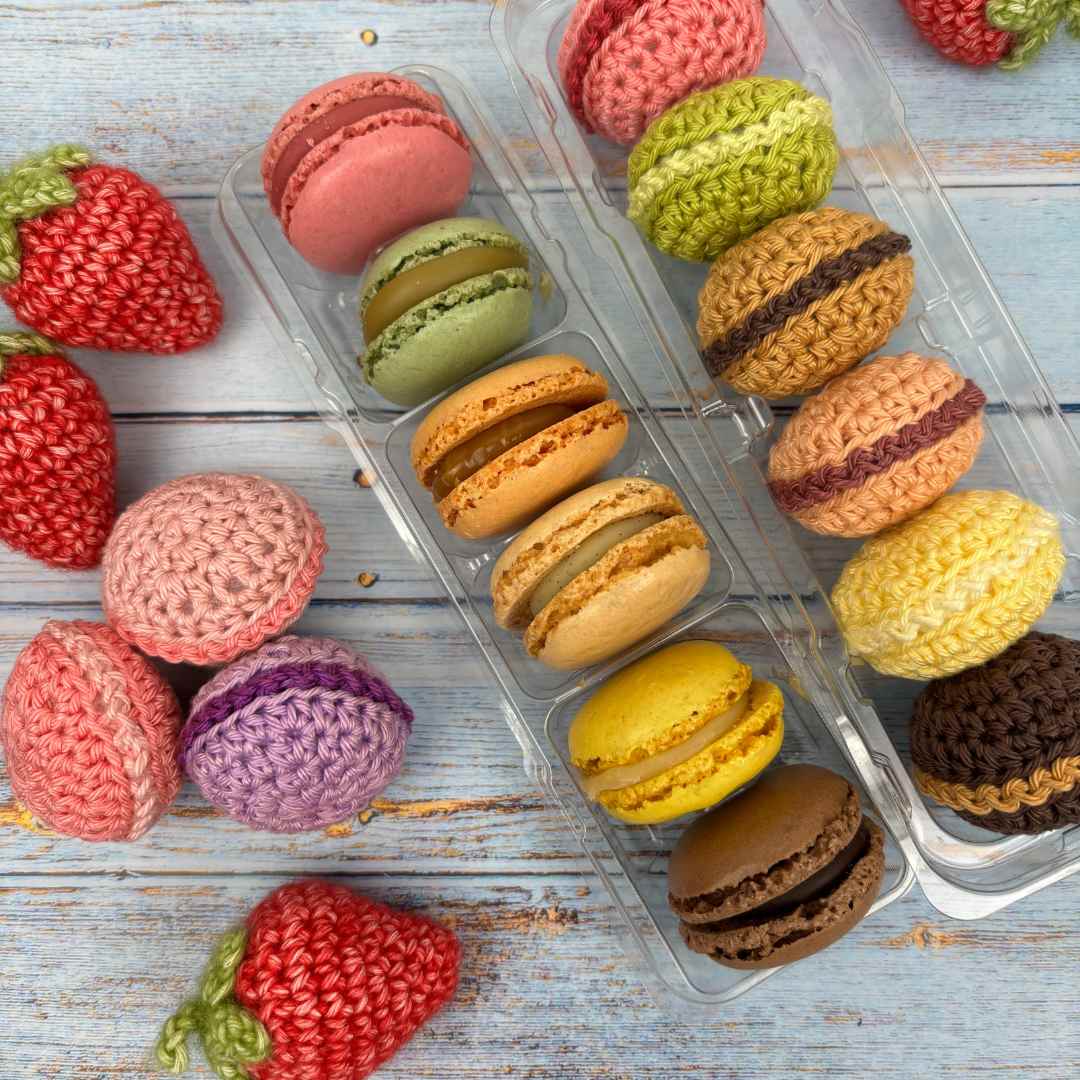
If you enjoyed crocheting these cute little bunny motifs, you will also enjoy my crochet macarons pattern which is also free. You can find the blog post here:
Let's keep in touch!
I'd love to chat more.
Sign up for my newsletter and receive a weekly dose of crafting inspiration, featuring the latest trends, tips, and projects to fuel your creativity.


Thank you for your lovely pattern, I am making small easter pieces to go in a homemade bag for our elderly friendship group, turningn the bunnies into fridge magnets as older fingures cannot manage brooches which was my first thought, once again Thank You!
That's a fabulous idea - fridge magnets - thanks for the inspiration. I'm glad you love the pattern too.