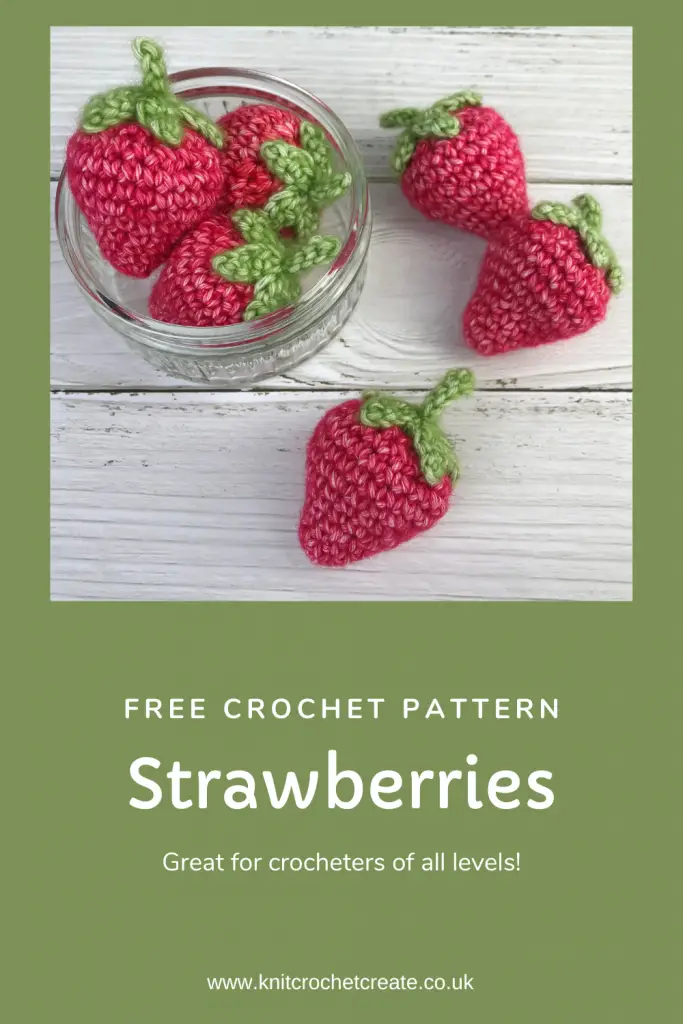
Free Crochet Strawberry Pattern – Easy Amigurumi Fruit
Today, we're embracing the whimsical world of fruit-inspired crochet with my free crochet strawberry pattern that is suitable for all skill levels.
There's something undeniably charming about crocheting fruits and veggies, and the strawberry holds a special place as one of the most iconic and beloved fruits in the crochet universe. It's a joyous addition to any amigurumi collection, kitchen decor, or children's playset, because it's sure to raise a smile.
In this blog post, I'll guide you through every step of creating your own strawberries, from selecting the perfect yarn, to stitching up those cute little details. So, whether you're crafting a basket full of berries for a summer-themed project or simply looking to add a touch of fruity fun to your crochet repertoire, this pattern is sure to satisfy your creative cravings.
So, grab your berry-coloured yarn, your favourite crochet hook, and let's embark on a delightful journey to crochet our very own strawberries.
Why You'll Love This Free Crochet Strawberry Pattern
These cute berries are one of those projects that are as enjoyable to make as they are to look at.
- Each one is small and quick to crochet, so you can easily make a whole punnet in an afternoon.
- They're worked in the round using the amigurumi method, which means no seams and a beautifully neat finish every time.
- Because they use such small amounts of yarn, they're also a brilliant stash-busting project. Perfect for those leftover scraps of red and green double knitting (light worsted weight).
- Whether you're making them for yourself or as a gift, they never fail to raise a smile.

When to Make Crochet Strawberries
Crochet strawberries work beautifully for all sorts of occasions throughout the year:
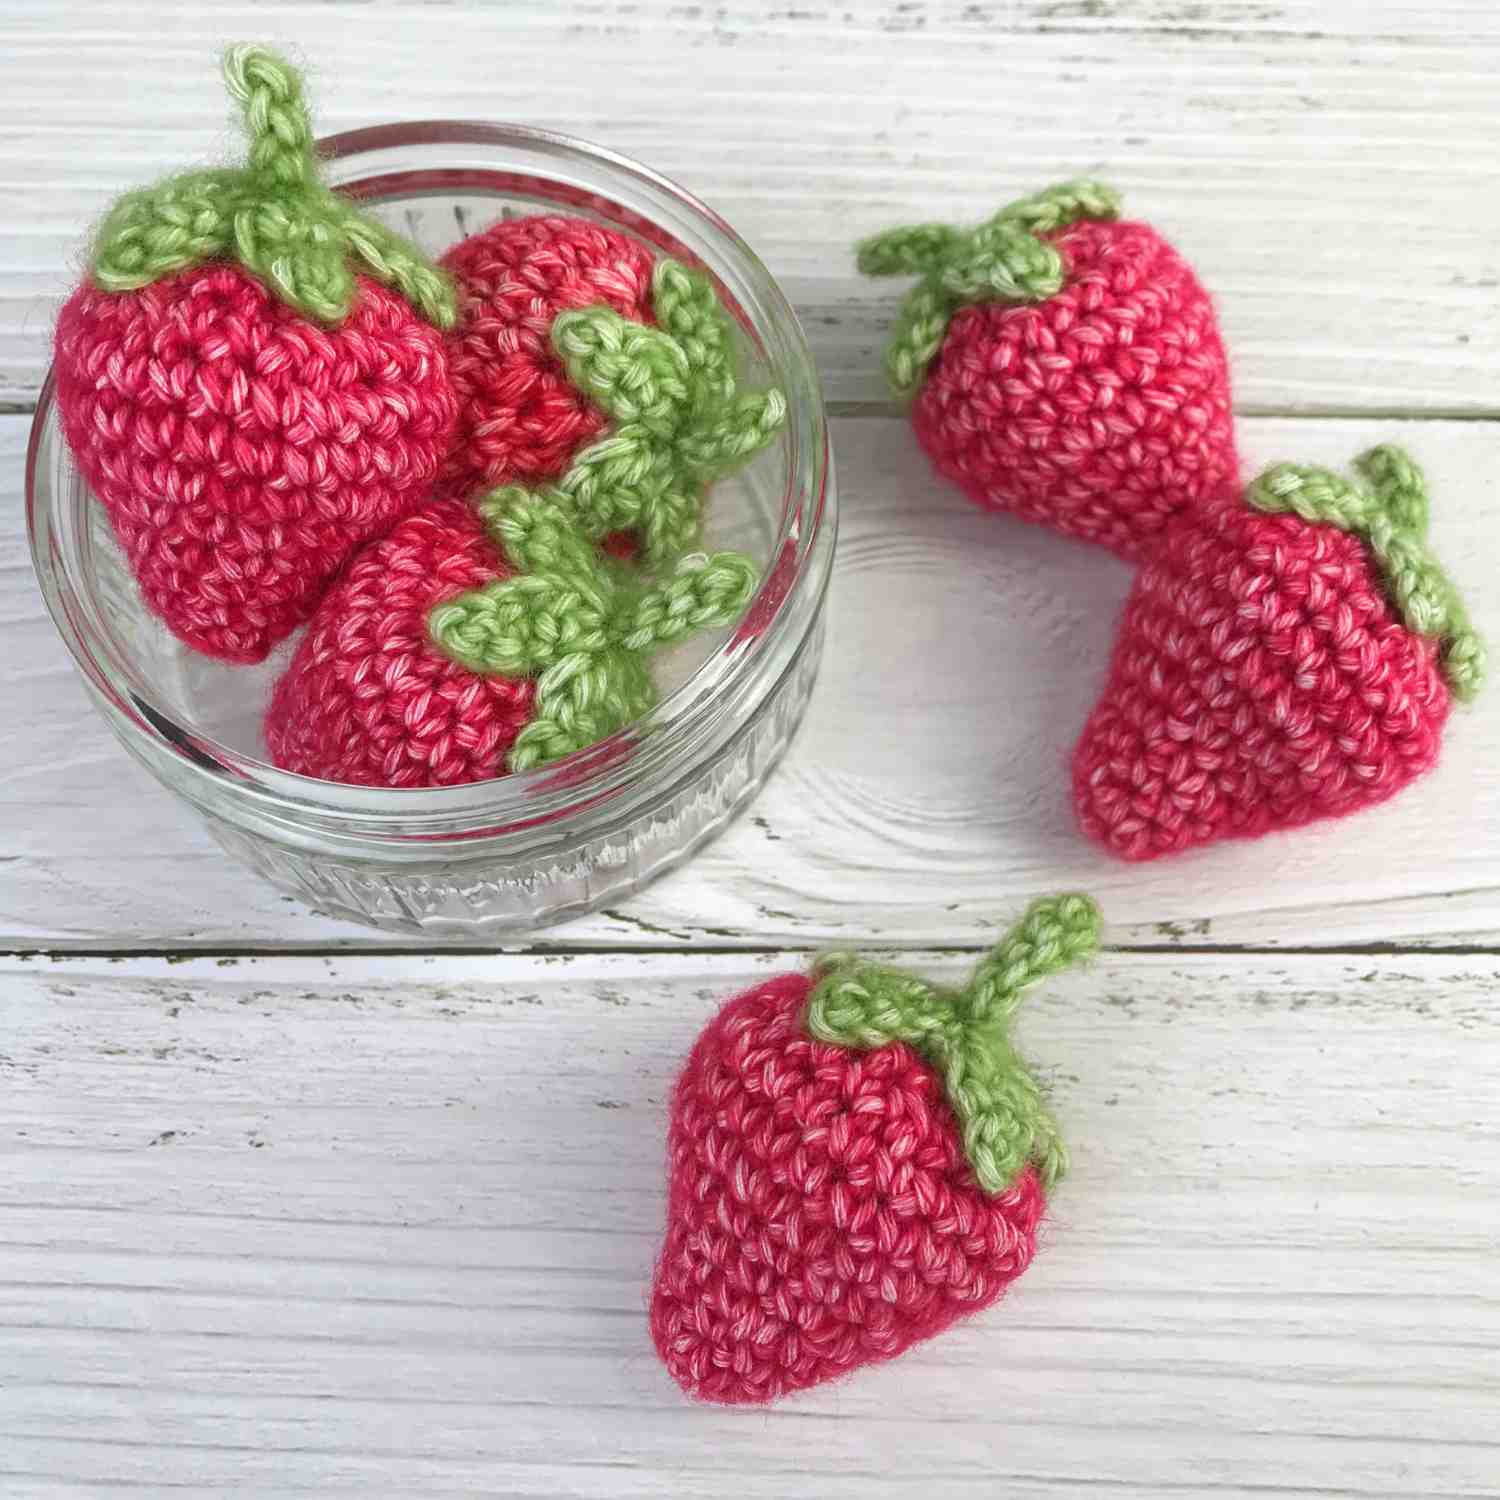
- Summer decorations — a bowl of crochet strawberries makes a charming seasonal display for your kitchen or windowsill during the summer months.
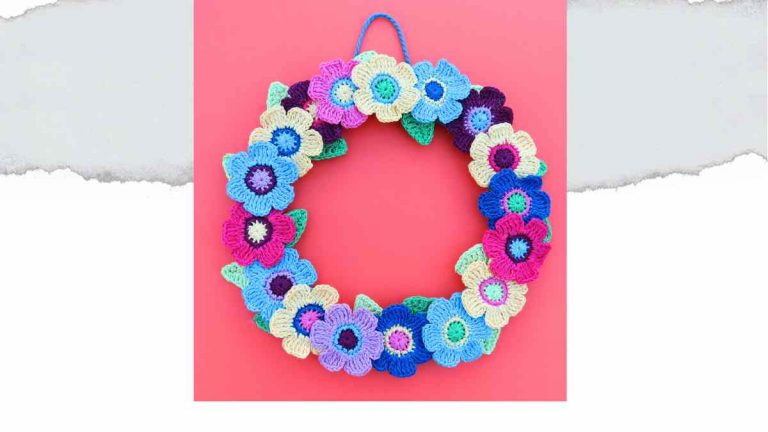
- See my free crochet daffodil pattern to make a bunch of flower for your kitchen
- Wimbledon season — strawberries and cream is the ultimate Wimbledon treat, and a handmade crochet version makes a wonderfully quirky nod to the occasion.
- Play food — children love crochet fruit in their toy kitchens. Strawberries are a firm favourite alongside other crocheted fruits and vegetables.
- See my free crochet cake pattern — they're perfect for pretend play.
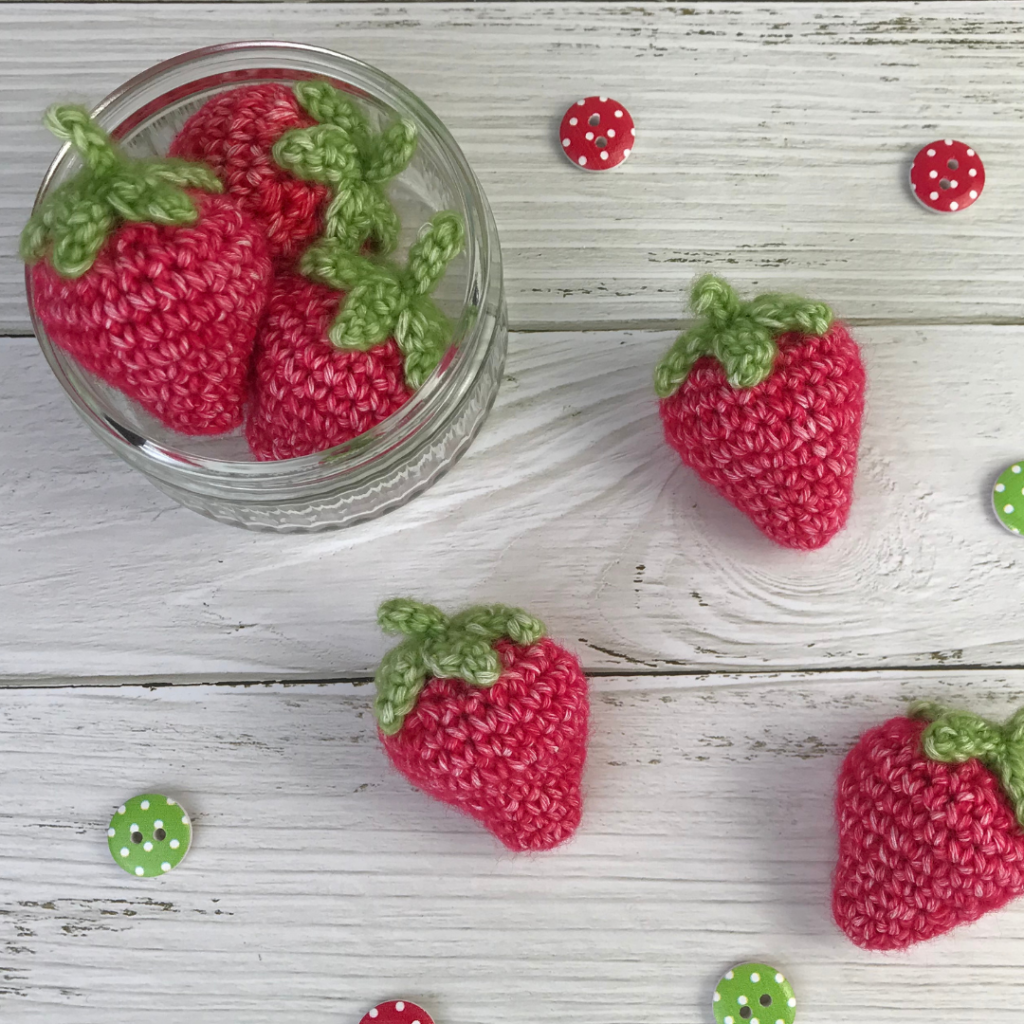
- Handmade gifts — a small bag of crochet strawberries tied with a ribbon makes a sweet and thoughtful handmade gift at any time of year.
- Amigurumi collections — if you enjoy collecting or making amigurumi figures, strawberries are a classic addition. They look wonderful grouped together in a small bowl or basket.
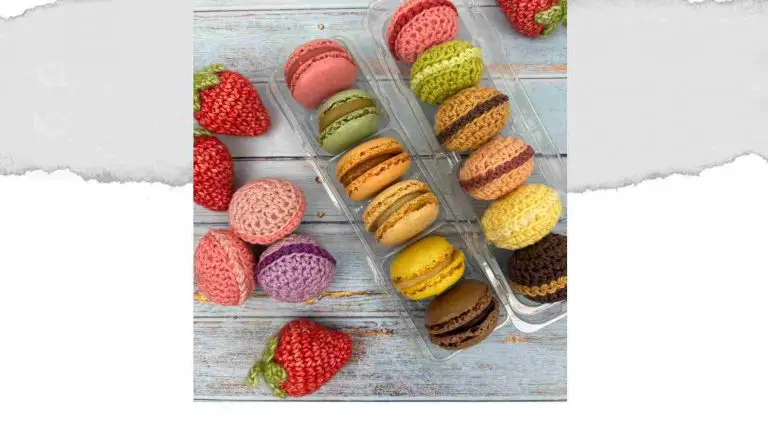
- See my free crochet macaron pattern — they look great with these strawberries.
- Stash busting — each one uses only around 5g of yarn, making them ideal for using up the tiniest oddments from your yarn stash.
Materials you need to make a strawberry from my free pattern
- Yaarn: Scheepjes Stonewashed (50g/130m).
- Note: each strawberry only takes a small amount of yarn (approximately 5g).
- This particular yarn has a white fleck that resembles strawberry seeds, but you could add seeds by sewing small stitches using white yarn, or yellow yarn instead.
- Red: 1 x Red Jasper (Shade 807).
- Green: 1 x Canada Jade (Shade 806).
- 3mm (US D/3) hook.
- Small amount of toy filling.
- Yarn needle (tapestry needle) and scissors.
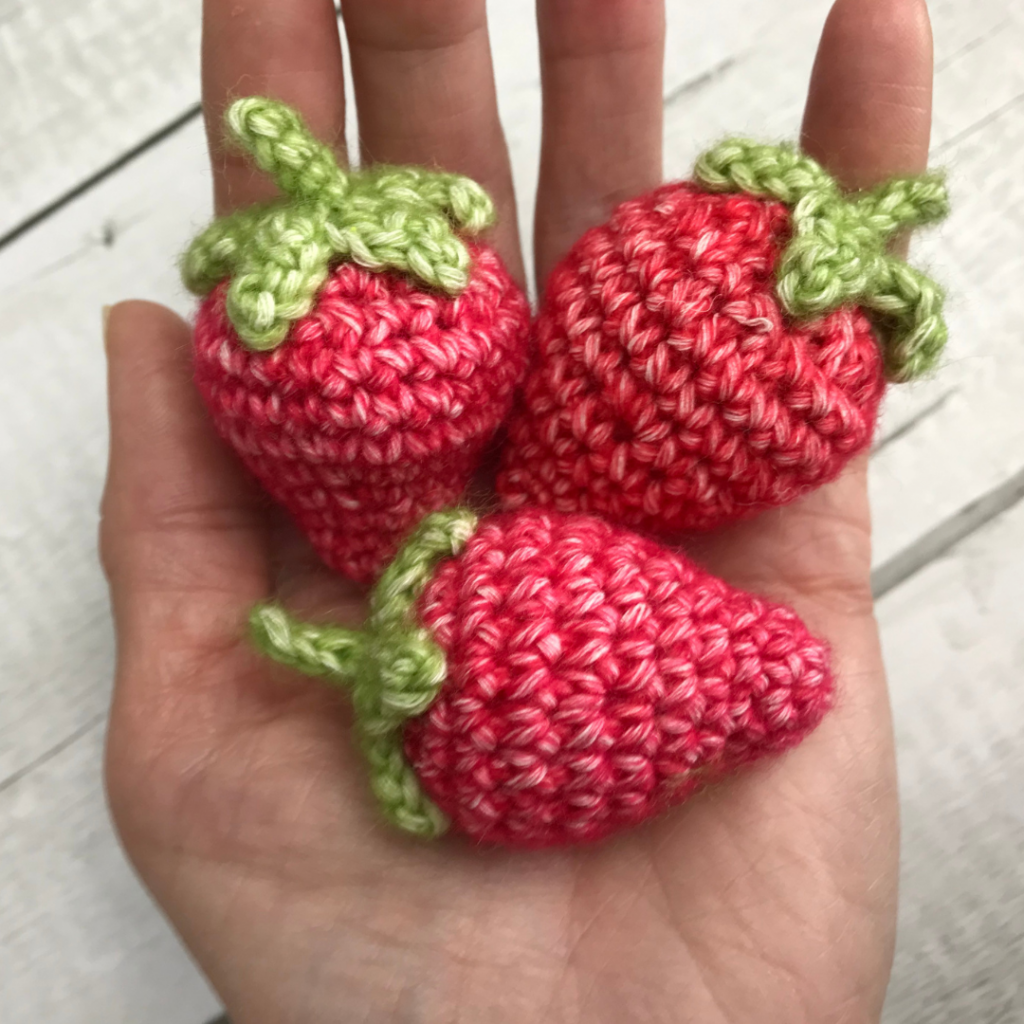
Finished size of your crochet strawberry
- Approximately 4.5cm high (excluding stalk) using Scheepjes Stonewashed and 3mm (US D/3) hook.
- Note: These instructions create a plump, large strawberry, but you can make smaller strawberries using 4ply yarn and a 2.5mm (US C/2) hook.
Gauge/Tension
- Is not critical for this project.
- Just make sure that you use a smaller hook than recommended for your yarn, so that the toy filling does not show through.
Pattern Notes
- This pattern uses the amigurumi method of working in a continuous spiral without joining each round.
- If it helps, use a stitch marker to mark the first stitch of each round, then move it up as you work.
Copyright
Please read the copyright terms, which apply globally, before downloading your pattern:
This pattern is published under copyright to me ©Lynne Rowe 2024 and is for your own personal use only. Feel free to sell items made from this pattern for charity fundraising purposes, or to gift to family and friends, but selling small numbers for profit is only allowed with permission. Please email lynne@knitcrochetcreate.com for permission to sell in small numbers. By downloading or using this pattern, you agree to these terms.
Abbreviations (US terms given first, with UK terms in brackets)
- ch = chain.
- cm = centimetres.
- st(s) = stitch(es).
- sc = single crochet (UK dc = double crochet).
- sc2togFLO, single crochet 2 sts together through front loops only (UK dc2togFLO = double crochet 2 sts together through front loops only).
- hdc, half double crochet (UK htr = half treble crochet).
- mm = millimetres.
- slst = slip stitch.
- yrh = yarn around hook.
- RS = right side.
- WS = wrong side.
How to make a Strawberry from my free crochet pattern
- Choose the crochet terms you prefer — the pattern in US terms is provided first, followed by the pattern in UK terms.
- Follow your chosen pattern — basic stitches are used; mainly US single crochet, which is UK double crochet.
- Crochet the Strawberry first, which is worked from the tip of the strawberry to the head of the strawberry.
- The strawberry is stuffed with toy filling.
- Crochet the leaf section second, then sew it to the top of the strawberry.
Free Crochet Strawberry Pattern US terms
With Red and US D/3 (3mm) hook, make a magic ring, then work as follows:
- Rnd 1 (RS): Ch1 (does not count as a st), 6sc into the magic ring, then pull ring tight to close. (6 sts)
- Place a stitch marker in first st, and move it up as you work.
- Rnd 2: [2sc in next st, 1sc in next st] 3 times. (9 sts)
- Rnd 3: 1sc in each st around.
- Rnd 4: [2sc in next st, 1sc in next 2 sts] 3 times. (12 sts)
- Rnd 5: [2sc in next st, 1sc in next 3 sts] 3 times. (15 sts)
- Rnd 6: [2sc in next st, 1sc in next 4 sts] 3 times. (18 sts)
- Rnd 7: [2sc in next st, 1sc in next 2 sts] 6 times. (24 sts)
- Rnds 8 and 9: 1sc in each st around.
- Rnd 10: [1sc in next 2 sts, sc2togFLO] 6 times. (18 sts)
- Rnd 11: [Sc2togFLO] 9 times. (9 sts)
- Fill firmly with toy stuffing at this point, then use the blunt end of your hook or a pencil to push the toy stuffing through the gap.
- Rnd 12: [Sc2togFLO] twice, slst in next st, sc2togflo, then change to Green and slst in next st (leaving last st unworked).
- Stalk: With Green, ch6, slst in second ch from hook, slst in each of next 4 ch, then slst into a stitch on opposite the base of the stalk on Rnd 12. This will help to anchor the stalk and to make it more central.
- Cut yarns and fasten off, then weave each yarn end into the Strawberry.
Leaves
With Green and US D/3 (3mm) hook, make a magic ring, then work as follows:
- Rnd 1 (RS): *Ch4, slst in second ch from hook, 1sc in next ch, 1hdc in next ch, slst into magic ring; repeat from * a further 4 times. (5 leaves)
- Cut yarn then fasten off, but do not pull the magic ring closed. Instead, turn leaves over to WS and slide over the stalk.
- Pull magic ring to close around the stalk, then use tail ends to sew leaves to centre top of strawberry.
Free Crochet Strawberry Pattern UK terms
With Red and 3mm (US D/3) hook, make a magic ring, then work as follows:
- Rnd 1 (RS): Ch1 (does not count as a st), work 6dc into the magic ring, then pull ring tight to close. (6 sts)
- Place a stitch marker in first st, and move it up as you work.
- Rnd 2: [2dc in next st, 1dc in next st] 3 times. (9 sts)
- Rnd 3: 1dc in each st around.
- Rnd 4: [2dc in next st, 1dc in next 2 sts] 3 times. (12 sts)
- Rnd 5: [2dc in next st, 1dc in next 3 sts] 3 times. (15 sts)
- Rnd 6: [2dc in next st, 1dc in next 4 sts] 3 times. (18 sts)
- Rnd 7: [2dc in next st, 1dc in next 2 sts] 6 times. (24 sts)
- Rnds 8 and 9: 1dc in each st around.
- Rnd 10: [1dc in next 2 sts, dc2togFLO 6 times. (18 sts)
- Rnd 11: [Dc2togFLO] 9 times. (9 sts)
- Fill firmly with toy stuffing at this point, then use the blunt end of your hook or a pencil to push the toy stuffing through the gap.
- Rnd 12: [Dc2togFLO] twice, slst in next st, dc2togFLO, then change to Green then slst in next st (leaving last st unworked).
- Stalk: With Green, ch6, slst in second ch from hook, slst in each of next 4 ch, then slst into a stitch on opposite the base of the stalk on Red 12. This will help to anchor the stalk and to make it more central.
- Cut yarns and fasten off, then weave each yarn end into the Strawberry.
Leaves
With Green and 3mm (US D/3) hook, make a magic ring, then work as follows:
- Rnd 1 (RS): *Ch4, slst in second ch from hook, 1dc in next ch, 1htr in next ch, slst into magic ring; repeat from * a further 4 times. (5 leaves)
- Cut yarn then fasten off, but do not pull the magic ring closed. Instead, turn leaves over to WS and slide over the stalk.
- Pull magic ring to close around the stalk, then use tail ends to sew leaves to centre top of strawberry.
Crochet Strawberry Amigurumi Pattern: Frequently Asked Questions
Is this crochet strawberry pattern suitable for beginners?
This pattern is ideal for beginners who have learned the basic crochet stitches and are comfortable working in the round. The amigurumi method used is explained clearly in the pattern notes. Once you've made your first strawberry you'll find the rest come together very quickly. It's a brilliant confidence-building project.
What yarn do I need to crochet a strawberry?
I've used Scheepjes Stonewashed yarn in Red Jasper and Canada Jade, with a 3mm hook. However, any DK or sport weight yarn will work well — feel free to use up oddments from your stash. If you'd like smaller strawberries, try a 4ply yarn with a 2.5mm hook. The most important thing is to use a hook slightly smaller than recommended for your yarn. This means that the toy filling won't show through the stitches.
How long does it take to crochet a strawberry?
Each strawberry is a very quick make — most crocheters complete one in around 30 to 45 minutes, including the leaves. Once you get into the rhythm of the rounds, they go very fast, and many crafters find themselves making a whole bowlful in one sitting!
How big is the finished crochet strawberry?
Using Scheepjes Stonewashed yarn and a 3mm hook, each finished strawberry measures approximately 4.5cm high, not including the stalk. Using a chunkier yarn and larger hook will give you a bigger strawberry, while a finer yarn will produce a miniature version.
Can I sell items made from this free crochet pattern?
You are welcome to sell small numbers of items made from this pattern, but only with permission first. Please email lynne@knitcrochetcreate.com to request permission before selling. Items made for charity fundraising or for gifting to family and friends are always welcome with no permission needed.
Can I make the strawberries in other colours?
Absolutely! While red is the classic choice, crochet strawberries look wonderful in yellow (for golden strawberries), pink, or even white for a winter or fairytale-inspired version. The pattern works exactly the same regardless of colour, so feel free to get creative with your yarn stash.
What Next?
Share your makes from my Free Crochet Strawberry Pattern
If you love this pattern, then I’d love to see your finished projects! Tag me on Instagram [@knitcrochetcreate] so I can admire your colour combinations and see what you make with them.
If you enjoyed crocheting these cute strawberries, you may also enjoy another of my free amigurumi patterns: easy crochet cake — another quick stash-busting make that's free on the blog.
Let's keep in touch!
I'd love to chat more.
Sign up for my newsletter and receive a weekly dose of crafting inspiration, featuring the latest trends, tips, and projects to fuel your creativity.