Free Crochet Cupcake Pattern for a stash-busting cake
My free crochet cupcake pattern is a fun, colourful little project that’s also perfect for using up yarn leftovers. Designed to look like a cupcake, this quick and easy crochet cake is topped with a small flower and leaves, so it's a fun and enjoyable project.
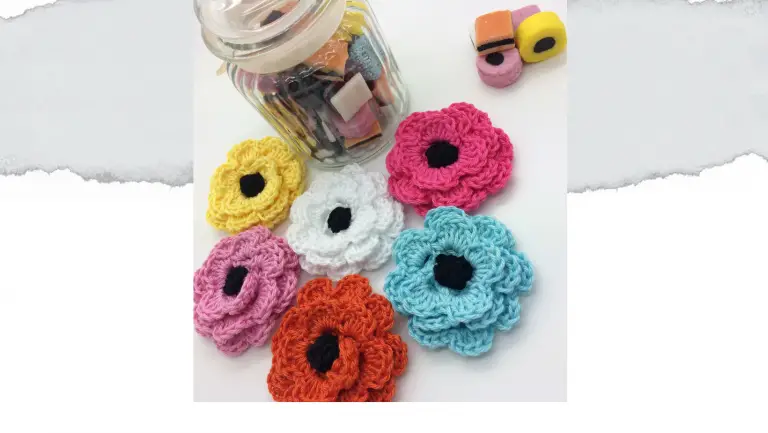
If you love cute crochet projects that help you work through your yarn stash, this crochet cake is a lovely addition to your project list. It’s small, satisfying, and ideal for using up oddments of yarn in different colours. You can keep it simple or go bold with bright shades – therefore every cake can look different.
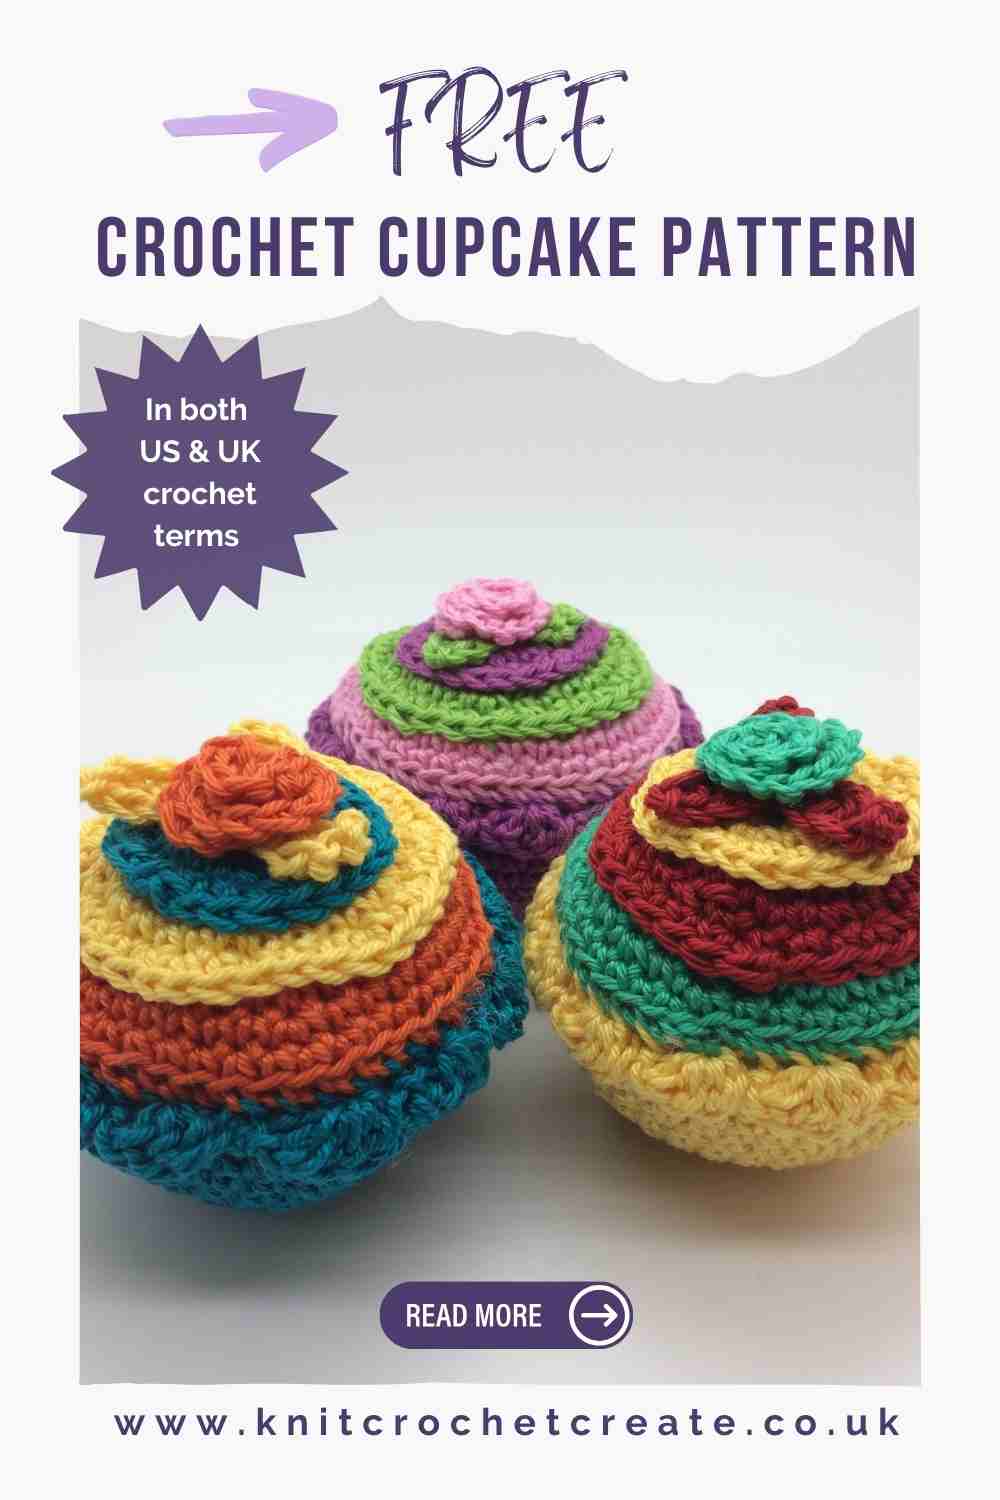
These crochet cakes are fast to make and very portable, so they're great for relaxed crafting, or crafting on-the-go. Make one as a decoration, gift, or photo prop, or create a whole batch for parties, play kitchens, craft fairs, or charity projects. Then once you’ve made a few, the pattern becomes easy to remember.
The pattern also works well with any yarn weight, therefore making it a versatile stash-buster.
Free Crochet Cupcake Pattern – Level of Difficulty
This crochet cake is an easy make, so it's perfect for confident beginners.
It uses basic stitches, along with a few simple shaping techniques to form the cake, frosting, and decorative flower and leaves. If you are comfortable with basic crochet stitches and enjoy working in the round, you should find this pattern straightforward and enjoyable.
Why You’ll Love This Free Crochet Cupcake Pattern
- It’s a quick project, therefore you get instant results.
- Perfect for using small amounts of leftover yarn.
- You can change colours easily to suit your stash.
- Each cake is unique, even when using the same pattern.
- It makes a great gift, decoration, or a fun play food item.
Yarn Stash Ideas
This crochet cake is ideal for using up small scraps of yarn. You could try:
- Using one colour for the cake base and a contrasting colour for the frosting (icing).
- Mixing bright scraps for a playful, novelty look.
- Choosing pastel shades for a softer cupcake style.
- Using green scraps for leaves and tiny leftovers for the flower centre.
If you have lots of small balls, mini skeins, or leftover lengths from previous projects, this pattern is a great way to use them without waste.
How To Get Your Free Crochet Cupcake Pattern
The pattern is written out in full in both US and UK crochet terms. US terms are given first, followed by UK terms.
Scroll down to the pattern section to find the step-by-step instructions. There’s no need to sign up or log in – because the pattern is free to use right here on the blog.
Free Crochet Cupcake Pattern: Materials Needed
For each cake you will need:
- Approximately 10g/25m of 4ply cotton in each of 3 colours.
- I used: Scheepjes Catona 4ply cotton (10g/25m balls).
- Note that you can also use sport weight or double knitting yarn (light worsted weight)
- 3mm (US D/3) crochet hook.
- Stitch marker.
- Toy stuffing.
- Wool needle.
Tension or Gauge
Tension is not critical for this project because it doesn't matter if your cake turns out a different size. Using a hook size slightly smaller than recommended on the yarn ball band will create a tight stitch and prevent the toy stuffing showing through.
Finished Size of Crochet Cupcake
Approximately 8cm high.
Crochet Abbreviations (US Terms)
- blo = back loop only
- ch = chain
- dc = double crochet
- flo = front loops only
- RS = right side
- sc = single crochet
- slst = slip stitch
- st(s) = stitch(es)
- [ ] = repeat instructions within brackets as many times as stated
Free Crochet Cupcake Pattern in US Terms
CAKE CASE
Using first colour, make 2ch then continue:
- Round 1 (RS): 6sc in 2nd ch from hook. (6 sts)
- Continue to work in the round without joining each round. Place stitch marker in first stitch, in order to mark the beginning of the round, and move it up after each round.
- Round 2: 2sc in each st. (12 sts)
- Round 3: [2sc in next st, 1sc in next st] 6 times. (18 sts)
- Round 4: [2sc in next st, 1sc in next 2 sts] 6 times. (24 sts)
- NOTE: The increases on the next round are offset, so that a neat circle shape is maintained.
- Round 5: 1sc in next st, 2sc in next st, [1sc in next 3 sts, 2sc in next st] 5 times, 1sc in next 2 sts. (30 sts)
- Round 6 (work in the back loops only): [2sc in blo of next st, 1sc in blo of next 4 sts] 6 times. (36 sts)
- Rounds 7-9: 1sc in each st.
- Round 10: [2sc in next st, 1sc in next 5 sts] 6 times. (42 sts)
- Rounds 11-13: 1sc in each st.
- Round 14 (work in the front loops only): [3dc in flo of next st, miss next st, slst in flo of next st] 14 times, then cut yarn, leaving a 15cm tail and fasten off.
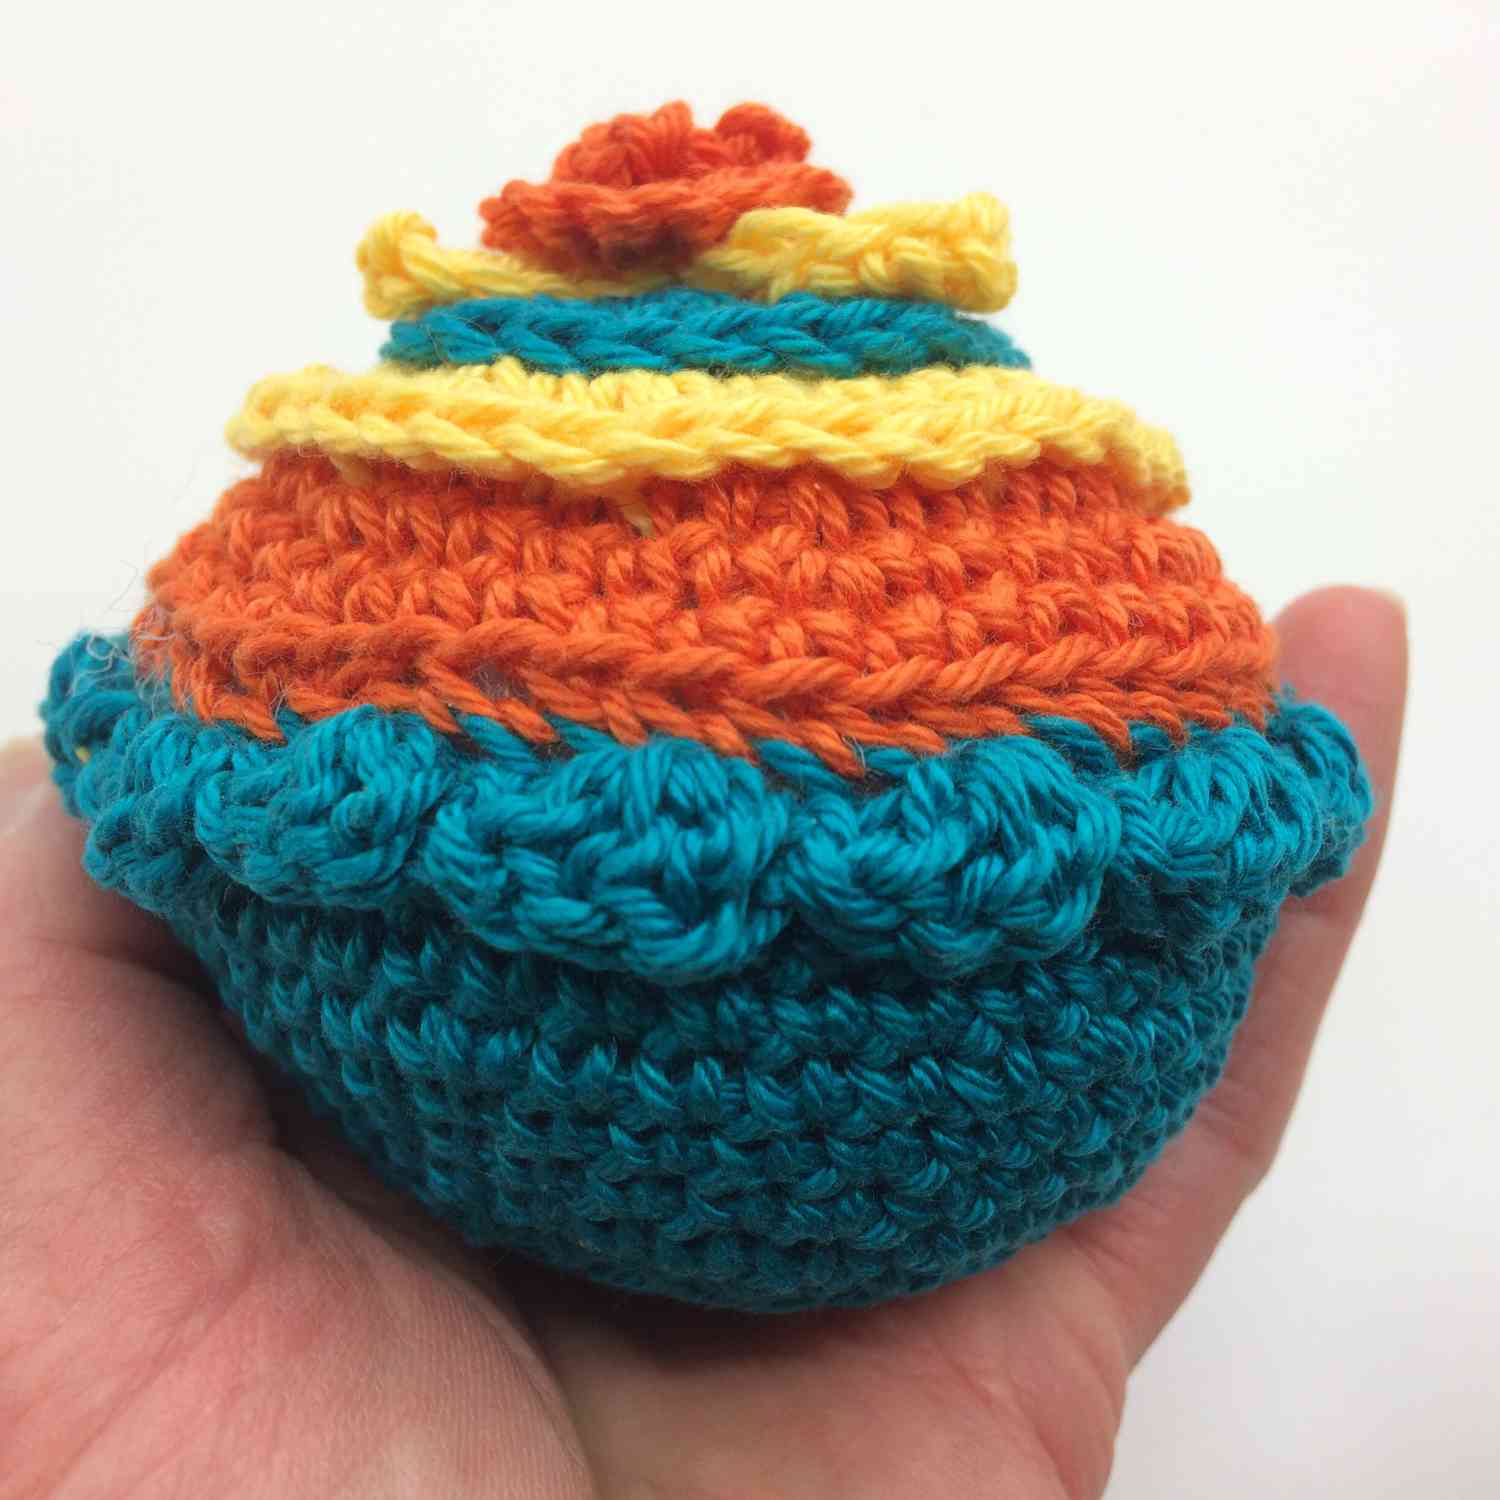
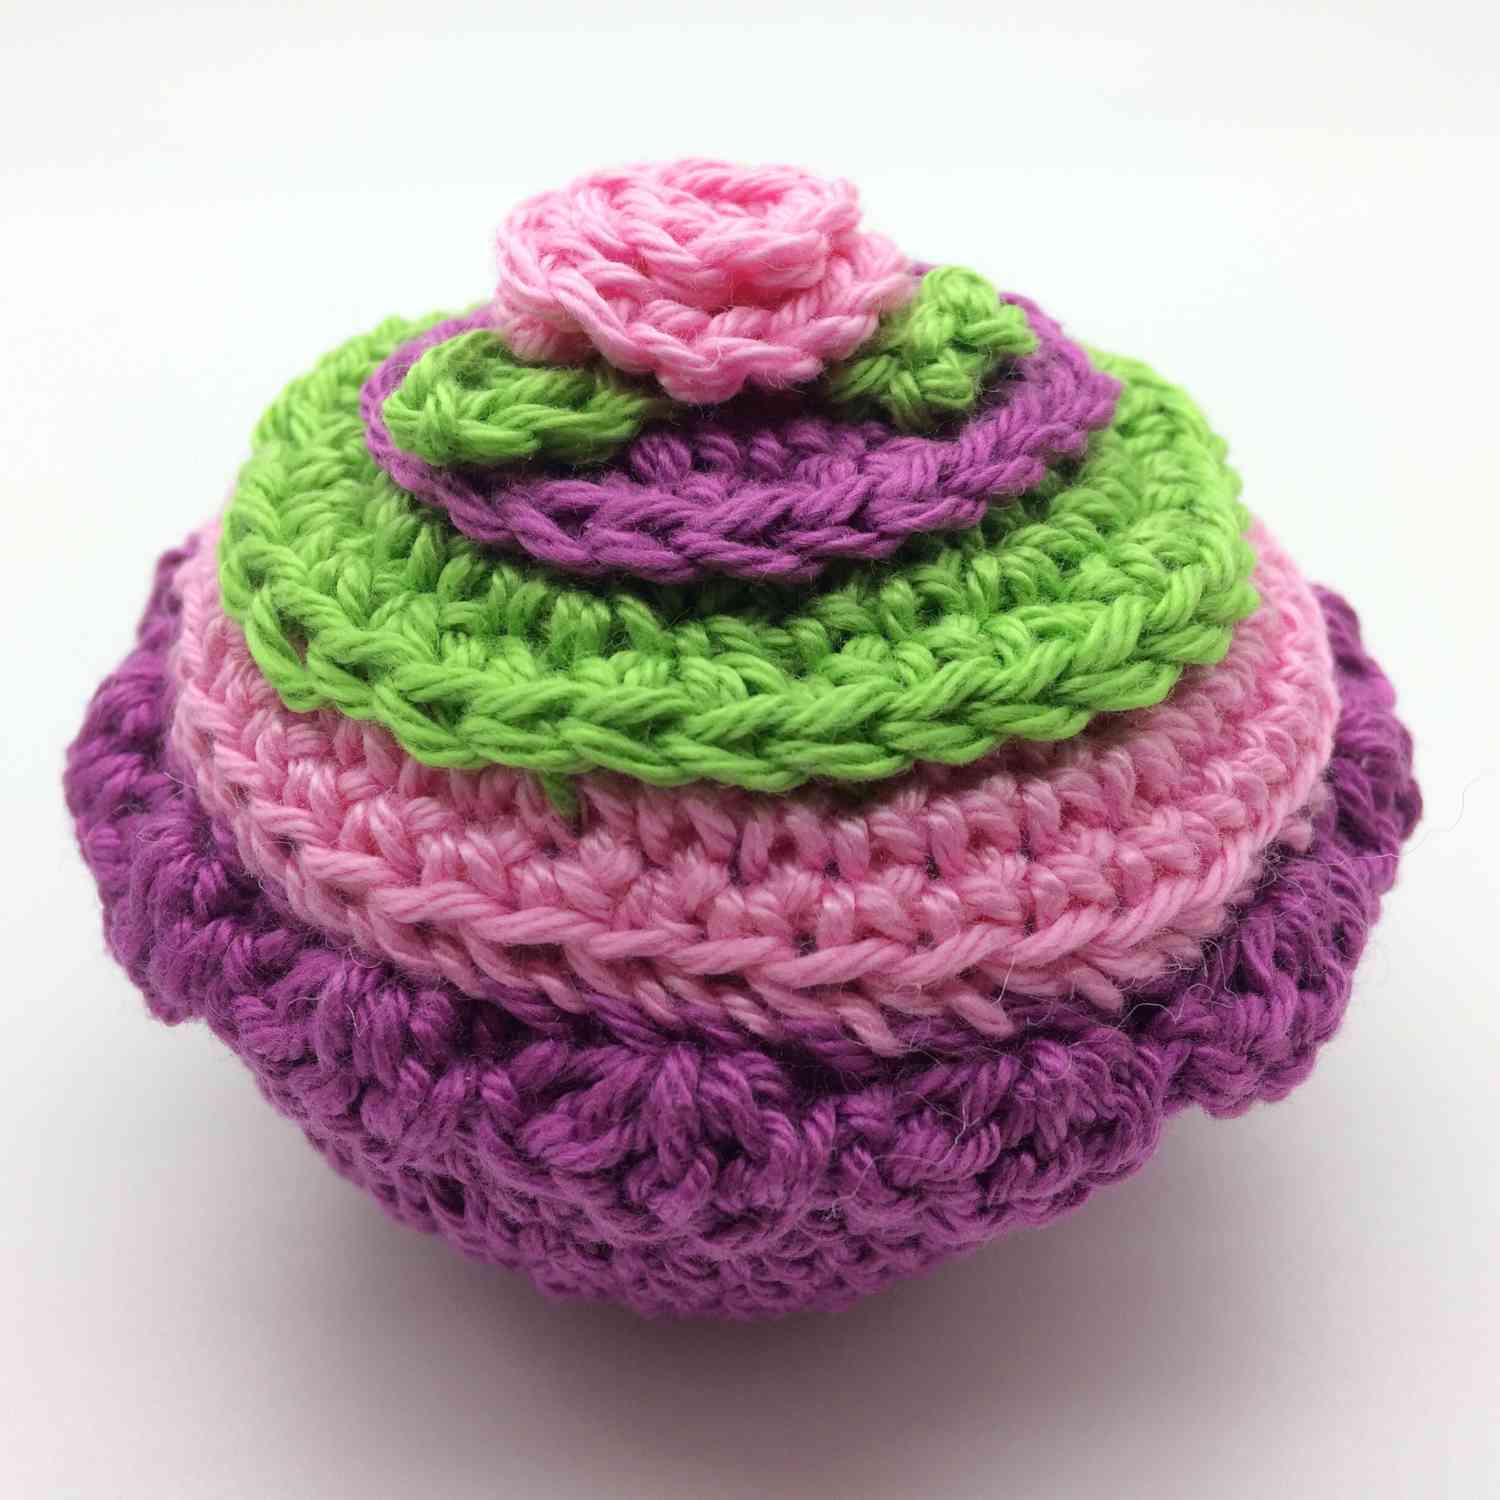
CAKE TOP
Using second colour, make 2ch, then continue:
- Work as given for Cake Case to the end of Round 5. (30 sts)
- Round 6: [2sc in next st, 1sc in next 4 sts] 6 times. (36 sts)
- Round 7: [2sc in next st, 1sc in next 5 sts] 6 times. (42 sts)
- Round 8: 1sc in each st.
Slst in next st, then cut yarn and fasten off, leaving a long 45cm tail for sewing. Fill cake case with fiberfill stuffing, so that it's firm. Sew cake top to cake case by lining up the 42 sts of each piece then whip stitch together, through the back loops only, using long tail end from cake top. If needed, add more fiberfill as you sew, for a firm base.
CAKE TOPPINGS ARE MADE SEPARATELY AS FOLLOWS:
LARGE ICING CIRCLE (FROSTING)
Using third colour, make 2ch, then continue:
- Work as given for Cake Case to the end of Round 5. (30 sts)
- Round 6: [2sc in next st, 1sc in next 4 sts] 6 times. (36 sts)
- Slst in next st, then cut yarn leaving a long tail 30cm tail. Fasten off.
MEDIUM ICING CIRCLE (FROSTING)
Using first colour, make 2ch, then continue:
- Work as given for Cake Case to the end of Round 5. (30 sts)
- Slst in next st, then cut yarn leaving a long tail 30cm tail. Fasten off.
FLOWER
Using second colour make 13ch, then 2sc in 2nd ch from hook, 2sc in each ch to end. (24 sts). Cut yarn leaving a 20cm tail then fasten off. Roll up the flower tightly and stitch it together at base in order to hold it together.
LEAVES
Using second colour, *ch5, working back along this ch, 1sc in 2nd ch from hook, 1dc in next 2 ch, [1sc and 1slst] in next ch (1 leaf made)*; repeat from * to * twice more, then slst into the base of first leaf. Cut yarn leaving a 20cm tail then fasten off.
MAKING UP YOUR CROCHET CUPCAKE
Layer the toppings as follows:
- Sew the leaves to the base of the flower then sew these to the centre of the medium icing circle (frosting).
- Then, sew the medium icing circle to the large icing circle (frosting).
- Finally, sew the large icing circle to the cake top.

Free Crochet Cupcake Pattern in UK Terms
Crochet Abbreviations (UK Terms)
- blo = back loop only
- ch = chain
- dc = double crochet
- flo = front loops only
- RS = right side
- slst = slip stitch
- st(s) = stitch(es)
- tr = treble crochet
- [ ] = repeat instructions within brackets as many times as stated
CAKE CASE
Using first colour, make 2ch, then continue:
- Round 1 (RS): 6dc in 2nd ch from hook. (6 sts)
- Continue to work in the round without joining each round. Place stitch marker in first stitch, in order to mark the beginning of the round, and move it up after each round.
- Round 2: 2dc in each st. (12 sts)
- Round 3: [2dc in next st, 1sc in next st] 6 times. (18 sts)
- Round 4: [2dc in next st, 1sc in next 2 sts] 6 times. (24 sts)
- NOTE: The increases on the next round are offset, so that a neat circle shape is maintained.
- Round 5: 1dc in next st, 2dc in next st, [1dc in next 3 sts, 2dc in next st] 5 times, 1dc in next 2 sts. (30 sts)
- Round 6 (work in the back loops only): [2dc in blo of next st, 1dc in blo of next 4 sts] 6 times. (36 sts)
- Rounds 7-9: 1dc in each st.
- Round 10: [2dc in next st, 1dc in next 5 sts] 6 times. (42 sts)
- Rounds 11-13: 1dc in each st.
- Round 14 (work in the front loops only): [3tr in flo of next st, miss next st, slst in flo of next st] 14 times, then cut yarn, leaving a 15cm tail and fasten off.
CAKE TOP
Using second colour, make 2ch, then continue:
- Work as given for Cake Case to the end of Round 5. (30 sts)
- Round 6: [2dc in next st, 1dc in next 4 sts] 6 times. (36 sts)
- Round 7: [2dc in next st, 1dc in next 5 sts] 6 times. (42 sts)
- Round 8: 1dc in each st.
Slst in next st, then cut yarn and fasten off, leaving a long 45cm tail for sewing. Fill cake case with toy stuffing. Sew cake top to cake case by lining up the 42 sts of each piece then whip stitch together, through the back loops only, using long tail end from cake top. If needed, add more stuffing as you sew, for a firm base.
CAKE TOPPINGS ARE MADE SEPARATELY AS FOLLOWS:
LARGE ICING CIRCLE (FROSTING)
Using third colour, make 2ch, then continue:
- Work as given for Cake Case to the end of Round 5. (30 sts)
- Round 6: [2dc in next st, 1dc in next 4 sts] 6 times. (36 sts)
- Slst in next st, then cut yarn leaving a long tail 30cm tail. Fasten off.
MEDIUM ICING CIRCLE (FROSTING)
Using first colour, make 2ch, then continue:
- Work as given for Cake Case to the end of Round 5. (30 sts)
- Slst in next st, then cut yarn leaving a long tail 30cm tail. Fasten off.
FLOWER
Using second colour make 13ch, then 2dc in 2nd ch from hook, 2dc in each ch to end. (24 sts). Cut yarn leaving a 20cm tail then fasten off. Roll up the flower tightly and stitch it together at base in order to hold it together.
LEAVES
Using second colour, *ch5, working back along this ch, 1dc in 2nd ch from hook, 1tr in next 2 ch, [1dc and 1slst] in next ch (1 leaf made)*; repeat from * to * twice more, then slst into the base of first leaf. Cut yarn leaving a 20cm tail then fasten off.
MAKING UP YOUR CROCHET CUPCAKE
Layer the toppings as follows:
- Sew the leaves to the base of the flower then sew these to the centre of the medium icing circle.
- Then, sew the medium icing circle to the large icing circle.
- Finally, sew the large icing circle to the cake top.
Download your Free PDF here, for one week only:
What Next?
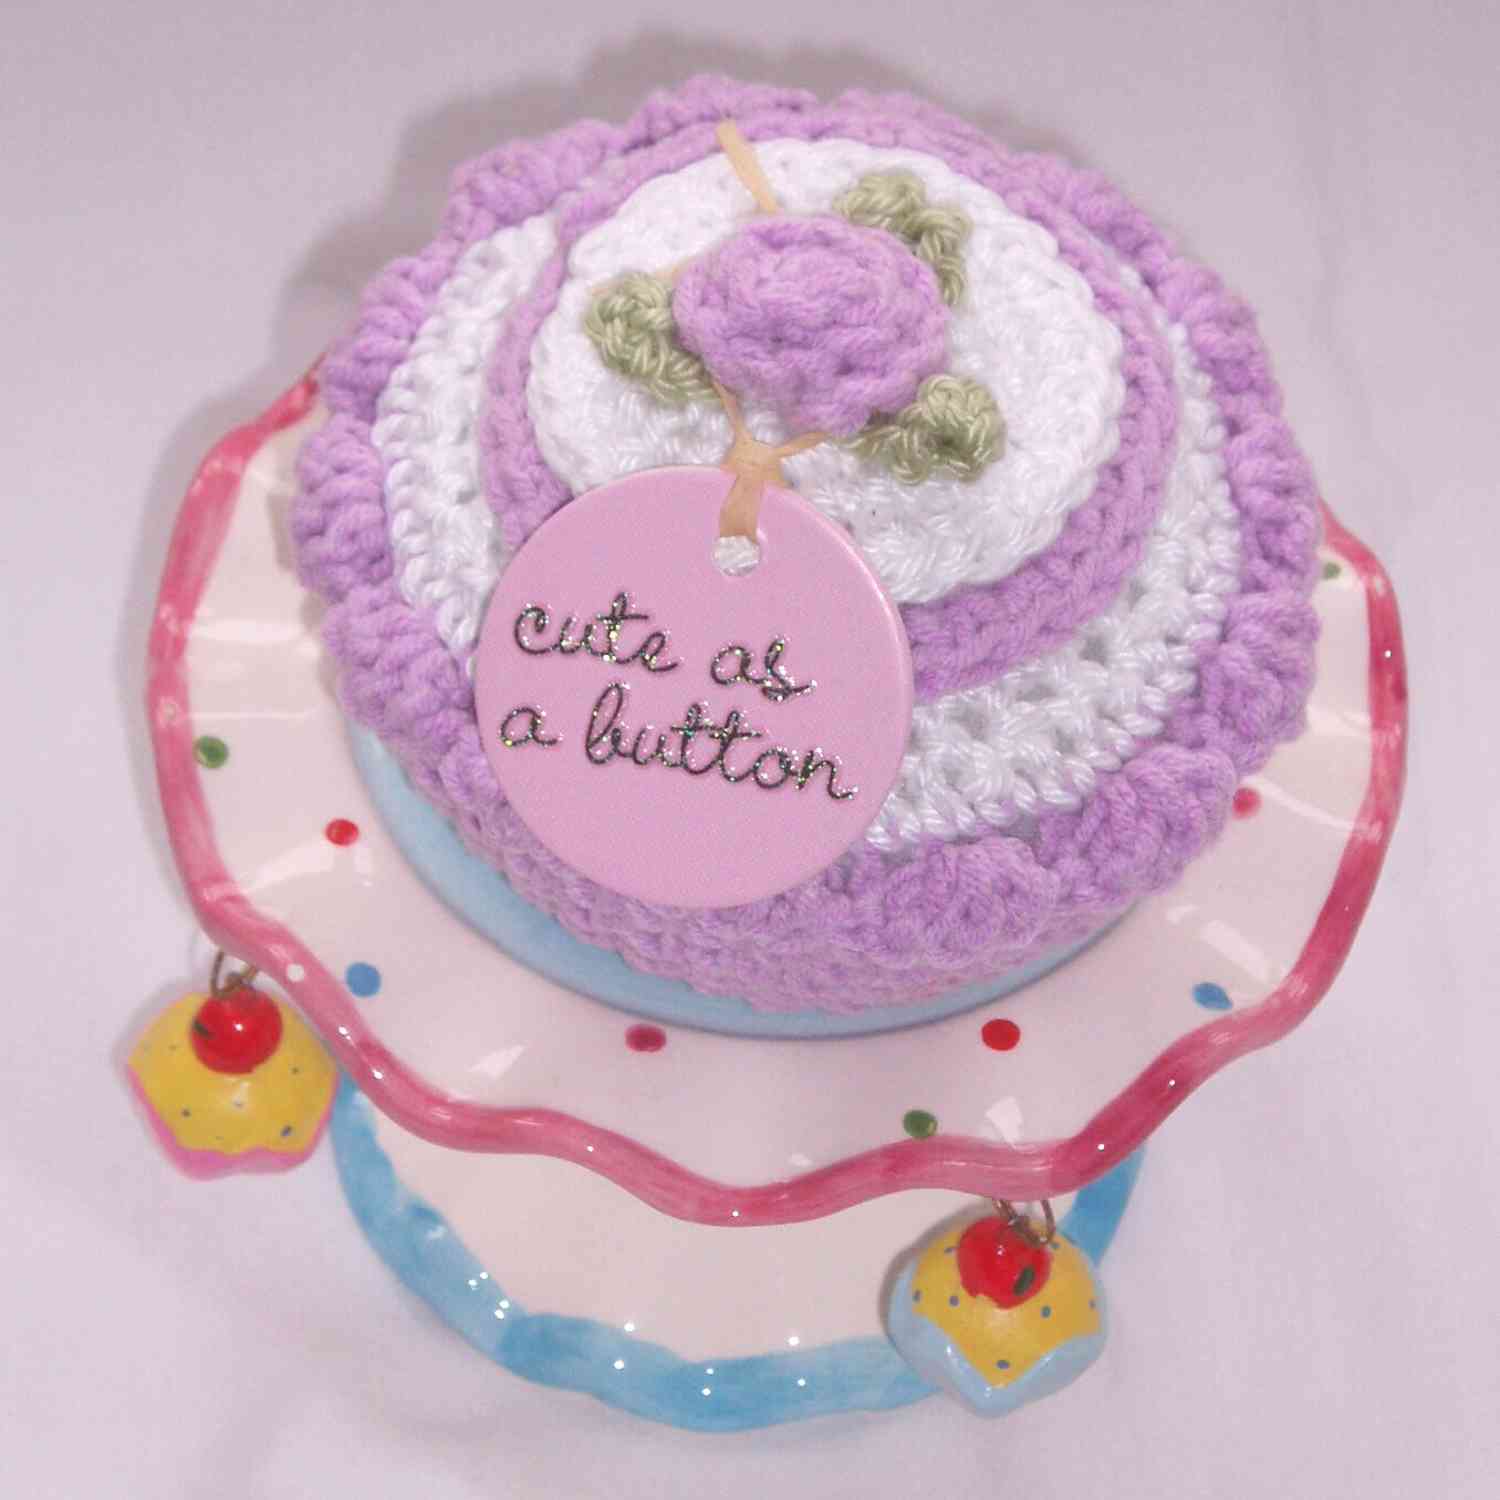
If you loved this crochet cupcake pattern then check out my other stash-busting projects like the Granny Rectangle Cosy Reads Crochet Bookmark Pattern – or my Easy Scarf Crochet Pattern – all of which are free on the blog.
Share your makes from my cupcake pattern
If you love this pattern and make lots of cupcakes, then I’d love to see your finished projects! Tag me on Instagram [@knitcrochetcreate] so I can admire your colour combinations and see what you make with them.
Let's keep in touch!
I'd love to chat more.
Sign up for my newsletter and receive a weekly dose of crafting inspiration, featuring the latest trends, tips, and projects to fuel your creativity.