Free Pumpkin Knitting Pattern - Bibbity Bobbity Pumpkins
Hello my lovely friends. Are you looking for a free pumpkin knitting pattern? Then you're in the right place.
I hope you are all feeling inspired and creative. Throughout Autumn or Fall, I really love to see all the pumpkins appearing on my Instagram feed, and it inspired me to create a pumpkin pattern to share with you, so that you too can knit a pumpkin from my free pumpkin knitting pattern. And for those of you who like to download and save your patterns, to use over and over again, I have also created a paid-for version that you can download and save to you pattern folder on your own device.
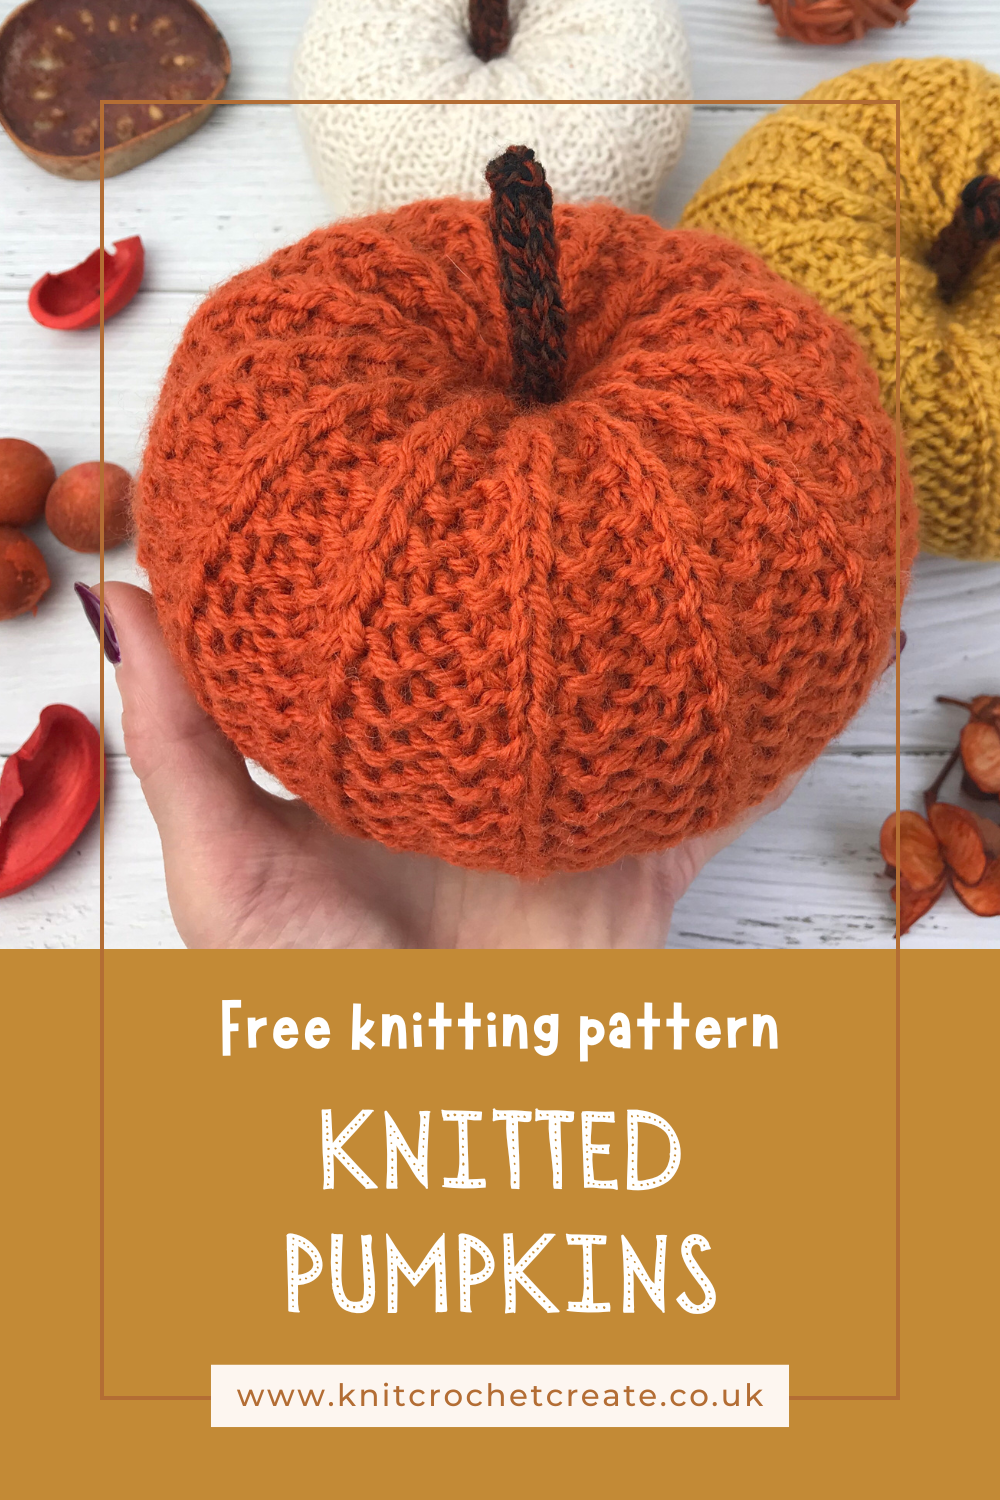
Introducing my free pumpkin knitting pattern
So without further ado, I'm so pleased to be sharing this really easy free pumpkin knitting pattern with you for these adorable pumpkins. They’re so cute and slightly addictive, but most of all they’re great fun to make, and before you know it you’ll have a whole pumpkin patch.
Like most of my patterns, I aim to keep things simple so that you can really enjoy the flow of your knitting. With just a few basic stitches (knit and purl) you will able to create your own pumpkin in no time at all.
I used a 50g ball of King Cole yarn and I used it held double to create a really squishy fabric. I only needed one 50g ball to make the large pumpkin and so it's a good economical make at around £1 per ball. It would make a great gift and you could use a cinnamon stick instead of a yarn stalk to make it smell really nice. Just push it firmly into the little indent/hole at the top of the pumpkin.
You can also dive into your stash and find those gorgeous autumnal left overs and the great thing is that you can use any yarn at all. Whether it’s Chunky or 4ply, Aran or Double Knitting, Wool, Cotton, Mohair or Acrylic - absolutely anything will be perfect. And if you don't have any thicker yarns, just use a thinner yarn held double.
All you need to do is to make sure that you use a smaller needle size than you would normally use for the yarn, so that the stitches are slightly smaller and tighter (so that the stuffing doesn't show through).
I found the best options were Chunky/Aran yarn, or Double Knitting yarn held double.

How to get the Free Pumpkin Knitting Pattern
Read the free version of the pattern below (scroll down), so you can get started right away.
Or you can buy a pdf to download and save on your own device for the future.
Buy on Etsy here: Pattern on Etsy
Buy on Ravelry here: Pattern on Ravelry
Copyright
Please read the copyright terms, which apply globally, before using my pattern:
This pattern is published under copyright to me ©Lynne Rowe 2020 and is for your own personal use only. Feel free to sell items made from this pattern for charity fundraising purposes, or to gift to family and friends. Selling small numbers for profit is only allowed with permission. Please email lynne@knitcrochetcreate.com for permission to sell in small numbers. By downloading or using this pattern, you agree to these terms.
Free Pumpkin Knitting Pattern
Yarn
This is a perfect project for using up your small scraps of yarn. You can use either:
- Approximately 40-45g of double knitting yarn (held double); chunky yarn or aran yarn.
- Approximately 20g of double knitting yarn (used as a single strand).
Knitting Needles
For Pumpkin: Use a needle size that is one size less than the recommended size for your yarn, for example:
- Double knitting yarn held double, with 5mm (US 8) needles
- Chunky yarn, with 5mm (US 8) needles
- Aran yarn, with 4mm (US 6) needles
- Double knitting (single strand), with 3mm (US 2 or US 3 needles)
For Stalk: 4mm needles (alternatively, two 4mm double-pointed needles if i-cord is preferred)
Extras
A wool/tapestry needle for weaving in ends; oddments of a dark coloured yarn for stalk; small amount of toy filling.
Finished Size
Depends on the yarn being used and amount of stuffing added. Measured across:
- Chunky yarn or double knitting held double and 5mm (US 8) needles, approximately 14cm (5.5in) across.
- Aran yarn (single strand) and 4mm (US 6) needles, approximately 13cm (5in) across.
- Double knitting (single strand) and 3mm needles (US 2 or 3), approximately 11cm (4.3in) across.
Tension
Tension is not critical for this project and finished size will depend on yarn being used.
Abbreviations
- k = knit
- p = purl
- kfb = knit into the front and back of the same stitch (to increase 1 stitch)
- k2tog = knit the next 2 sts together as 1 stitch (to decrease 1 stitch)
- st(s) = stitch or stitches
- rep = repeat
Construction
Worked in rows, turning after each row. Stalk is knitted separately and sewn on.
Add to Ravelry
My user name is Lynne Rowe and this project is called: Bibbety-Bobbity Pumpkins.
Free Pumpkin Knitting Pattern: How to Knit Your Pumpkin
Using chosen yarn and needles (see Knitting Needles above), cast on 27 sts.
Set-up row: Knit the first stitch, *kfb in next st; rep from * to end. (53 sts)
Now start the pattern.
Pattern row 1 (wrong side): P1, *k2, p2; rep from * to the end.
Pattern row 2 (right side): K1, *p2, k2; rep from * to the end.
Rows 1 and 2 form the seeded rib stitch pattern.
Pattern 6 more rows.
WS is facing for next row. Note that next three rows are shaping rows that help to form a nice shape.
Shaping rows (worked over 3 rows): P1, *k2, p2; rep from * to last 8 sts, knit 1 st then turn work and leave remaining sts unworked, slip first st purlwise with yarn at front, take yarn between needles to the back, k1, **p2, k2; rep from ** to the last 8 sts, p1, turn work, slip 1 st purlwise with yarn at the front, p1, take yarn to the back, ***k2, p2; rep from *** to the end.
Now return to pattern rows and starting with pattern row 2, work another 29 rows.
With wrong side facing, repeat the shaping rows over next 3 rows.
Return to pattern rows and starting with pattern row 2, work another 8 rows.
Next row: Knit the first st, [k2tog] to the end. (27 sts)
Rep the last row once more. (14 sts)

Free Pumpkin Knitting Pattern: Making Up
Cut yarn leaving a long tail end and thread onto a wool needle. Weave through remaining stitches and take them off the needle. Pull tightly to close the hole. Secure with a few stitches. Now use the same thread to sew the side seam. Working from RS, use whip stitch (oversew) through the very ends of the stitches (through just one loop of the stitch) to make the seam look like a ridge on the pumpkin.
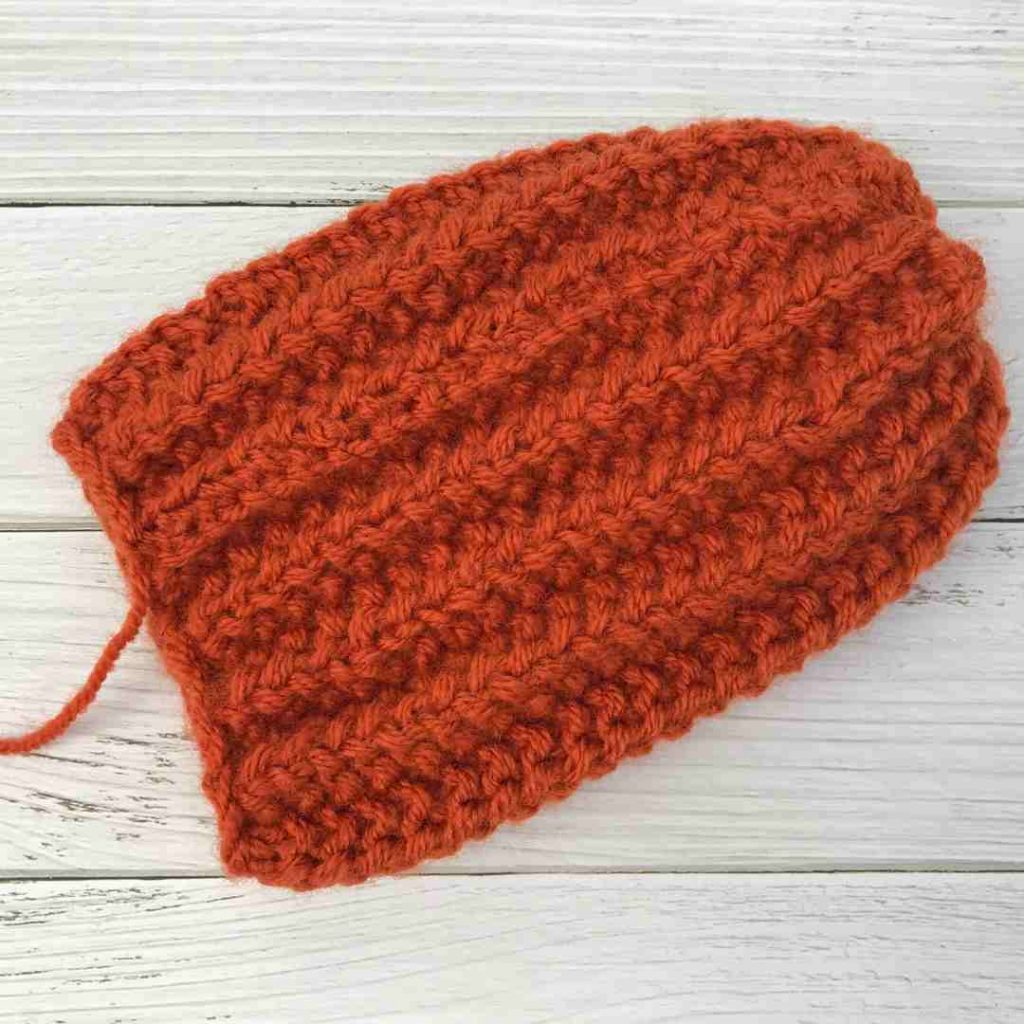
Fill the pumpkin with toy filling. It's important to take your time here to make sure your pumpkin is a nice shape. Firmly fill the bottom of the pumpkin, spreading out the knitting and making it round and plump.
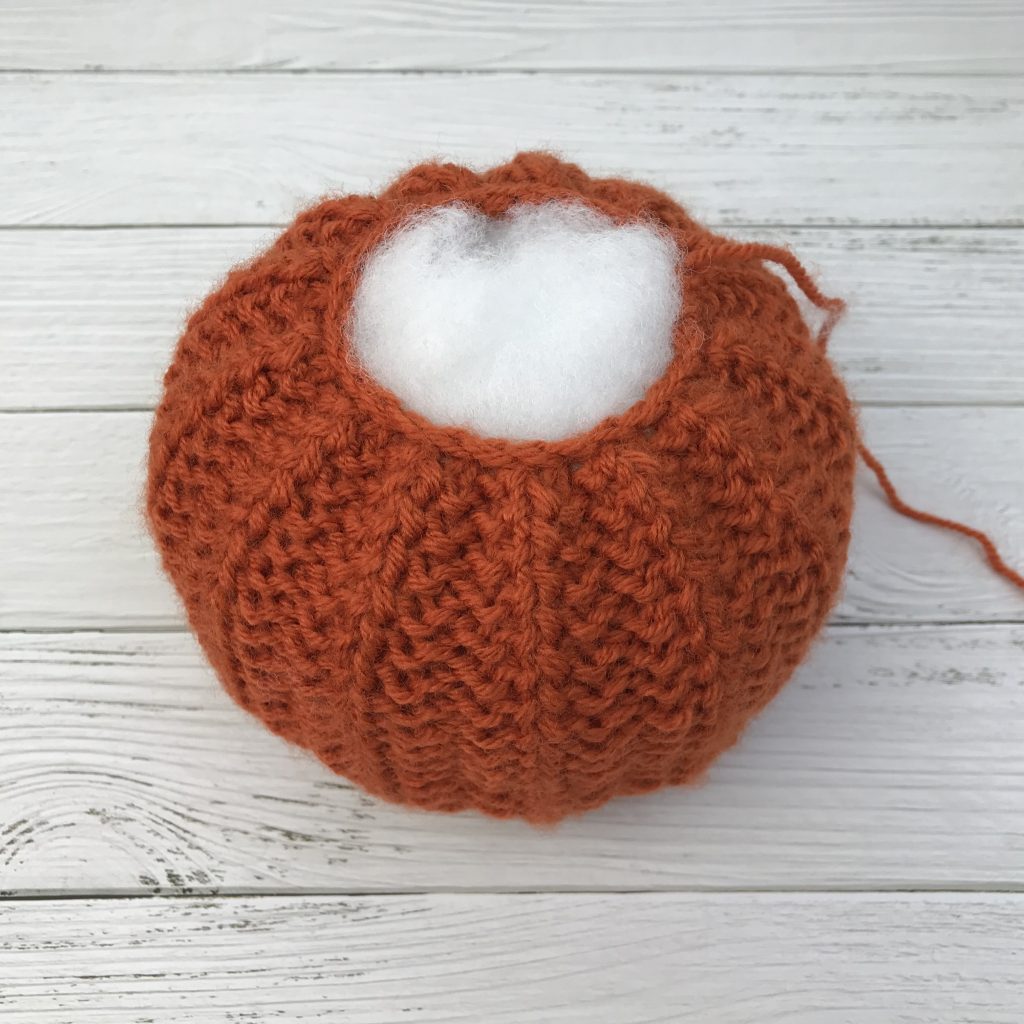
Your knitting will stretch quite a lot. Add more stuffing to the top, but don't fill as firmly. Gather the top stitches and pull yarn to start closing the hole, making sure that you have a nice shape when you squash the top and bottom together. Add or remove stuffing as needed before pulling tight to close the hole. Fasten off securely but don't cut yarn.
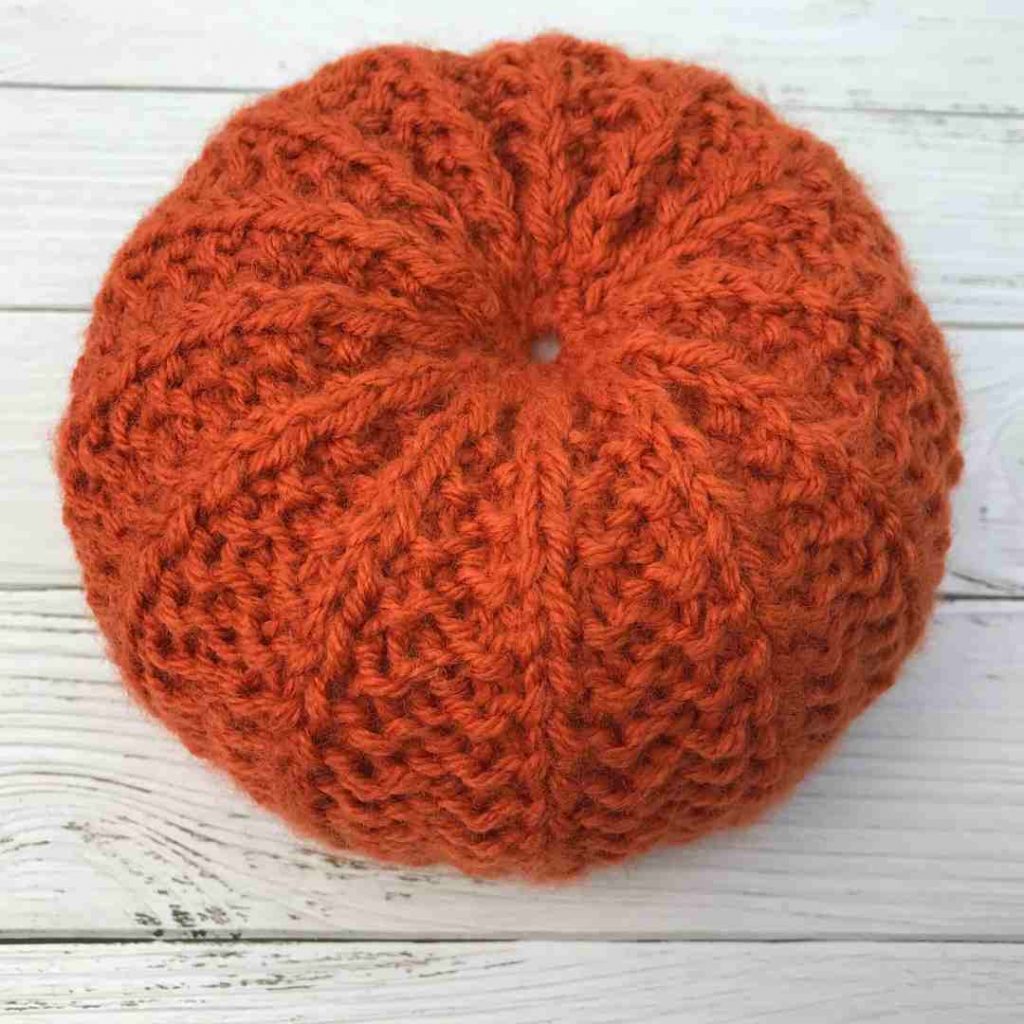
Using same tail end, weave yarn down through pumpkin and out at the bottom, then insert needle back through fabric and up through pumpkin and out at the top. Pull tight to squash the pumpkin and create an indent. Repeat the process again if you need to before fastening off yarn securely and weaving in the end.
Stalk
Add a stalk as follows (or you could use a twig or cinnamon stick if preferred):
Using dark coloured double knitting yarn (single strand), cast on 4 sts onto 4mm needles. Starting with a knit row, work one row knit and one row purl (to form stocking stitch), until your stalk is the length desired. Cast off. Your stalk will naturally curl inwards. Alternatively you can use two 4mm double-pointed needles and yarn held double. Cast on 4 sts and knit an i-cord for length desired before casting off. Sew one end of the stalk to the centre top of pumpkin and weave in all the ends.

I would absolutely love to see your pumpkins, so feel free to share them on Ravelry or on Instagram (@knitcrochetcreate).
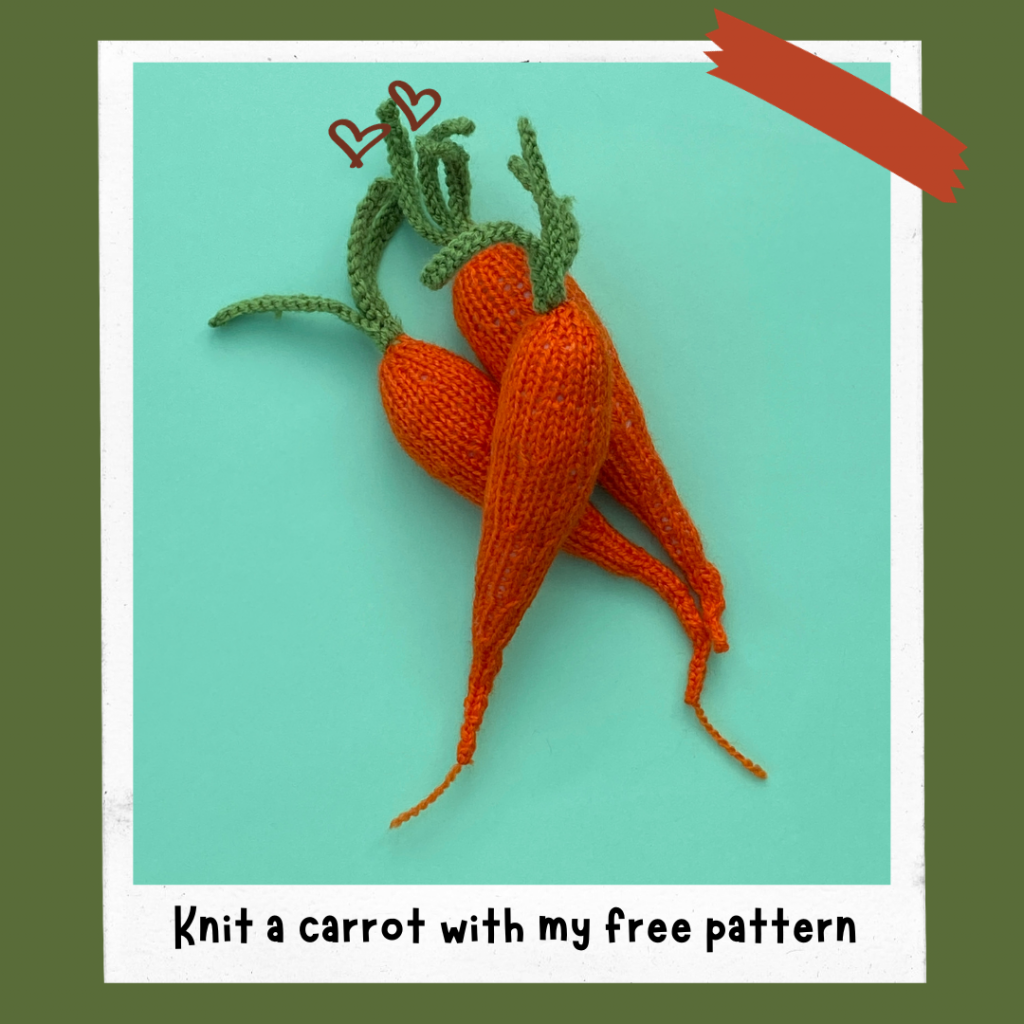
If you enjoyed knitting my pumpkins, you may also enjoy my carrot pattern, which is also free. You can find the blog post here:
Let's keep in touch!
I'd love to chat more.
Sign up for my newsletter and receive a weekly dose of crafting inspiration, featuring the latest trends, tips, and projects to fuel your creativity.
I have been trying to download your free pumpkin pattern, but Ravelry takes me to your web page and your web page takes me back to Ravelry. Can you email me your pattern please? Thanks!
Hi Sandy, I've fixed it now - thank you for alerting me and apologies. When you click the link it will open the file to download, Lynne
I have paid for pumpkin pattern but no where can I find it
Hi Ann, where did you you buy if from please - was it Etsy or Ravelry?