Free Knitted Bunny Pattern
I have a free knitted Bunny pattern to share with you. This little knitted bunny is one of those projects that looks simple because it is simple.
She’s very small, knitted in the round, and uses tiny amounts of yarn. There’s no seaming on the body, and the legs and arms are made using easy I-cord, so everything stays neat and tidy.
Her arms and legs are worked initially in rows and then continued with an i-cord (there's a great i-cord tutorial here: i-cord tutorial at Purl Bee)
She stands at approximately 22cm high and would therefore make a cute little pocket pal, to be taken on adventures far and wide.

Yarn I Used For My Free Knitted Bunny Pattern
I've used some leftovers of Rowan Tweed DK, but you could use oddments of any double knitting yarn, as she only uses a very small amount of each colour. You could use larger needles if desired for a slightly larger bunny (try 3.25mm), or you could use 4-ply yarn with 3mm or 2.75mm needles for a slightly smaller bunny.
Why You'll Love My Free Knitted Bunny Pattern
Because she’s small, this is a good project for:
- Quick gifts.
- Easter makes.
- Using up odd balls of yarn.
- She’s also a nice pattern to revisit when you want something gentle and familiar to knit.
Copyright
Please read the copyright terms, which apply globally, before downloading your pattern:
This pattern revision is published under copyright to me ©Lynne Rowe 2024 and is for your own personal use only. Feel free to sell items made from this pattern for charity fundraising purposes, or to gift to family and friends. Selling small numbers for profit is only allowed with permission. Please email lynne@knitcrochetcreate.com for permission to sell in small numbers. By downloading or using this pattern, you therefore agree to these terms. All rights reserved.
Materials You'll Need for Your Free Knitted Bunny Pattern
- Rowan Tweed DK 100% wool 50g 118m/129yds:
- 1 x Buckden (Shade 584) = for Main Colour.
- 1 x Hawes (Shade 582) = For Contrast Colour (only a tiny amount is needed).
- Set of 5 x 3mm DPNS.
- Toy filling.
- Small amount of Black and Pink embroidery thread and needle for facial features.
- Long length of matching grey yarn that does not snap easily for sewing up.
- Wool Needle.
Abbreviations Used in Knitted Bunny Pattern
- DPN(s) = double pointed needle(s)
- K = knit.
- P = purl.
- K2tog = knit next 2 stitches together as 1 stitch (to decrease 1 stitch).
- Kfb = knit into the front and back of next stitch (to increase 1 stitch).
- St st = stocking stitch.
Knitted Bunny Head and Body:
With chosen Main Colour and preferred 3mm needles for knitting in the round, cast on 20 sts then work in the round as follows:
Round 1: K all sts.
Round 2: Kfb into every st. (40 sts)
Rounds 3-8: K 6 rows.
Round 9: (K6, K2tog) 5 times. (35 sts)
Rounds 10-21: K 12 rows.
Round 22: (K5, K2tog) 5 times. (30 sts). Thread a piece of yarn through the last stitch to mark Round 22.
Rounds 23-24: K 2 rows
Round 25: (K5, Kfb) 5 times. (35 sts)
Rounds 26-39: K 14 rows.
Round 40: (K3, K2tog) 7 times. (28 sts)
Round 41: (K2tog) 7 times. (14 sts)
Cut yarn then thread onto a wool needle. Weave yarn through remaining stitches, then remove from needles. Do not gather the stitches at this point, just leave the yarn threaded through to prevent them from unravelling.
Making Up Bunny Head and Body
- Fold piece flat. Take a piece of strong grey yarn and using mattress stitch, sew the cast on seam (or gather the stitches if preferred).
- Fill body with toy filling.
- Take a piece of strong grey yarn and thread through the stitches above Round 22 (the round marked with a piece of yarn). Tie tightly to create a neck.
- Fill head with toy filling. Take a piece of strong grey yarn then thread through the live stitches of Round 41. Pull really tight to close the hole and then fasten ends in a tight knot.
- Weave all yarns ends into head/body.
Bunny Arms (Make 2):
With Main Colour, and using 2 DPNs, cast on 5 sts onto 1 DPN. First, work in rows with second DPN.
Row 1: Kfb into every st. (10 sts)
Row 2: P.
Rows 3-6: Beginning with a K row, Stocking Stitch 4 rows.
Row 7: (K2tog) 5 times. (5 sts)
Next, slide sts to opposite end of DPN then start to work an i-cord for 16 rows. Cast off. Make a second Arm following all instructions above.
Bunny Legs (Make 2):
With Main Colour, and using 2 DPNs, cast on 6 sts onto 1 DPN. First, work in rows with second DPN.
Row 1: Kfb into every st. (12 sts)
Row 2: P.
Rows 3-6: Beginning with a K row, Stocking Stitch 4 rows.
Row 7: (K2tog) 6 times. (6 sts)
Next, slide sts to opposite end of DPN then start to work an i-cord for 18 rows. Cast off. Make a second Leg following all instructions above.
Making up Arms and Legs:
- Thread beginning yarn end onto a wool needle. Thread through cast on sts and pull very gently (so that the yarn doesn’t snap).
- Continue to stitch the hand or foot seam using mattress stitch, filling with a small amount of toy filling as you sew, then weave yarn end into arm or leg.
- Repeat above instructions for each remaining arm and leg.
- Finally, stitch arms to each side of body and stitch legs to underside of body.
Knitted Bunny Ears: (Make 2)
With Main Colour and 3mm needles to work in rows, cast on 5 sts.
Row 1: (K1, P1) to the last st, K1.
Rep Row 1, thirteen times more. Cut yarn then thread onto a wool needle. Weave through remaining stitches, then pull tight and fasten off. Weave yarn end into back of ear. Make a second ear following instructions above. Stitch each ear to top of head.
Scarf:
With Contrast Colour, cast on 3 sts onto 1 DPN. With second DPN, knit an i-cord for required length of scarf. Cast off, then gather edges of scarf with yarn ends, then weave ends in scarf.
Scarf Pompoms (make 2):
- Cut a long length of strong sewing cotton and fold it double. Place to one side.
- Wrap Yarn B around 2 fingers approximately 30 times then cut Yarn.
- Carefully remove wrapped yarn from fingers then place on flat surface.
- Wrap cotton around centre of wraps and tie tightly. Do not cut cotton.
- Carefully trim ends into a small rounded shape. Attach to scarf ends using cotton thread.
- Tie scarf around neck.
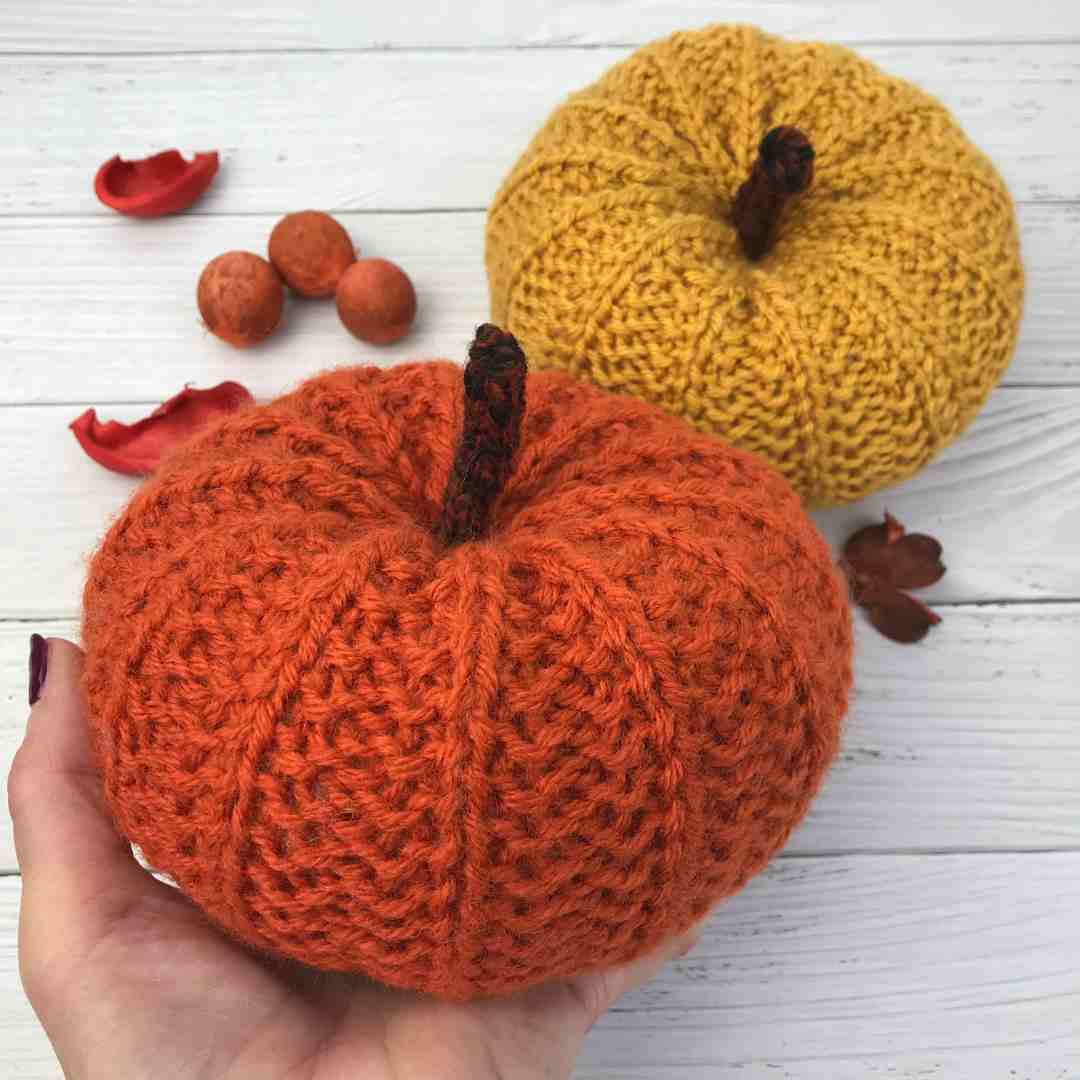
If you enjoyed knitting this cute little bunny, you may also enjoy my knitted pumpkin pattern which is also free. You can find the blog post here
Let's keep in touch!
I'd love to chat more.
Sign up for my newsletter and receive a weekly dose of crafting inspiration, featuring the latest trends, tips, and projects to fuel your creativity.